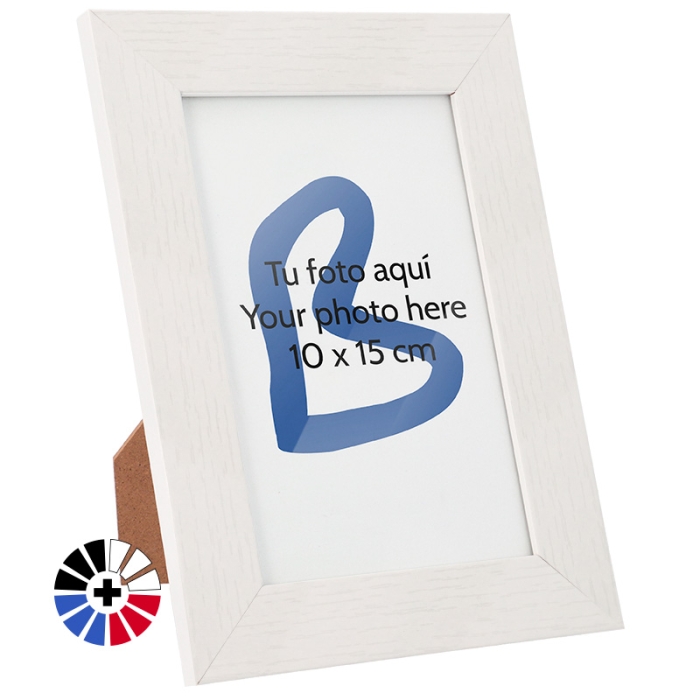
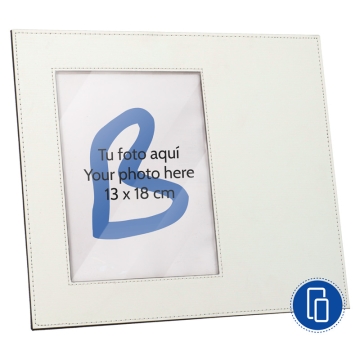
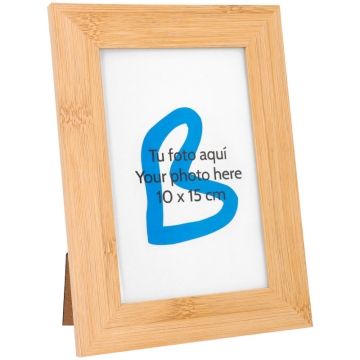
Photo frames with a stand to place on any flat surface
Suitable for vertical and horizontal orientation
Semi-matte finish
Presented in a cardboard box
THINGS TO KEEP IN MIND
Before customising the blue and red frames, keep in mind that the tone of the colours will blend with the image to be sublimated. To minimise this effect, choose designs with dark colours
For the black frame, it is recommended to customise using alternative techniques to sublimation: laser engraving, transfer, DTF, adhesive vinyl...
DIMENSIONS
Photo frame (cm)
13.7 x 11.7 x 17.3
Frame (cm)
13.7 x 18.9x 0.9
Frame width (cm)
2.5
Glass (cm)
9.9 x 14.9 x 0.15
Stand (cm)
5.1 x 9.5
Customisable photo area (cm)
10 x 15
Customisable frame area (cm)
13.7 x 18.9
Packaging (cm)
14.5 x 19.2 x 1.3
Weight (g)
192
RECOMMENDED SUBLIMATION INSTRUCTIONS AND PARAMETERS
Parameters provided are for guidance only. It is recommended to conduct preliminary tests to make necessary adjustments before starting production.
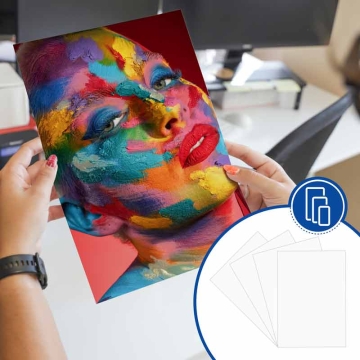
Print the design in mirror mode
Heat the press to 180 ºC
Remove the glass and stand from the frame
Place the photo frame on the press base and the printed side of the paper on the frame. Secure with heat-resistant tape
Close the press with medium pressure for 40 seconds
Using a protective glove, remove the freshly printed photo frame
Carefully remove the paper
Place the glass, insert the desired photograph, and attach the back
https://www.brildor.com/en/sublimation-photo-frames48945Sublimation Photo Frames<p class="enlace"><a id="know-more"></a> </p>
<h2>More information about the photo frames for sublimation</h2>
<p> </p>
<p><strong>INDEX</strong></p>
<p>> <a href="#know-more1">Description</a></p>
<p>> <a href="#know-more2">Things to keep in mind</a></p>
<p>> <a href="#know-more3">Dimensions</a></p>
<p>> <a href="#know-more4">Recommended sublimation instructions and parameters</a></p>
<p> </p>
<p class="enlace"><a id="know-more1"></a> </p>
<p><strong>DESCRIPTION</strong></p>
<ul>
<li>Photo frames with a stand to place on any flat surface</li>
<li>Suitable for vertical and horizontal orientation</li>
<li>Semi-matte finish</li>
<li>Presented in a cardboard box</li>
</ul>
<p> </p>
<p class="enlace"><a id="know-more2"></a> </p>
<p><strong>THINGS TO KEEP IN MIND</strong></p>
<ul>
<li>Before customising the blue and red frames, keep in mind that the tone of the colours will blend with the image to be sublimated. To minimise this effect, choose designs with dark colours</li>
<li>For the black frame, it is recommended to customise using alternative techniques to sublimation: <span class="azul-brildor-negrita">laser engraving, transfer</span>, <span class="azul-brildor-negrita">DTF</span>, <span class="azul-brildor-negrita">adhesive vinyl</span>...</li>
</ul>
<p> </p>
<p class="enlace"><a id="know-more3"></a> </p>
<p><strong>DIMENSIONS<br></strong></p>
<table>
<tbody>
<tr>
<td><strong>Photo frame (cm)</strong></td>
<td><span class="azul-negrita">13.7 x 11.7 x 17.3</span></td>
</tr>
<tr>
<td><strong>Frame (cm)</strong></td>
<td><span class="azul-negrita">13.7 x 18.9</span> <span class="azul-negrita">x 0.9</span></td>
</tr>
<tr>
<td><strong>Frame width (cm)</strong></td>
<td><span class="azul-negrita">2.5<br></span></td>
</tr>
<tr>
<td><strong>Glass (cm)</strong></td>
<td><span class="azul-negrita">9.9 x 14.9 x 0.15</span></td>
</tr>
<tr>
<td><strong>Stand (cm)</strong></td>
<td><span class="azul-negrita">5.1 x 9.5</span></td>
</tr>
<tr>
<td><strong>Customisable photo area (cm)</strong></td>
<td><span class="azul-negrita">10 x 15</span></td>
</tr>
<tr>
<td><strong>Customisable frame area (cm)</strong></td>
<td><span class="azul-negrita">13.7 x 18.9</span></td>
</tr>
<tr>
<td><strong>Packaging (cm)</strong></td>
<td><span class="azul-negrita">14.5 x 19.2 x 1.3</span></td>
</tr>
<tr>
<td><strong>Weight (g)</strong></td>
<td><span class="azul-negrita">192</span></td>
</tr>
</tbody>
</table>
<p> </p>
<p class="enlace"><a id="know-more4"></a> </p>
<p><strong>RECOMMENDED SUBLIMATION INSTRUCTIONS AND PARAMETERS</strong></p>
<p>Parameters provided are <strong>for guidance only</strong>. It is recommended to conduct preliminary tests to make necessary adjustments before starting production.</p>
<ul>
<li>Print the design in <strong>mirror mode</strong></li>
<li>Heat the press to <span class="azul-negrita">180 ºC</span></li>
<li>Remove the glass and stand from the frame</li>
<li>Place the photo frame on the press base and the printed side of the paper on the frame. Secure with heat-resistant tape</li>
<li>Close the press with <strong>medium pressure</strong> for <span class="azul-negrita">40 seconds</span></li>
<li>Using a protective glove, remove the freshly printed photo frame</li>
<li>Carefully remove the paper</li>
<li>Place the glass, insert the desired photograph, and attach the back</li>
</ul>https://www.brildor.com/media/catalog/product/m/a/marcos-portafotos-sublimacion-10x15cm.jpg2.15instock02.15000https://www.brildor.com/media/catalog/product/m/a/marcos-portafotos-sublimacion-10x15cm.jpg229094906751277/Blanks/Blanks/Picture Frames/Blanks/Valentine's Day/Blanks/Valentine's Day/Photo Frames & Panels/Blanks/Picture Frames/Photo Print/Blanks/Picture Frames/Sublimation2022-11-16T07:59:50+0000