EVA Foam for 3D Embroidery
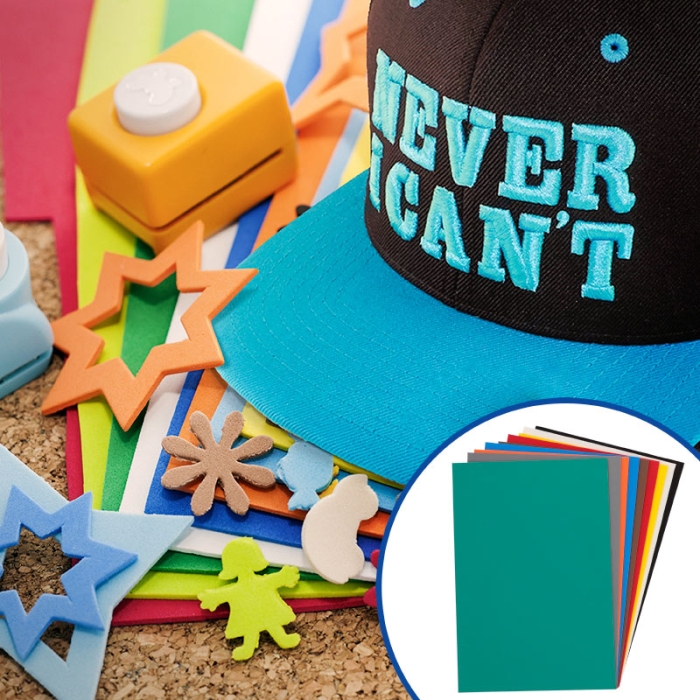
EVA Foam for 3D Embroidery
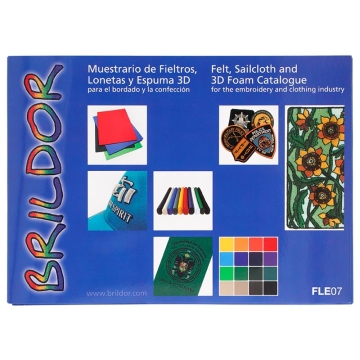
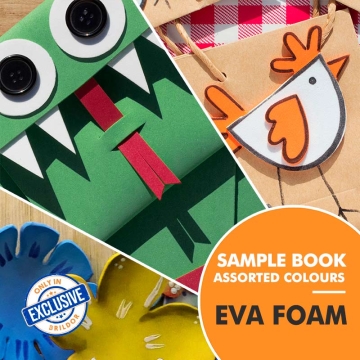
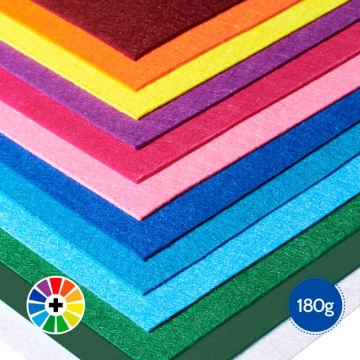
Sheet of 3D foam available in wide range of colours.
For 3D embroidery, crafts and scrapbooking.
- Hardness: 25 Shore A
- Sheet of 50 x 70 cm with 1.5 and 2.5 mm thickness
- Sheet of 30 x 40 cm with 3 mm thickness

Related Products
More information about EVA Foam for 3D Embroidery
INDEX
Recommendations for Embroidering with EVA Foam
DESCRIPTION
- Versatile: can be glued, cut, painted, sewn, embroidered, shaped...
- The thickness of 1.5 mm and 3 mm is especially useful for crafts
- The sheet with a thickness of 2.5 mm is more suitable for raised or 3D embroidery
- Water-repellent, washable, and withstands medium ironing temperatures
- Suitable for cutting with a plotter using a deep-cut blade
- Can also be cut with a diode or CO2 laser
- Recyclable and non-toxic
- Made from polyethylene and vinyl acetate thermoplastic polymer
WHAT IS 3D EMBROIDERY?
- 3D or raised embroidery is done by stitching shading stitches over a thin and flexible sheet of spongy material like 3D foam or EVA foam. The machine needle penetrates the sheet while the stitches cover and fit the shape. The design completely hides the base fabric, making the embroidery stand out. The excess foam is easily removed after the embroidery is finished
RECOMMENDATIONS FOR EMBROIDERING WITH EVA FOAM
- It is important to work with a low thread density to add more stitches, achieve adequate coverage, and facilitate foam penetration
- It is recommended to use a Nm 80 ballpoint needle for cleaner foam penetration
- Ensure that during the embroidery process all sides of the 3D foam are cut
- If you wish to embroider "True type" letters, it is advisable to use the "rounded" style font. This way, the needle pierces all sides of the letters. Fonts with a base at the top and bottom of the letter, or with pointed ends, are also suitable
- The foam adds stiffness to the embroidered area, which is important to consider when choosing the location on the garment
- It is advisable that the foam and thread colours are similar. This way, you can save stitches needed to ensure the thread hides the foam
- Choose a simple design with highlight stitches. An area of shading stitches can be embroidered with foam underneath, but the stitches will compress the foam and the relief may not be uniform
- Avoid using EVA foam on thin fabrics, unless placed in an area with reinforcement, like a T-shirt collar
- Avoid distortions on medium-thickness fabrics by using fusible interlinings on the reverse side of the fabrics
- When the design has highlight and shading stitches, it is recommended to embroider highlight stitches first. Then, stop the machine to add the EVA foam and continue embroidering
- Use the foam in adjacent areas to achieve a three-dimensional result
- Remove the excess foam from each filled area before embroidering another section
COLOUR CHART
RELATED POSTS
Materials for Your Laser Machine: Everything You Need to Know
Laser Cutting and Engraving: Everything You Can Do
Sell More with the Trendy Technique: Laser Cutting and Engraving
| Ref. | 923727 |
|---|
Reviews
Share your opinion
It will only take a minute, and your opinion can help other customers.
Sign in to submit your review
Write a review
Rating
Add photos of your product (optional)
Sending review...
Error
Review sent Thank you for your interest!
Questions
No questions found for this product.
Be the first to ask a question!
Ask a question
Please complete the CAPTCHA
Submitting your question...
Error
Question Submitted Thank you for your interest!

