Sublimable Glasses Cases and Moulds
Sublimable Glasses Cases and Moulds
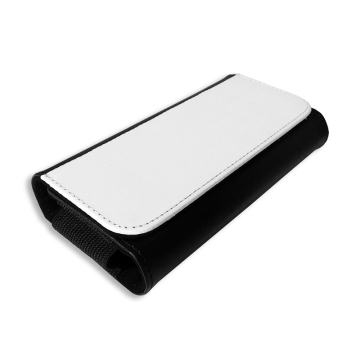
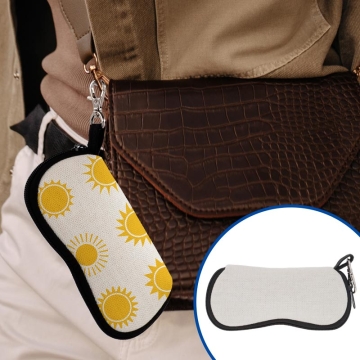
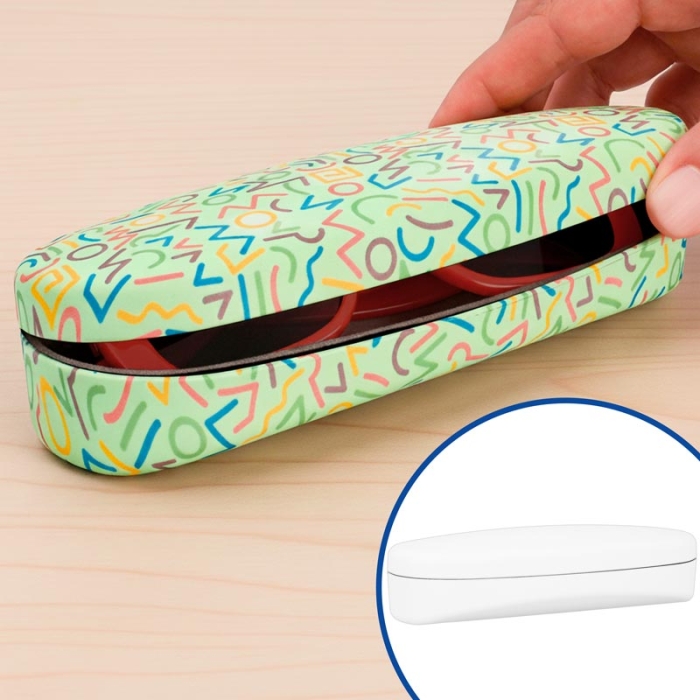
Rigid glasses cases, customisable by sublimation using moulds and an oven.
- Plastic casing with a velvet-lined interior
- Printing area (case closed): 17.5 x 3.7 x 6.5 cm
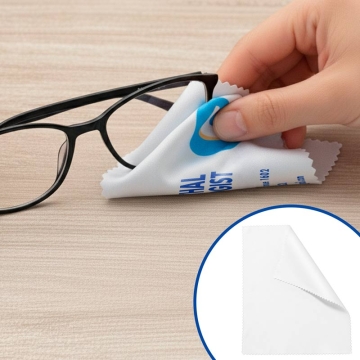
- Includes a glasses cleaning cloth, also sublimable
- Purchase moulds and mounting support separately

Related Products
More information about the Sublimable Glasses Cases and Moulds
INDEX
> Recommended sublimation instructions and parameters
DESCRIPTION
- Case composed of: double shell with 2 clips to join the pieces, 1 velvet inner lining, and 1 customisable cloth
- Kit with 2 moulds, one for each shell. Prevents deformation from oven heat during sublimation
- Support with spaces to place and immobilise the two shells during assembly
- Reusable moulds and assembly support. Made of high-quality aluminium, very durable
THINGS TO KEEP IN MIND
- It is possible to use a non-vacuum sublimation oven. If so, you can use shrink bags to adhere the sublimation paper to each part of the shell; then, place it in the mould before putting it in the oven. Prior testing is necessary before starting production
- To achieve optimal results, it is advisable to print the case avoiding areas where it is more difficult to adapt the sublimation paper, such as the corners
- The assembly support includes two screws at its base to secure it to a surface if desired. They can be easily removed without tools
- The colour of the moulds and assembly support may vary
MEASUREMENTS
| Upper shell print area (cm) | 17.5 x 1.7 x 6 |
| Lower shell print area (cm) | 17.5 x 2 x 6.5 |
| Closed case (cm) | 17.5 x 3.7 x 6.5 |
| Open case (cm) | 17.5 x 8 x 6.5 |
| Case interior (cm) | 16.5 x 3.5 x 6 |
| Cloth print area (cm) | 15 x 15 |
| Mould measurements (cm) | 17.5 x 2 x 6 |
| Assembly support (cm) | 19.8 x 2.5 x 9.9 |
RECOMMENDED SUBLIMATION INSTRUCTIONS AND PARAMETERS
Parameters indicated are for guidance only. It is recommended to conduct prior testing to make necessary adjustments before starting production.
CASE WITH SUBLIMATION OVEN
- Print the design in mirror mode
- Preheat the oven to 200 ºC
- Place each of the 2 pieces of the case in the oven mould
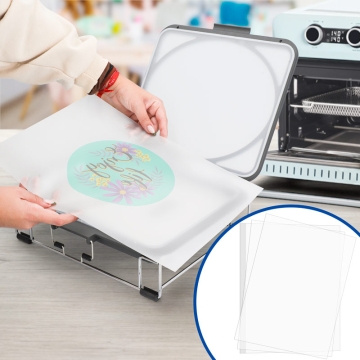
- Cover each piece with the printed paper. Trim excess paper and adhere it with thermal tape, adapting it to the shell as best as possible, avoiding wrinkles
- Place the 2 pieces in the oven and create a vacuum
- Sublimate at 200 ºC for 8 minutes
- At the end of the process, remove the 2 pieces from the oven with a protective glove
- Carefully remove the mould and then the paper
CLOTH WITH PRESS
- Print the design in mirror mode
- Preheat the press to 200 ºC
- Place the cloth on the press base and the printed side of the paper on the cloth
- Close the press at a medium-high pressure for 35 seconds
- With a protective glove, remove the freshly printed cloth
- Carefully remove the paper
GLASSES CASE ASSEMBLY
- After customising the case, place each shell in the slots of the assembly mould
- Attach the clips between the two shells, using a flat screwdriver and a hammer
- Finally, press the clips inward
- Place the inner lining by sticking it with the adhesive tape on its reverse
| Ref. | 922621 |
|---|---|
| Colour | White |
| Surface material | Plastic |
| Items | Eyeglasses case |
| Marking techniques | Dye sublimation |
Reviews
Share your opinion
It will only take a minute, and your opinion can help other customers.
Sign in to submit your review
Write a review
Rating
Add photos of your product (optional)
Sending review...
Error
Review sent Thank you for your interest!
Questions
No questions found for this product.
Be the first to ask a question!
Ask a question
Please complete the CAPTCHA
Submitting your question...
Error
Question Submitted Thank you for your interest!

