Sublimable Frosted Glass Photo Panels
Sublimable Frosted Glass Photo Panels
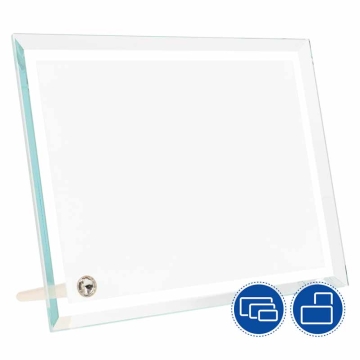
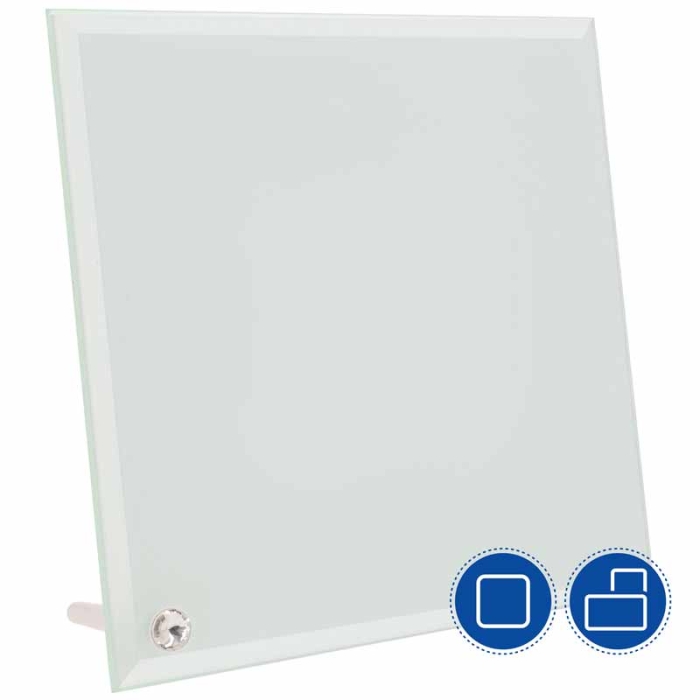
Photo panels with a three-dimensional effect, customisable by sublimation.
- Frosted glass effect with 5 mm thickness
- Bevelled edges and straight corners
- Tabletop stands included

Related Products
More information about the Sublimable Frosted Glass Photo Panels
INDEX
> Recommended Sublimation Instructions and Parameters
DESCRIPTION
- Rectangular photo panels can be placed on surfaces horizontally or vertically
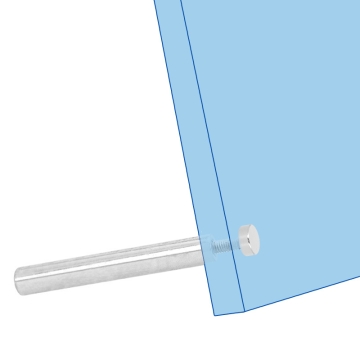
- Screw-type stand with a white plastic base and decorative diamond. The 16 x 30 cm photo panel has 4 holes to accommodate 2 stands and 2 decorative caps
- Bevelled edges on the front of the photo panel
- Back with sublimable coating for direct printing. The sublimated image will be visible from the front with a volume effect
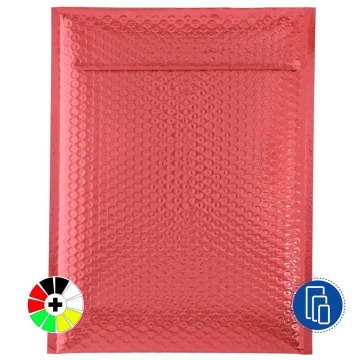
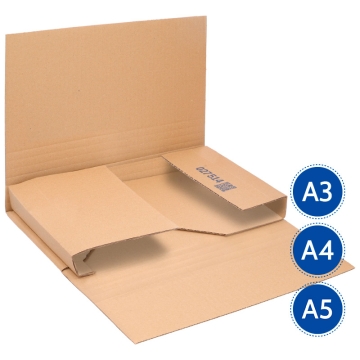
- Comes in a white box with a window
- You can find metal stands for the photo panels in Related Products
THINGS TO KEEP IN MIND
- Sublimation in direct mode (not mirrored)
DIMENSIONS
| Ref. |
055261 | 055263 | 055260 |
| Shape |
Rectangular |
Rectangular |
Square |
| Print Area (cm) | 17.7 x 22.6 | 15.7 x 29.7 | 19.7 x 19.7 |
| Photo Panel (cm) | 17.8 x 22.8 | 17.7 x 30 | 19.8 x 19.8 |
| Thickness (mm) | 5 | 5 | 5 |
| Hole (mm) |
8 | 8 | 8 |
| No. of Holes |
1 | 4 | 1 |
| Stands |
1 |
1 |
1 |
RECOMMENDED SUBLIMATION INSTRUCTIONS AND PARAMETERS
Parameters indicated are for guidance purposes. It is recommended to conduct preliminary tests to make necessary adjustments before starting production.
WITH FLAT TRANSFER PRESS - DIRECT METHOD
- Print the design in direct mode
- Heat the press to 180 ºC
- Secure the printed paper onto the white side of the photo panel with heat tape
- Place the photo panel and paper with the sublimable side facing up on the press plate
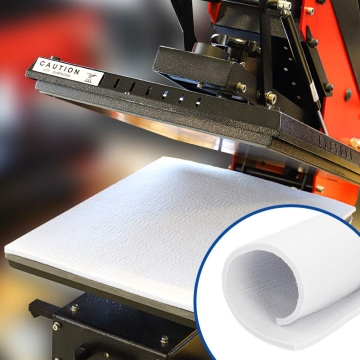
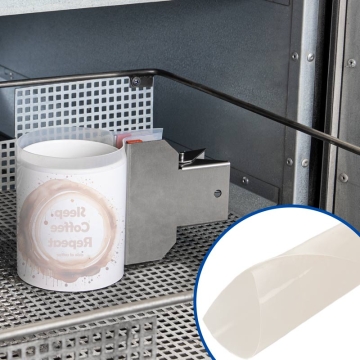
- Place the silicone pad over the photo panel for uniform printing (optional)
- Close the press with medium pressure for 80-90 seconds
- Using a protective glove, remove the freshly printed photo panel
- Carefully remove the paper
WITH FLAT TRANSFER PRESS - INDIRECT METHOD
- Print the design in direct mode
- Heat the press to 200 ºC
- Place the Nomex pad on the lower plate of the press for even heat distribution
- Secure the printed paper onto the white side of the photo panel with heat tape
- Place the photo panel and paper with the sublimable side facing down on the press plate
- Close the press with medium pressure for 240 seconds
- Using a protective glove, remove the freshly printed photo panel
- Carefully remove the paper
| Ref. | 953190 |
|---|---|
| Thickness (mm) | 5 |
| Surface material | Glass |
| Items | Photo panels |
| Accessory details | Holder |
| Marking techniques | Dye sublimation |
Reviews
Share your opinion
It will only take a minute, and your opinion can help other customers.
Sign in to submit your review
Write a review
Rating
Add photos of your product (optional)
Sending review...
Error
Review sent Thank you for your interest!
Questions
No questions found for this product.
Be the first to ask a question!
Ask a question
Please complete the CAPTCHA
Submitting your question...
Error
Question Submitted Thank you for your interest!

