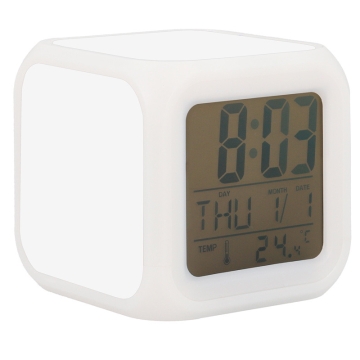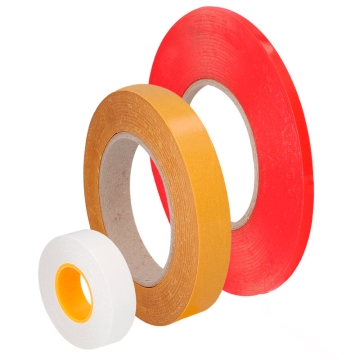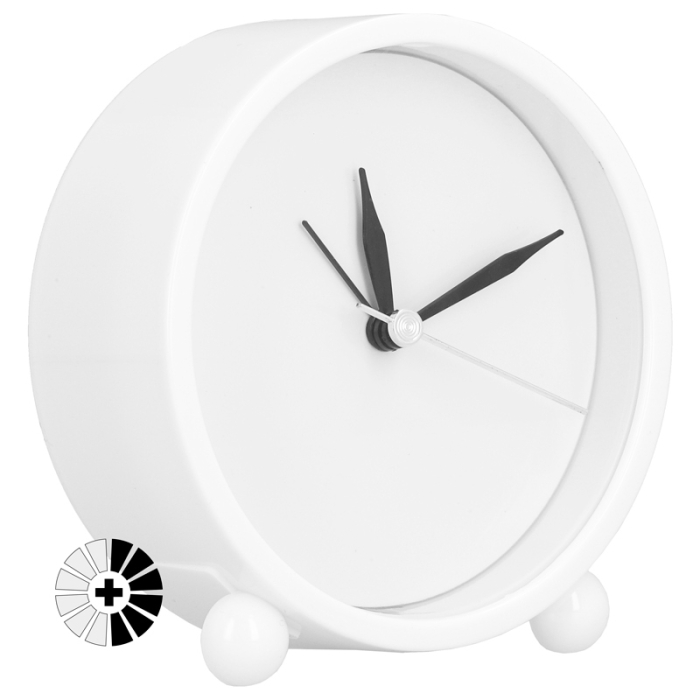
You can also customise the clock case with adhesive vinyl
THINGS TO KEEP IN MIND
The customisable side of the plate has a protective film that must be removed before sublimation
A fine screwdriver (not included) is needed for clock assembly
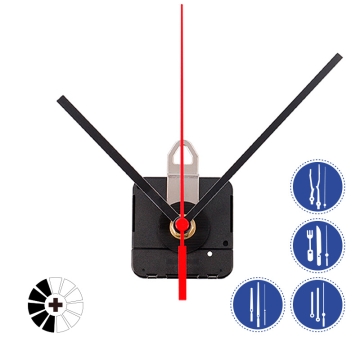
You can purchase other mechanisms with different clock hand models in Related Products. Ensure the hands do not exceed 38 mm in length
TIPS AND ADVICE
Create retro desktop clocks for every occasion by customising different plates and easily swapping them with repositionable adhesive tape. See Related Products
CLOCK ASSEMBLY
Attach the mechanism to the white base with a central hole using the 2 long screws
Place the double-sided adhesive on the back of the already sublimated plate
Stick the sublimated plate onto this base
Place the hands in this order: alarm, hour, minute, second
Fit the glass into the clock case
Join both halves of the clock and secure the back with the 4 small screws
Insert one AA battery (1.5 V)
The clock is ready to use
INSTRUCTIONS FOR USE
Set time: turn the right rear wheel until the hands are at the current time
Activate alarm: move the left rear wheel to the desired time and slide the switch to ON
Deactivate alarm: switch to the OFF position
DIMENSIONS
Clock (cm)
Ø10.5 x 4
Printing area (plate) (cm)
Ø9.1
Plate thickness (mm)
0.4
Plate central hole (mm)
Ø6
Plate weight (g)
7
Clock weight (g)
144
Box (cm)
12.5 x 12.7 x 4.5
Clock mechanisms with hands(*)
Minute hand (mm)
3 x 38
Hour hand (mm)
4 x 27
Second hand (mm)
1 x 38
Alarm hand (mm)
1 x 24
(*)The length of the hands is measured from the centre of the hole to the tip.
RECOMMENDED SUBLIMATION INSTRUCTIONS AND PARAMETERS
Parameters indicated as guidelines. It is recommended to conduct preliminary tests to make necessary adjustments before starting production.
Print the design in mirror mode
Heat the press to 200 ºC
Remove the film protecting the plate on the white side
Place the plate in the press and the printed design on the plate. Secure them with heat-resistant adhesive tape
Close the press at a medium pressure for 45-60 seconds
With the help of a protective glove, remove the freshly printed plate
https://www.brildor.com/en/sublimable-plastic-alarm-clocks54186Sublimable Plastic Alarm Clocks<p><a name="know-more"></a></p>
<h2>More information about the Sublimable Plastic Alarm Clocks</h2>
<p> </p>
<p><strong>INDEX</strong></p>
<p>> <a href="#know-more1">Description</a></p>
<p>> <a href="#know-more2">Things to keep in mind</a></p>
<p>> <a href="#know-more3">Tips and advice</a></p>
<p>> <a href="#know-more4">Clock assembly</a></p>
<p>> <a href="#know-more7">Instructions for use</a></p>
<p>> <a href="#know-more5">Dimensions</a></p>
<p>> <a href="#know-more6">Recommended sublimation instructions and parameters</a></p>
<p> </p>
<p><a name="know-more1"></a></p>
<p><strong>DESCRIPTION</strong></p>
<ul>
<li>Desktop clock with a durable plastic body and protective glass</li>
<li>Only the white side of the aluminium plate is sublimable</li>
<li>Clock mechanism with plastic hands</li>
<li>Easy assembly. See instructions <a href="#know-more4">here</a><strong><br></strong></li>
<li>Comes in a kraft-coloured presentation box</li>
<li>You can also customise the clock case with <span class="azul-brildor-negrita">adhesive vinyl</span></li>
</ul>
<p> </p>
<p><a name="know-more2"></a></p>
<p><strong>THINGS TO KEEP IN MIND</strong></p>
<ul>
<li>The customisable side of the plate has a protective film that must be removed before sublimation</li>
<li>A fine screwdriver (not included) is needed for clock assembly</li>
<li>You can purchase other mechanisms with different clock hand models in <strong>Related Products</strong>. Ensure the hands do not exceed <span class="azul-negrita">38 mm</span> in length</li>
</ul>
<p> </p>
<p><a name="know-more3"></a></p>
<p><strong>TIPS AND ADVICE</strong></p>
<ul>
<li>Create retro desktop clocks for every occasion by customising different plates and easily swapping them with repositionable adhesive tape. See <strong>Related Products</strong></li>
</ul>
<p> </p>
<p><a name="know-more4"></a></p>
<p><strong>CLOCK ASSEMBLY</strong></p>
<ol>
<li>Attach the mechanism to the white base with a central hole using the 2 long screws</li>
<li>Place the double-sided adhesive on the back of the already sublimated plate</li>
<li>Stick the sublimated plate onto this base</li>
<li>Place the hands in this order: alarm, hour, minute, second</li>
<li>Fit the glass into the clock case</li>
<li>Join both halves of the clock and secure the back with the 4 small screws</li>
<li>Insert one AA battery (1.5 V)</li>
<li>The clock is ready to use</li>
</ol>
<p> </p>
<p><a name="know-more7"></a></p>
<p><strong>INSTRUCTIONS FOR USE</strong></p>
<ul>
<li><strong>Set time</strong>: turn the right rear wheel until the hands are at the current time</li>
<li><strong>Activate alarm</strong>: move the left rear wheel to the desired time and slide the switch to ON</li>
<li><strong>Deactivate alarm</strong>: switch to the OFF position</li>
</ul>
<p> </p>
<p><a name="know-more5"></a></p>
<p><strong>DIMENSIONS</strong></p>
<table>
<tbody>
<tr>
<td><strong>Clock (cm)</strong></td>
<td><span class="azul-negrita">Ø10.5 x 4</span></td>
</tr>
<tr>
<td><strong>Printing area (plate) (cm)</strong></td>
<td><span class="azul-negrita">Ø9.1</span></td>
</tr>
<tr>
<td><strong>Plate thickness (mm)</strong></td>
<td><span class="azul-negrita">0.4</span></td>
</tr>
<tr>
<td><strong>Plate central hole (mm)<br></strong></td>
<td><span class="azul-negrita">Ø6</span></td>
</tr>
<tr>
<td><strong>Plate weight (g)<br></strong></td>
<td><span class="azul-negrita">7</span></td>
</tr>
<tr>
<td><strong>Clock weight (g)<br></strong></td>
<td><span class="azul-negrita">144</span></td>
</tr>
<tr>
<td><strong>Box (cm)<br></strong></td>
<td><span class="azul-negrita"> 12.5 x 12.7 x 4.5</span></td>
</tr>
</tbody>
</table>
<p> </p>
<p><strong>Clock mechanisms with hands<span class="naranja-negrita">(*)</span></strong></p>
<table>
<tbody>
<tr>
<td><strong>Minute hand (mm) </strong></td>
<td><span class="azul-negrita">3 x 38</span></td>
</tr>
<tr>
<td><strong>Hour hand (mm) </strong></td>
<td><span class="azul-negrita">4 x 27</span></td>
</tr>
<tr>
<td><strong>Second hand (mm) </strong></td>
<td><span class="azul-negrita">1 x 38</span></td>
</tr>
<tr>
<td><strong>Alarm hand (mm)<br></strong></td>
<td><span class="azul-negrita">1 x 24</span></td>
</tr>
</tbody>
</table>
<p><span class="naranja-negrita">(*)</span> <span style="font-size: 10pt;">The length of the hands is measured from the centre of the hole to the tip.</span></p>
<p> </p>
<p><a name="know-more6"></a></p>
<p><strong>RECOMMENDED SUBLIMATION INSTRUCTIONS AND PARAMETERS</strong></p>
<p>Parameters indicated as <strong>guidelines</strong>. It is recommended to conduct preliminary tests to make necessary adjustments before starting production.</p>
<ul>
<li>Print the design in <strong>mirror mode</strong></li>
<li>Heat the press to <span class="azul-negrita">200 ºC</span></li>
<li>Remove the film protecting the plate on the white side</li>
<li>Place the plate in the press and the printed design on the plate. Secure them with heat-resistant adhesive tape</li>
<li>Close the press at a <strong>medium pressure</strong> for <span class="azul-negrita">45-60 seconds</span></li>
<li>With the help of a protective glove, remove the freshly printed plate</li>
<li>Carefully remove the paper</li>
</ul>https://www.brildor.com/media/catalog/product/r/e/relojes-sobremesa-pl_stico-sublimables-d1.jpg4.99instock04.99000https://www.brildor.com/media/catalog/product/r/e/relojes-sobremesa-pl_stico-sublimables-d1.jpg200892691127074496235194252702/Blanks/Blanks/Clocks2025-05-20T12:43:52+0000