Sublimable Wooden Table Clocks

Sublimable Wooden Table Clocks
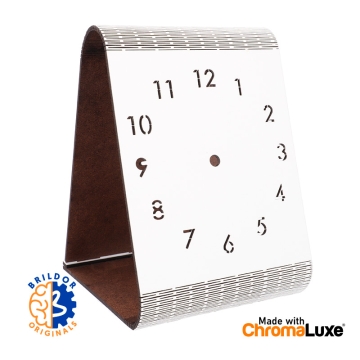
Create customisable desktop clocks by simply combining the pieces:
- Natural wood or MDF panels sublimable
- Acrylic stands
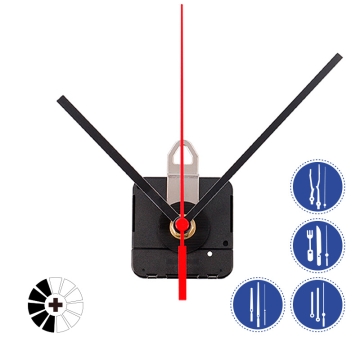
- Clock mechanism in Related Products

Related Products
More information about the Sublimable Wooden Table Clocks
INDEX
> Recommended sublimation instructions and parameters
DESCRIPTION OF THE CLOCK PARTS
Wooden panels
- 3 mm thick panels with a central hole of Ø8 mm for placing the clock mechanism
- The sublimable side of the natural wood panels is lighter and smoother than the reverse
- Rounded corners
- Can also be customised with laser engraving, DTF, screen printing, adhesive vinyl and UV printing
Supports
- Acrylic in different colours with a thickness of 3 mm
- Hole at the top of Ø8 mm for placing the wooden panel and clock mechanism
- Can be customised with laser engraving
THINGS TO KEEP IN MIND
- Clock parts must be purchased separately
- The panels and supports may have a paper layer that can be easily removed
- The white side of the MDF wooden panels is covered with a transparent protective film. It should be removed before sublimation
- After sublimation, the panels may lose some flatness. It is recommended to apply weight while cooling or press the reverse side for 5-10 seconds. This will correct any warping
TIPS AND ADVICE
- Create your own collection of children's desk clocks by customising them with your own designs
- Engrave the supports with your brand logo, names, or messages to give them a distinctive touch
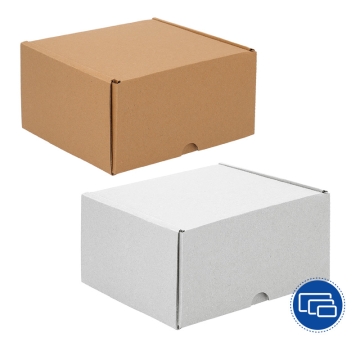
- Personalize them with images of historical monuments and typical landscapes to give as a souvenir. Offer them disassembled for easy transport. Prepare branded packaging using the boxes you'll find in the Related Products
CLOCK ASSEMBLY
Before you begin, ensure you have a clock mechanism. You can find one in Related Products.
- Remove the protective paper from the support, if any
- Insert the clock mechanism spindle through the support and the previously sublimated panel
- Place the washer over the spindle until it reaches the base
- Screw the hex nut onto the spindle and tighten it firmly
- Place the hour hand at the 12 o'clock position and press it gently
- Repeat the same process for the minute hand and finally for the second hand
MEASUREMENTS
Wooden panels
| Shape | Round | Square | Star | Heart |
| Print area (cm) |
Ø13 | 13x13 | 13.3x14 | 12.7x15 |
| Thickness (cm) | 3 | 3 | 3 | 3 |
Supports
| Support (cm) | 6 x 10 x 6 |
| Thickness (mm) |
3 |
| Weight (g) | 35 |
RECOMMENDED SUBLIMATION INSTRUCTIONS AND PARAMETERS
Parameters indicated as guidelines. It is recommended to conduct preliminary tests to make necessary adjustments before starting production.
- Print the design in mirror mode
- Heat the press to 180 ºC
- Remove the white protective paper and plastic film
- Place the panel on the base plate of the press and the printed side of the paper on the panel. Secure it with heat-resistant tape
- Close the press with medium pressure for 60-70 seconds
- Using a protective glove, remove the freshly sublimated panel
- Apply weight while cooling or press the reverse side for 5-10 seconds to avoid warping
- Carefully remove the paper
| Ref. | 952702 |
|---|---|
| Thickness (mm) | 3 |
| Surface material | Wood |
| Items | Clocks |
| Marking techniques | Dye sublimation, DTF, Transfer, Screen printing, Self-adhesive vinyl, Laser engraving, UV printing |
Reviews
Share your opinion
It will only take a minute, and your opinion can help other customers.
Sign in to submit your review
Write a review
Rating
Add photos of your product (optional)
Sending review...
Error
Review sent Thank you for your interest!
Questions
No questions found for this product.
Be the first to ask a question!
Ask a question
Please complete the CAPTCHA
Submitting your question...
Error
Question Submitted Thank you for your interest!

