Sublimable 3mm Basic Natural Wood Photo Panels
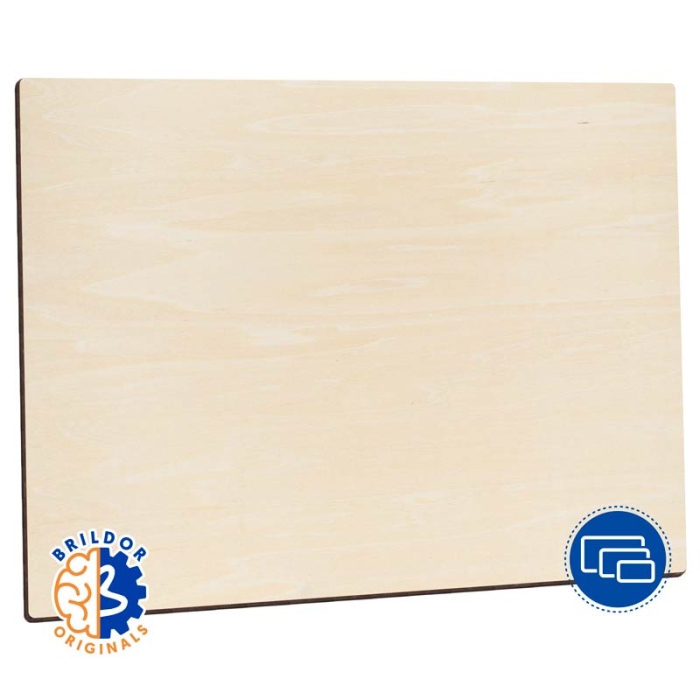
Sublimable 3mm Basic Natural Wood Photo Panels

Related Products
More information about the Sublimable 3mm Basic Natural Wood Photo Panels
INDEX
> Recommended sublimation instructions and parameters
DESCRIPTION
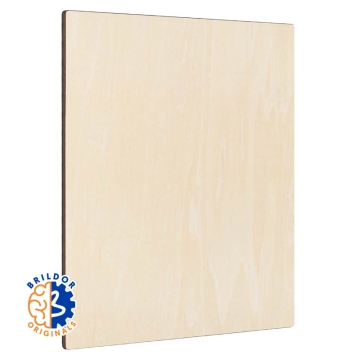
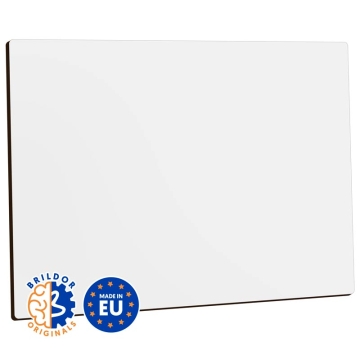
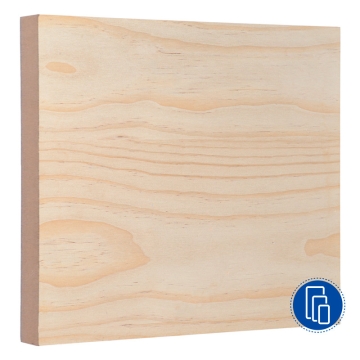
- The sublimable side is clearer and smoother than the reverse
- Surface with natural wood grain
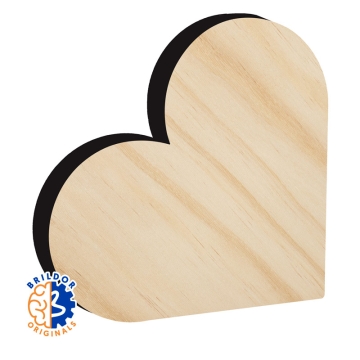
- Rounded edges and corners with a radius of 1.5 mm
- Can be placed in horizontal or vertical orientation
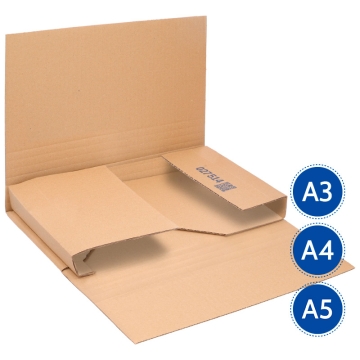
- Comes in a cardboard box, perfect for presenting the photopanel once sublimated. You can purchase more in Related Products
- Can also be customised with laser engraving, UV DTF, screen printing, adhesive vinyl and UV printing
THINGS TO KEEP IN MIND
- May include a protective white paper layer that must be removed before customisation
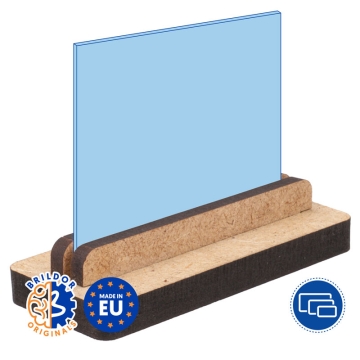
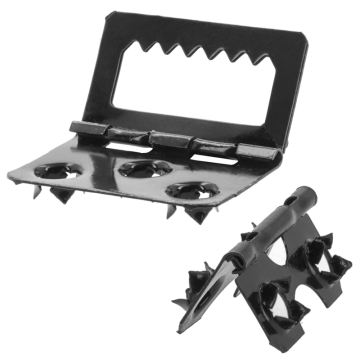
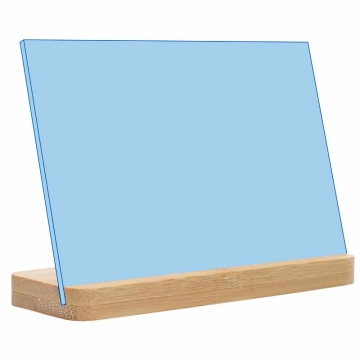
- Photopanels do not include tabletop stands or hanging hooks. You can purchase them in Related Products
- You will receive the box sealed with adhesive tape and a label. Both are removable. They can be easily removed without damaging the box so you can reuse it
TIPS AND ADVICE
- Varnish the customised photopanel to protect it and achieve a glossy or matte finish
MEASUREMENTS
| Reference | 055898 | 055899 | 055901 | 055902 | 055903 | 055904 | 055906 |
| Print area (cm) | 9 x 12 | 10 x 15 | 13 x 18 | 15 x 20 | 20 x 25 | 20 x 30 | 30 x 40 |
| Sales unit | 2 | 2 | 1 | 1 | 1 | 1 | 1 |
| Digital format | 4:3 | 3:2 | - | 4:3 | 5:4 | 3:2 | 4:3 |
| Thickness (mm) | 3 | 3 | 3 | 3 | 3 | 3 | 3 |
| Weight (g) | 118 | 132 | 122 | 131 | 236 | 254 | 520 |
RECOMMENDED SUBLIMATION INSTRUCTIONS AND PARAMETERS
Parameters indicated are for guidance. It is recommended to conduct preliminary tests to make necessary adjustments before starting production.
- Print the design in mirror mode
- Heat the press to 180 ºC
- Remove the protective paper layer, if present
- Place the photopanel on the press base and the printed design on the customisable side. Secure it with heat-resistant tape
- Close the press with medium pressure for 60 seconds
- With the help of a protective glove, remove the freshly printed photopanel
- Carefully remove the paper
RELATED POSTS
Customising wood: Which technique is best for you?
Materials for your laser machine: Everything you need to know
| Ref. | 953852 |
|---|---|
| Thickness (mm) | 3 |
| Surface material | Wood |
| Items | Photo panels |
| Marking techniques | Dye sublimation, Transfer, Screen printing, Self-adhesive vinyl, Laser engraving, UV printing |
Reviews
Share your opinion
It will only take a minute, and your opinion can help other customers.
Sign in to submit your review
Write a review
Rating
Add photos of your product (optional)
Sending review...
Error
Review sent Thank you for your interest!
Questions
No questions found for this product.
Be the first to ask a question!
Ask a question
Please complete the CAPTCHA
Submitting your question...
Error
Question Submitted Thank you for your interest!

