Rectangular Badge Magnets
Rectangular Badge Magnets
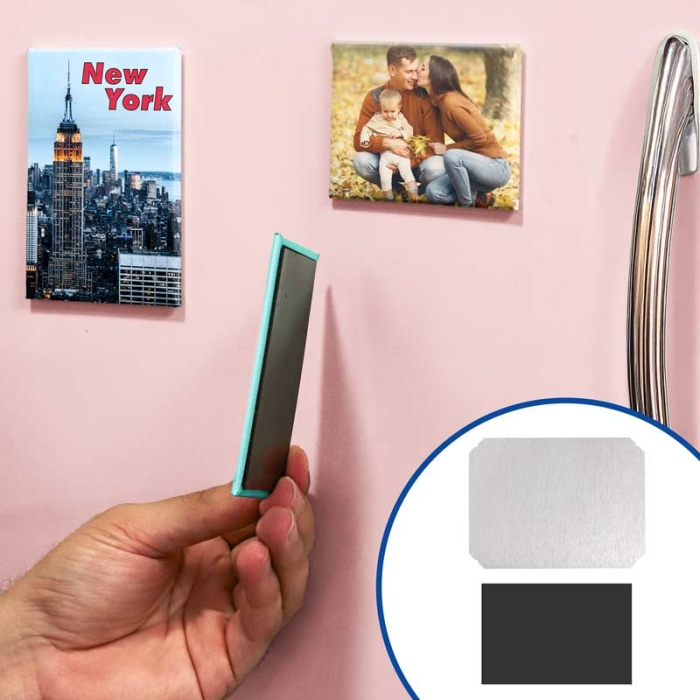
Flat fridge magnets, badge type, for personalisation and assembly with a manual machine.
Each magnet consists of:
- Aluminium plate with a thickness of 0.1 mm
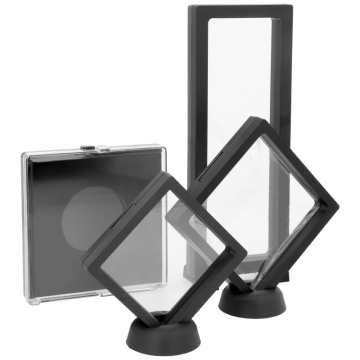
- Transparent acetate protective sheet
- Cardboard backing
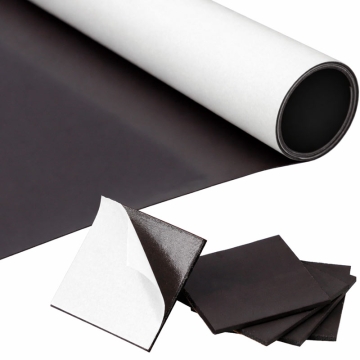
- Magnetic sheet with adhesive

Related Products
More information about the Rectangular Badge Magnets
INDEX
> How to assemble rectangular magnets with a machine?
DESCRIPTION
- To assemble the rectangular magnet, the following components are required:
- Front metal plate for rigidity and design placement
- Transparent protective sheet
- Cardboard backing, also includes holes for pins
- Magnetic sheet with adhesive
- You can purchase additional magnetic sheets in Related Products
THINGS TO KEEP IN MIND
- The two magnet sizes are compatible with the machine for assembling rectangular badge magnets.
TEMPLATES FOR CUSTOMISATION
To view the template's layers, open the PDF file using Photoshop. Remember to activate them.
Rectangular Badge Magnets (.pdf - 0.77 MB)
HOW TO ASSEMBLE RECTANGULAR MAGNETS WITH A MACHINE?
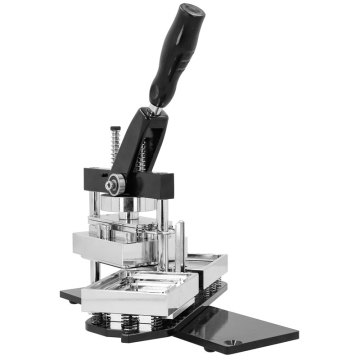
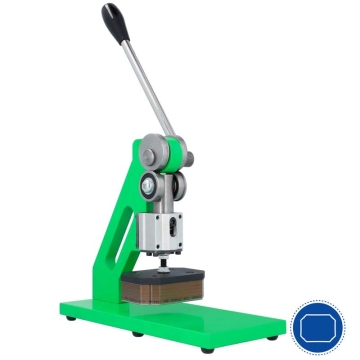
A manual machine is required for assembly.
Print the design
- Use the template with cut and bleed guide
- Ensure the design has a margin for folding
Cut the design
- Cut along the outermost edge of the template
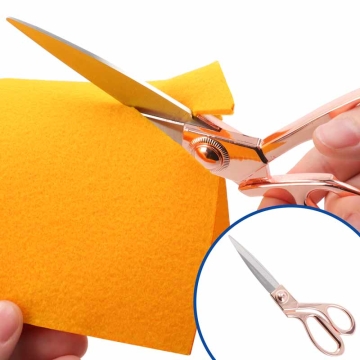
- You can use scissors, a die-cutter or plotter depending on the volume and precision required
Assemble the magnet
- Part A of the mould:
- Place the aluminium plate
- Position the cut design on top
- Add the protective sheet
- Rotate the base to align Part A with the top part
- Press the lever and lift it back up
- Part B of the mould:
- Place the back of the magnet
- Rotate the base to align it with the top part
- Press the lever again
- Attach the magnetic sheet
- The magnet is now ready
RELATED POSTS
| Ref. | 954342 |
|---|
Reviews
Share your opinion
It will only take a minute, and your opinion can help other customers.
Sign in to submit your review
Write a review
Rating
Add photos of your product (optional)
Sending review...
Error
Review sent Thank you for your interest!
Questions
No questions found for this product.
Be the first to ask a question!
Ask a question
Please complete the CAPTCHA
Submitting your question...
Error
Question Submitted Thank you for your interest!

