Magnet Assembly Machines for Rectangular Button Badges
Magnet Assembly Machines for Rectangular Button Badges
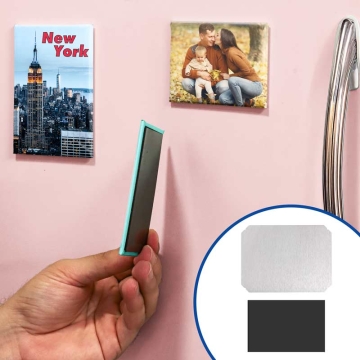
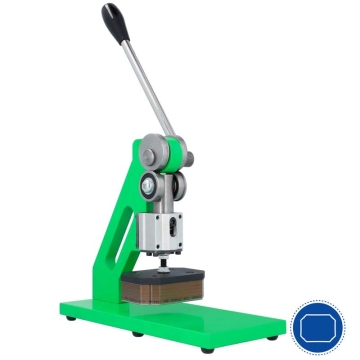
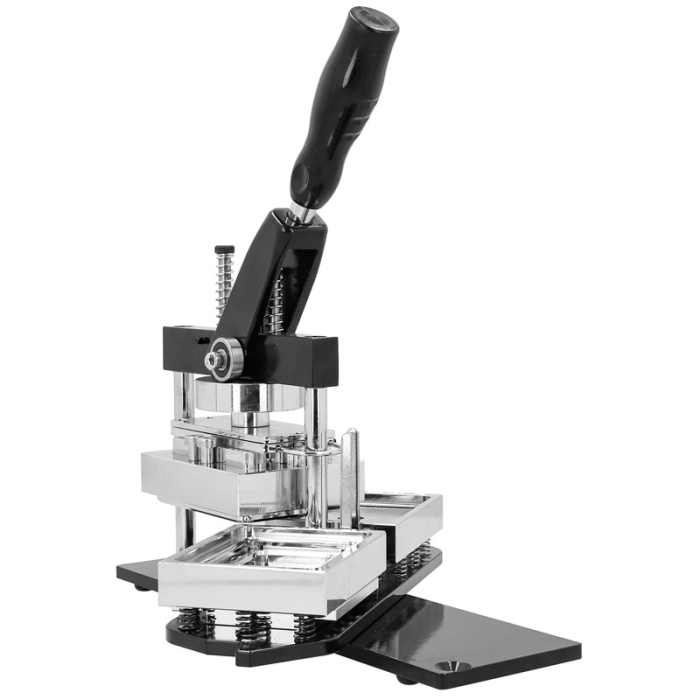
Manual desktop machines for producing flat fridge magnets. Operate just like badge-making machines.
- Rectangular die included
- Rotating base for easier material loading
- Ready to use out of the box

Related Products
More information about the Magnet Assembly Machines for Rectangular Button Badges
INDEX
DESCRIPTION
- Allows badge-type assembly for multiple uses: souvenirs, merchandising...
- Solid high-quality steel structure
- Comes assembled. No installation required
- Ergonomic handle for easy manual operation
- Can be placed on any flat surface. Takes up little space
- 2 aluminium moulds for assembling magnets:
- A: located on the right of the turntable. Shapes the front of the magnet (metal plate, design, and transparent sheet)
- B: left side of the plate. Fits the back with the already assembled front of the magnet
- Easy to use. Place the material in mould A, press, and then repeat the process with mould B to attach the back
- Turntable that facilitates the rotation of the moulds (A and B) to load the material and assemble the magnet
THINGS TO KEEP IN MIND
- The moulds are part of the machine's structure. They are not interchangeable
INSTRUCTIONS FOR USE
1. Print the design
- Use this template with cutting and bleed guide
- Ensure the design has a margin for folding
2. Cut out the design
- Cut along the outermost edge of the template
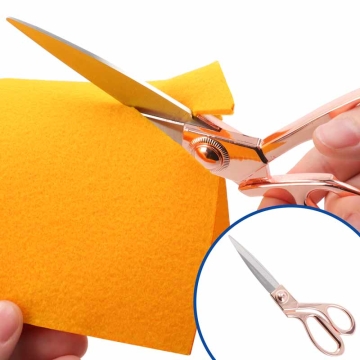
- You can use scissors, a die cutter, or a plotter depending on the volume and precision you need
3. Assemble the magnet
- Part A of the mould:
- Place the aluminium plate
- Position the cut-out design on top
- Add the protective sheet
- Rotate the base to align Part A with the top part
- Press the lever and lift it back up
- Part B of the mould:
- Place the back
- Rotate the base to align Part B with the top part
- Press the lever again
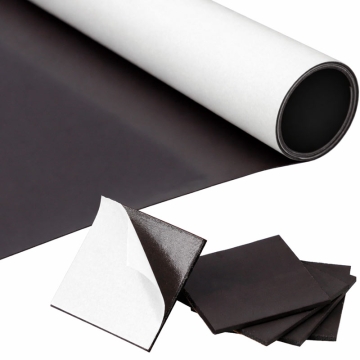
- Attach the magnetic sheet
- The magnet is now ready
MEASUREMENTS
| Ref. |
056102 | 056100 |
| Mould (mm) | 80 x 53 | 90 x 65 |
| Machine with lever down (cm) | 10 x 34.5 x 21 | 10 x 34.5 x 21 |
| Machine with lever up (cm) | 10 x 34.5 x 36.5 | 10 x 34.5 x 36.5 |
| Packaging (cm) | 30.5 x 25 x 17 | 30.5 x 25 x 17 |
| Weight (kg) | 9 | 9 |
RELATED POSTS
| Ref. | 954334 |
|---|
Reviews
Share your opinion
It will only take a minute, and your opinion can help other customers.
Sign in to submit your review
Write a review
Rating
Add photos of your product (optional)
Sending review...
Error
Review sent Thank you for your interest!
Questions
No questions found for this product.
Be the first to ask a question!
Ask a question
Please complete the CAPTCHA
Submitting your question...
Error
Question Submitted Thank you for your interest!

