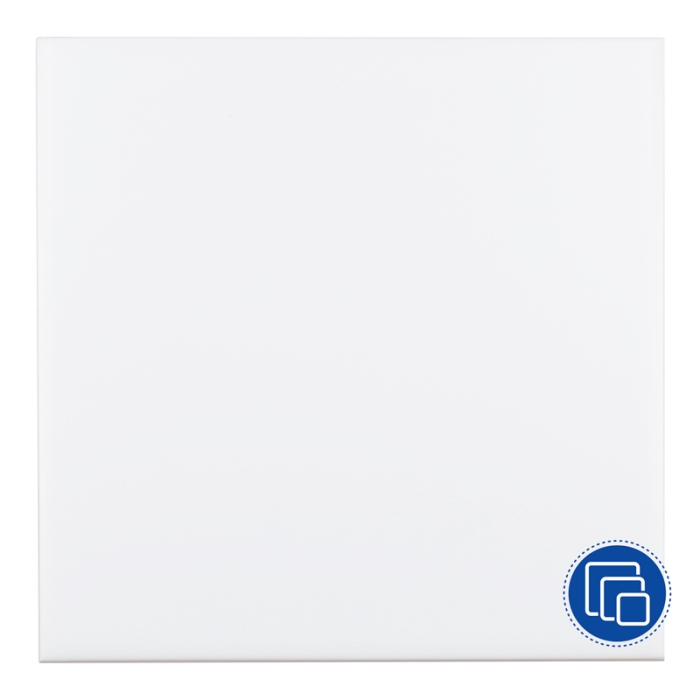
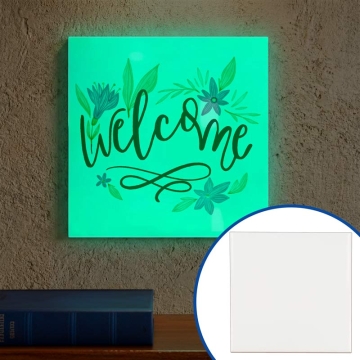
Perfect for personalising and creating decorative elements, coasters, collages...
Suitable for indoor or outdoor placement
White front. Natural ceramic back
Tiles have straight corners
Can be sublimated with a flat transfer press or with a 3D oven and vacuum membrane
THINGS TO KEEP IN MIND
Tiles for decorative use only. Not suitable for construction or food consumption
MEASUREMENTS
Ref.
036899
036898
Tile (cm)
10.6 x 10.6
15.2 x 15.2
Print area (cm)
10.6 x 10.6
15.2 x 15.2
Weight (g)
112
237
RECOMMENDED SUBLIMATION INSTRUCTIONS AND PARAMETERS
BEFORE STARTING THE SUBLIMATION PROCESS
If the tile has been stored in a cold place, it may have accumulated moisture which can affect sublimation. In these circumstances, it is advisable to:
Pre-press or pre-heat the tile with the sublimable side up and protective paper, at 180 ºC for 40 - 60 seconds
Allow the tile to cool before starting the sublimation process
WITH TRANSFER PRESS
Print the design in mirror mode
Heat the press to 180 ºC
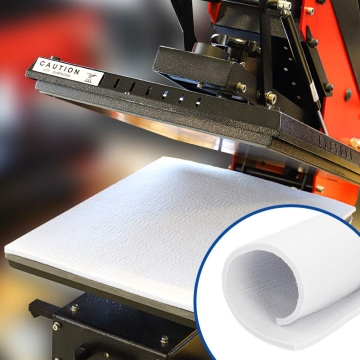
Place a Nomex pad on the lower plate of the press and then protective paper to prevent ink absorption. The pad will allow heat to be distributed evenly over the tile. Additionally, it will help maximise contact between the tile and the printed design
Place the printed design on the tile and secure with heat tape to prevent movement
Place the tile "face down" on the Nomex pad. The sublimable side of the tile covered with paper should be in direct contact with the pad
Close the press and sublimate at medium-high pressure for 300 - 310 seconds
Open the press and remove the sublimated tile with a protective glove
Carefully remove the printed paper
WITH 3D OVEN AND VACUUM MEMBRANE
Print the design in mirror mode
Heat the 3D oven to 180 ºC
Place the printed design face down on the white side of the tile and secure with heat tape
Insert the tile in the top tray of the oven with the side to be printed facing up
Close the membrane and create a vacuum. Ensure there are no air bubbles on the surface
Close the oven and run it for 300 - 310 seconds
Open the oven and with the help of a protective glove, remove the freshly sublimated tile
https://www.brildor.com/en/sublimation-square-matte-tiles24659Sublimable Square Matte Tiles fos Decorative Use<p class="enlace"><a id="know-more"></a> </p>
<h2>More information about the Sublimable Square Matte Tiles fos Decorative Use</h2>
<p> </p>
<p><strong>INDEX</strong></p>
<p>> <a href="#know-more1">Description</a></p>
<p>> <a href="#know-more6">Things to keep in mind</a></p>
<p>> <a href="#know-more2">Measurements</a></p>
<p>> <a href="#know-more3">Recommended Sublimation Instructions and Parameters</a></p>
<p style="padding-left: 40px;">› <a href="#know-more4">With transfer press</a></p>
<p style="padding-left: 40px;">› <a href="#know-more5">With 3D oven and vacuum membrane</a></p>
<p> </p>
<p class="enlace"><a id="know-more1"></a> </p>
<p><strong>DESCRIPTION<br></strong></p>
<ul>
<li>Perfect for personalising and creating decorative elements, coasters, collages...</li>
<li>Suitable for indoor or outdoor placement</li>
<li>White front. Natural ceramic back</li>
<li>Tiles have straight corners</li>
<li>Can be sublimated with a flat transfer press or with a 3D oven and vacuum membrane</li>
</ul>
<p> </p>
<p class="enlace"><a id="know-more6"></a> </p>
<p><strong>THINGS TO KEEP IN MIND<br></strong></p>
<ul>
<li style="--tw-border-spacing-x: 0; --tw-border-spacing-y: 0; --tw-translate-x: 0; --tw-translate-y: 0; --tw-rotate: 0; --tw-skew-x: 0; --tw-skew-y: 0; --tw-scale-x: 1; --tw-scale-y: 1; --tw-scroll-snap-strictness: proximity; --tw-ring-offset---tw-ring-offset-color: #fff; --tw-ring-color: rgb(59 130 246 / .5); --tw-ring-offset-shadow: 0 0 #0000; --tw-ring-shadow: 0 0 #0000; --tw-shadow: 0 0 #0000; --tw-shadow-colored: 0 0 #0000; box-sizing: border-box; scroll-margin-top: 130px;">Tiles for <strong>decorative use only</strong>. <strong>Not suitable</strong> for <strong>construction</strong> or <strong>food consumption</strong></li>
</ul>
<p> </p>
<p class="enlace"><a id="know-more2"></a> </p>
<p><strong>MEASUREMENTS<br></strong></p>
<table>
<tbody>
<tr>
<td>
<p><strong>Ref.</strong></p>
</td>
<td style="text-align: center;">
<p><strong>036899</strong></p>
</td>
<td style="text-align: center;">
<p><strong>036898</strong></p>
</td>
</tr>
<tr>
<td>
<p><strong>Tile (cm)</strong></p>
</td>
<td style="text-align: center;">
<p><span class="azul-negrita">10.6 x 10.6</span></p>
</td>
<td style="text-align: center;">
<p><span class="azul-negrita">15.2 x 15.2</span></p>
</td>
</tr>
<tr>
<td>
<p><strong>Print area (cm)</strong></p>
</td>
<td style="text-align: center;">
<p><span class="azul-negrita">10.6 x 10.6</span></p>
</td>
<td style="text-align: center;">
<p><span class="azul-negrita">15.2 x 15.2</span></p>
</td>
</tr>
<tr>
<td>
<p><strong>Weight (g)</strong></p>
</td>
<td style="text-align: center;">
<p><span class="azul-negrita">112</span></p>
</td>
<td style="text-align: center;">
<p><span class="azul-negrita">237</span></p>
</td>
</tr>
</tbody>
</table>
<p> </p>
<p class="enlace"><a id="know-more3"></a> </p>
<p><strong>RECOMMENDED SUBLIMATION INSTRUCTIONS AND PARAMETERS</strong></p>
<p><strong>BEFORE STARTING THE SUBLIMATION PROCESS</strong></p>
<p>If the tile has been stored in a cold place, it may have accumulated moisture which can affect sublimation. In these circumstances, it is advisable to:</p>
<ul>
<li>Pre-press or pre-heat the tile with the sublimable side up and protective paper, at <span class="azul-negrita">180 ºC</span> for <span class="azul-negrita">40 - 60 seconds</span></li>
<li>Allow the tile to cool before starting the sublimation process</li>
</ul>
<p class="enlace"><a id="know-more4"></a> </p>
<p><strong>WITH TRANSFER PRESS</strong></p>
<ul>
<li>Print the design in <strong>mirror mode</strong></li>
<li>Heat the press to <span class="azul-negrita">180 ºC</span></li>
<li>Place a Nomex pad on the lower plate of the press and then protective paper to prevent ink absorption. The pad will allow heat to be distributed evenly over the tile. Additionally, it will help maximise contact between the tile and the printed design</li>
<li>Place the printed design on the tile and secure with heat tape to prevent movement</li>
<li>Place the tile "<strong>face down</strong>" on the Nomex pad. The sublimable side of the tile covered with paper should be in direct contact with the pad</li>
<li>Close the press and sublimate at <strong>medium-high pressure</strong> for <span class="azul-negrita">300 - 310 seconds</span></li>
<li>Open the press and remove the sublimated tile with a protective glove</li>
<li>Carefully remove the printed paper</li>
</ul>
<p class="enlace"><a id="know-more5"></a> </p>
<p><strong>WITH 3D OVEN AND VACUUM MEMBRANE</strong></p>
<ul>
<li>Print the design in <strong>mirror mode</strong></li>
<li>Heat the 3D oven to <span class="azul-negrita">180 ºC</span></li>
<li>Place the printed design face down on the white side of the tile and secure with heat tape</li>
<li>Insert the tile in the top tray of the oven with the side to be printed facing up</li>
<li>Close the membrane and create a vacuum. Ensure there are no air bubbles on the surface</li>
<li>Close the oven and run it for <span class="azul-negrita">300 - 310 seconds</span></li>
<li>Open the oven and with the help of a protective glove, remove the freshly sublimated tile</li>
<li>Carefully remove the printed paper</li>
</ul>https://www.brildor.com/media/catalog/product/a/z/azulejos-mate-sublimaci_n-d1.jpg1.5outofstock01.5000https://www.brildor.com/media/catalog/product/a/z/azulejos-mate-sublimaci_n-d1.jpg1408422929264852659042959494365196152612/Blanks/Blanks/Tiles/Blanks/Ceramic2021-07-24T06:05:33+0000