Sublimation Socks & Inserts - No Heel - One Size
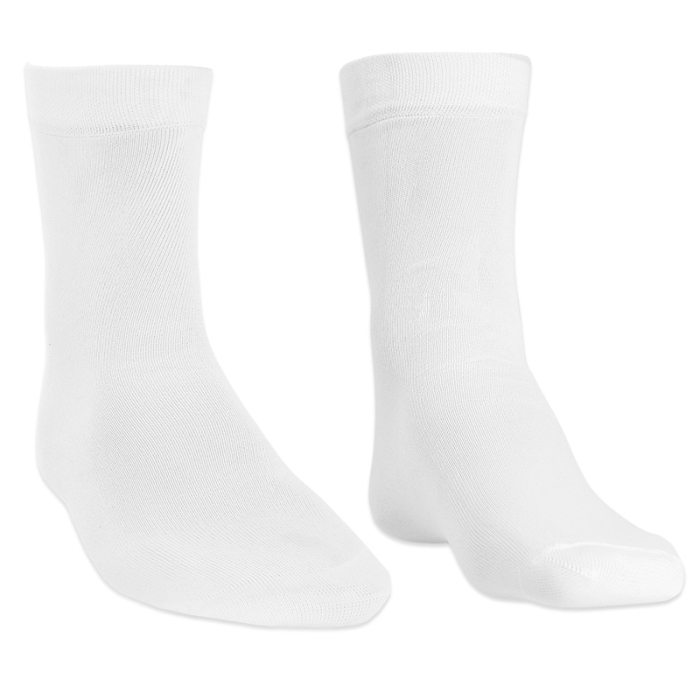
Sublimation Socks & Inserts - No Heel - One Size
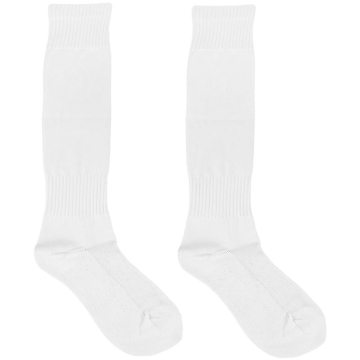
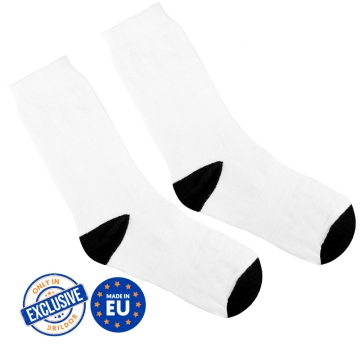
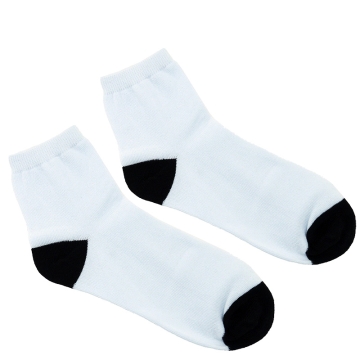
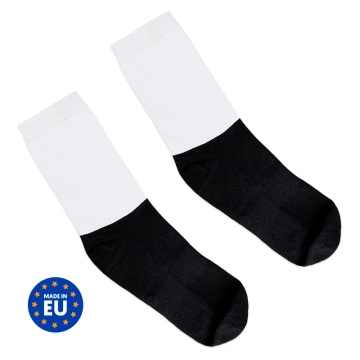
No-heel socks you can personalise using dye sublimation printing. Specially designed inserts are also available for all-over sublimation printing.
- 100% polyester fabric socks and MDF jigs.
- Sale units: a pair of socks (Ref. 038834) and a 2-jig pack (Ref. 038921)
- Sock print area (per side): 10 x 38 cm

Related Products
More information about one-size no-heel socks and inserts for sublimation
- White socks, very pleasant and soft to the touch.
- One size fits all foot measurements.
- Straight-shaped leg with no heel and rounded toe.
- The sock is adjusted to the leg with an elastic cuff.
- With a single, very thin seam located near the toe.
- Mould or insert made of brown chipboard with rounded corners.
- The fork has an additional layer of paper to protect its surface. Easy to remove
TEMPLATES AVAILABLE IN DIFFERENT FORMATS (CLICK TO DOWNLOAD)
- Template for sublimation one-size socks with no heel (.png - 33 Kb)
- Template for sublimation one-size socks with no heel (.eps - 1.809 Kb)
- Template for sublimation one-size socks with no heel (.psd - 1.732 Kb)
DIMENSIONS (APPROX.)
| Sock | 10 x 38 cm |
| Leg | 9.8 x 2.4 cm |
| Print area (side) | 10 x 38 cm |
| Insert | 45 x 10,5 cm |
| Insert thickness | 3 mm |
Recommended instructions and parameters for sublimation printing
- Print the design in mirror image with your sublimation printer. You will need 4 printings, 2 for each sock, 1 per side.
- Preheat the press to 185ºC.
- Slide an insert inside each sock.
- Place a piece of protective paper on the press' lower plate.
- Hold the paper's printed side against each sock. Fix the paper to the sock with heat resistant tape to prevent them from moving.
- Place the socks on the press' lower plate and cover them with protective paper.
- Press at medium pressure for 50 seconds.
- Using a protective glove, remove the socks that are now printed on one side.
- Carefully remove the heat resistant tape and the paper, leaving the insert inside.
- Push the edges of the sock that have not been sublimated yet into the face you are now going to print. This will try to hide edges on the second pressing.
- Hold the paper's printed side against each sock and attach them with heat resistant tape on the side.
- Place the socks back on the press' lower plate and cover them with protective paper.
- Press at 185ºC and medium pressure for 50 seconds.
- Using a protective glove, remove the socks that are now fully printed.
- Remove the heat resistant tape and the paper carefully. Extract the inserts from the socks.
| Ref. | 926295 |
|---|---|
| Print area (mm) | 100 X 380 |
| Colour | White |
| Size | One Size |
| Items | Socks |
| Composition | Polyester |
| Marking techniques | Dye sublimation |
Reviews
Share your opinion
It will only take a minute, and your opinion can help other customers.
Sign in to submit your review
Write a review
Rating
Add photos of your product (optional)
Sending review...
Error
Review sent Thank you for your interest!
Questions
No questions found for this product.
Be the first to ask a question!
Ask a question
Please complete the CAPTCHA
Submitting your question...
Error
Question Submitted Thank you for your interest!

