Heidi Swapp - Minc Glue Pen
Heidi Swapp - Minc Glue Pen
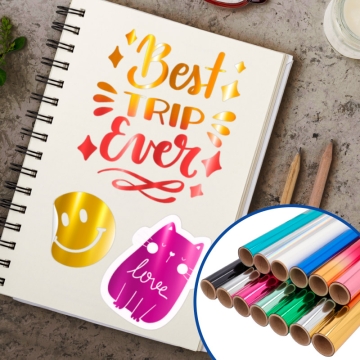
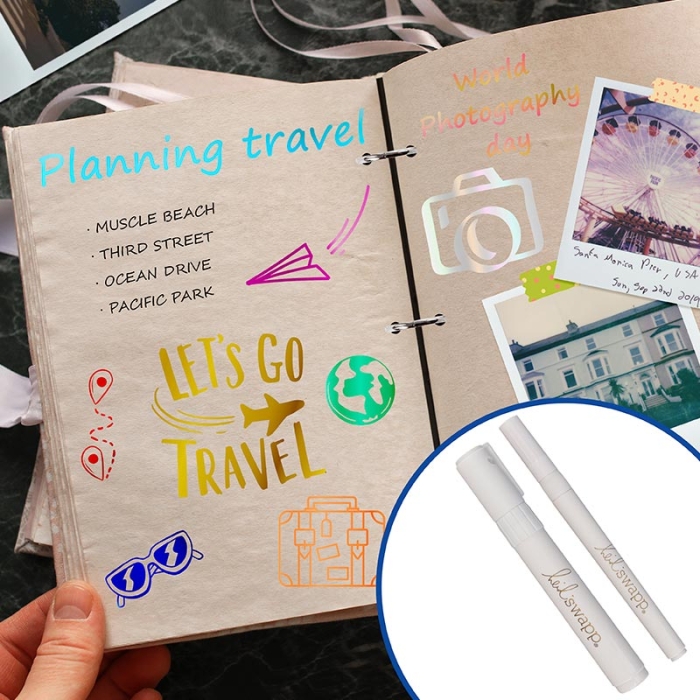
Glue pen for applying reactive foil on freehand designs. Use a laminator to integrate the metallic design. Especially useful for lettering, scrapbooking and craft projects.
- Transparent liquid adhesive.
- Available in a 3 mm fine tip and a 6 mm wide chisel tip.
- Retractable tip that fills with glue when pressed down on the surface.

Related Products
More information about the Heidi Swapp Minc glue pen
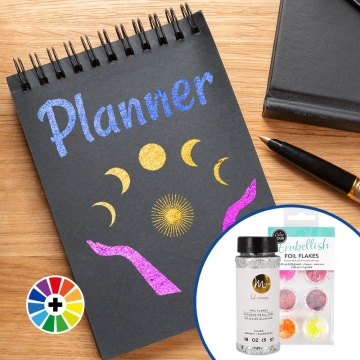
- Besides attaching foil with a laminator, it can also be used as a regular liquid glue for attaching flakes, glitter, confetti, beads, sprinkles, rhinestones and so on.
- Available in 2 different tip types to suit the size of the desired detail.
- Easy to use. Pump it down on the surface you want to apply it until you see the glue come out.
- In Related Products, you will find the Heidi Swapp Minc foil applicator to add reactive foil on whichever surface you want to apply it.
- The wide tip pen (Ref. 044915) has a clip cap for hanging.
- Delivered in a cardboard blister pack with a hole for display.
THINGS TO KEEP IN MIND
- Although it is transparent, the glue shows up as a watermark. This allows you to see how the line is coming out.
- The tip turns light pink when it is filled with glue. At this point, it is ready for application.
TIPS & TRICKS
- Attach stamps or silicone moulds with the glue pen, stamp them on a sheet of paper and decorate them by sticking glitter or other special finishes.
- Go over letters or drawings with the marker to add a sparkly touch to existing designs.
DIMENSIONS (APPROX.)
| Reference no. |
044914 | 044915 |
| Dimensions |
Ø0.9 x 13.5 cm | Ø1.5 x 13 cm |
| Tip |
Fine | Wide chisel |
| Tip size | 3 x 5 mm | 6 x 7 x 4 mm |
| Blister pack |
6.3 x 17.9 x 1 cm | 6.3 x 17.9 x 1.7 cm |
| Weight | 20 g | 32 g |
RECOMMENDATIONS FOR USE
- Press down the pen or marker tip on the surface to be applied until the tip turns light pink or the glue starts to flow.
- Lay the pen over the desired area. Put the cap on the glue once you have finished to prevent it from drying.
- Before it dries, place the material or detail you want to bond over the glue. Let it dry so that it adheres.
INSTRUCTIONS FOR USE WITH LAMINATOR
- Draw a freehand design on the surface where you want to foil.
- Place the foil on the printed design with the metallic coloured side facing up.
- Slide them into the plastic transport folder and close it. Smooth out the creases and make sure the foil completely covers the design.
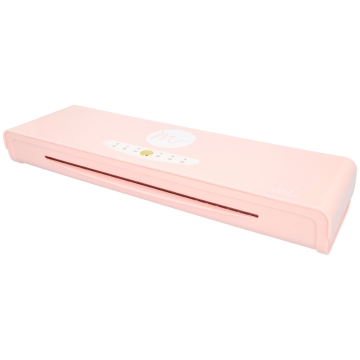
- Feed the folder through the machine’s front slot until it meets the rollers.
- Wait for it to come out of the back slot.
- Take the material out of the folder and remove the foil sheet to check the result.
| Ref. | 943430 |
|---|
Reviews
Share your opinion
It will only take a minute, and your opinion can help other customers.
Sign in to submit your review
Write a review
Rating
Add photos of your product (optional)
Sending review...
Error
Review sent Thank you for your interest!
Questions
No questions found for this product.
Be the first to ask a question!
Ask a question
Please complete the CAPTCHA
Submitting your question...
Error
Question Submitted Thank you for your interest!

