Sublimation Slate Coasters

Sublimation Slate Coasters
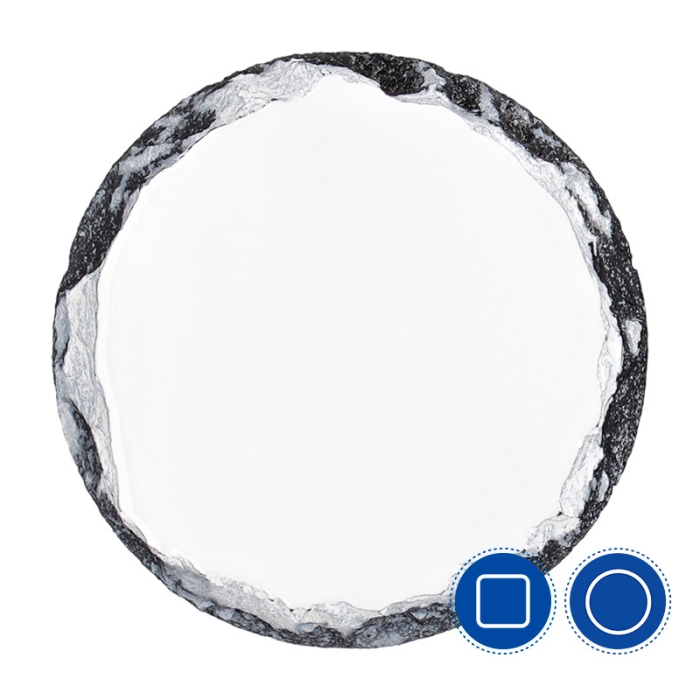
Natural photo slate rock coasters you can personalise using dye sublimation printing.
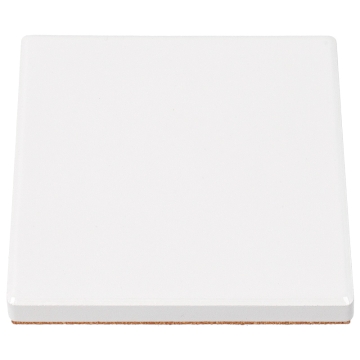
- Sticky rubber feet included
- Bevelled edges
- White sublimatable surface with glossy finish

More information about the Sublimation Slate Coasters
INDEX
> Recommended instructions and parameters for sublimation printing
DESCRIPTION
- Original design as a wedding gift or detail, communion souvenir and special occasions
- Bevelled edges that show the uneven cuts of the stone, simulating the marks of a chisel
- White printable side with an irregular border and black backing
- Strong and durable natural stone
- Includes 4 round soft rubber pads to place on the base. Protects surfaces from scratching by the stone and the coaster to not slip
- Delivered in a cardboard box
THINGS TO KEEP IN MIND
- It may have some slight irregularities on its surface due to the natural morphology of the rock from which it is extracted
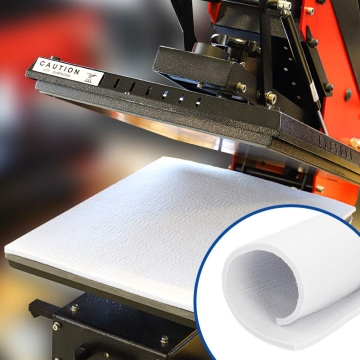
- It is recommended to use a Nomex pad when pressing
DIMENSIONS
| Reference no. |
036365 | 036366 |
| Coaster (cm) |
Ø10 |
10 x 10 |
| Thickness (mm) |
8 |
8 |
| Pad (cm) |
Ø1 x 0.2 |
Ø1 x 0.2 |
| Print area (cm) |
Ø9 |
8.5 x 8.5 |
| Box (cm) |
11.2 x 11.3 x 1.5 |
11.2 x 11.2 x 1.5 |
| Weight (g) |
146 | 143 |
RECOMMENDED INSTRUCTIONS AND PARAMETERS FOR SUBLIMATION PRINTING
Parameters provided as a guideline. It is recommended to carry out preliminary tests in order to make the necessary adjustments before starting production.
WITH A HEAT PRESS
- Print the design in mirror image
- Preheat the press to 200ºC
- Place the Nomex pad on the lower platen of the press and protective paper over it to prevent smudging
- Place the printed design face up on the Nomex pad and the coaster face down in direct contact with the printed paper
- Fix them with heat-resistant tape
- Press for 9 minutes, medium-heavy pressure
- Remove the newly printed coaster using a protective glove
- Carefully remove the paper
- Attach the 4 round rubber feet to the base to complete the coaster
WITH A 3D OVEN
- Print the design in mirror image
- Preheat the oven to 200ºC
- Place the printed design face down on the white side of the coaster and fix it with heat-resistant tape
- Put the coaster on the top tray of the oven with the printed side facing upwards
- Close the membrane and make the vacuum. Make sure to remove any air bubbles
- Close the oven for 7-8 minutes
- Remove the newly printed coaster using a protective glove
- Carefully remove the paper
- Attach the 4 round rubber feet to the base to complete the coaster
| Ref. | 924329 |
|---|---|
| Colour | White, Black |
| Surface material | Slate |
| Items | Coasters |
| Marking techniques | Dye sublimation |
Reviews
Share your opinion
It will only take a minute, and your opinion can help other customers.
Sign in to submit your review
Write a review
Rating
Add photos of your product (optional)
Sending review...
Error
Review sent Thank you for your interest!
Questions
No questions found for this product.
Be the first to ask a question!
Ask a question
Please complete the CAPTCHA
Submitting your question...
Error
Question Submitted Thank you for your interest!


