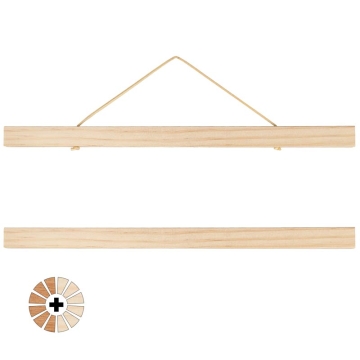
Aluminium Framing Profiles
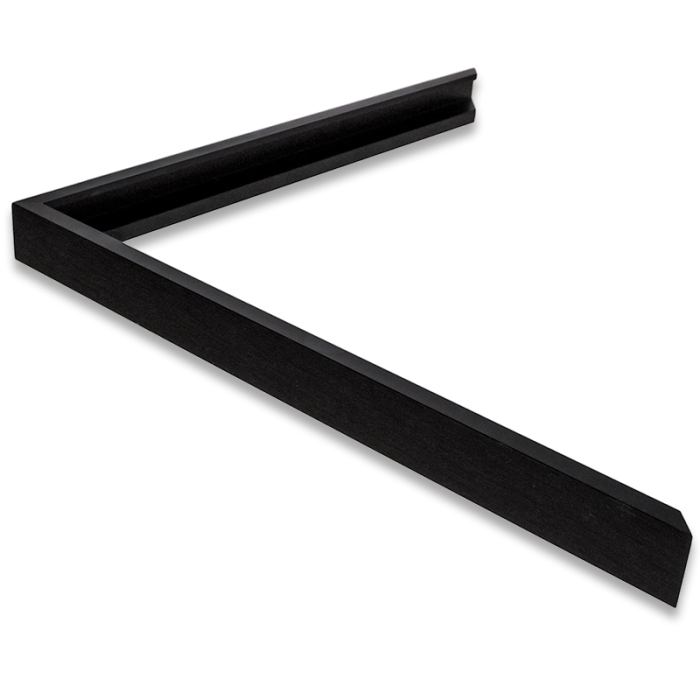
Aluminium Framing Profiles
Profiles for framing customisable photo panels. By combining pairs of profiles, you can easily assemble square or rectangular frames for panels of various sizes.
- Matte black aluminium
- Suitable for panels with a maximum thickness of 13 mm
- The 20-piece metal kit for assembling each frame is sold separately

Related Products
More information about Aluminium Framing Profiles
INDEX
> How to frame a panel with the profiles?
DESCRIPTION
- To assemble 1 frame, you will need: 4 profiles (2 packs), 1 metal parts kit, and 1 flat-medium screwdriver
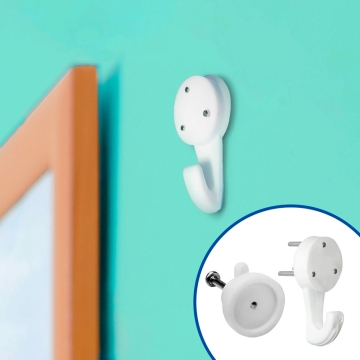
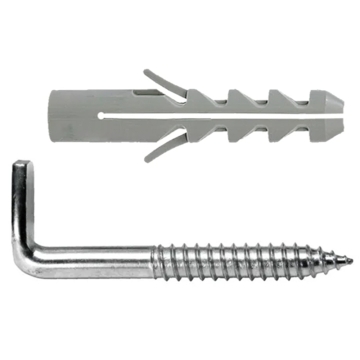
- Each assembly kit includes: 4 angled pieces with 2 screws to secure the profile joints, 4 angled pieces that support the previous ones, 2 hangers, and 10 curved hooks to adjust the panel to the slots or rails of the profiles, preventing it from moving
- It is advisable to assemble the frame on a smooth surface of adequate size to provide support
THINGS TO KEEP IN MIND
- In Related Products, you can find panels compatible with the profile sizes
TIPS AND ADVICE
- Frame prints or photos. Print your photo on paper and stick it to a cardboard or wood of the same size to give it firmness. Then, assemble the frame as you would with a photo panel. For a more professional finish, add a glass over the photo before framing it
PROFILE MEASUREMENTS IN INCHES
| Reference | 036856 | 036857 | 036858 |
| Profiles (mm) | 406 | 508 | 610 |
| Profiles (") | 16 | 20 | 24 |
HOW TO FRAME A PANEL WITH THE PROFILES?
- Measure the panel you want to frame. Suppose it measures 600 x 765 mm
- Select the appropriate profiles: for a 600 x 765 mm panel, choose two 610 mm profiles and two 765 mm profiles
- Prepare the assembly kit with the 20 pieces and a screwdriver
- Join two profiles of different sizes and place them in a corner of the panel, ensuring the panel fits into the larger slot
- Secure the profiles: at the joint, place an angled piece with two screws and, underneath, a supporting angled piece. Slightly tighten the screws without fully tightening them
- Repeat the process in the other corners, following in adjacent order
- Firmly tighten all screws once you have assembled the four corners
- Place the hooks on the sides to secure the panel in the slots. For this example, place three hooks on each long side and two on each short side
- Add the hangers: insert the hangers' head into the slot of the top profile and tighten the screws. If the panel is heavy, consider placing the hangers on the sides
- The panel is framed and ready to hang wherever you desire
| Ref. | 924755 |
|---|
Reviews
Share your opinion
It will only take a minute, and your opinion can help other customers.
Sign in to submit your review
Write a review
Rating
Add photos of your product (optional)
Sending review...
Error
Review sent Thank you for your interest!
Questions
No questions found for this product.
Be the first to ask a question!
Ask a question
Please complete the CAPTCHA
Submitting your question...
Error
Question Submitted Thank you for your interest!


