Recommended instructions and parameters for sublimation printing
Print the design in mirror image.
Remove the clip and the ring from the base of the keyring.
Preheat the press to 200ºC.
Place the base of the keyring on the press' lower plate and hold the paper's printed side against it. Secure them with Heat Resistant Tape to keep them from moving.
Close the press at medium-heavy pressure for 40 seconds.
Using a protective glove, remove the base of the newly printed keyring.
Remove the paper carefully.
Repeat the same procedure if you want to sublimate the other side.
Once cool, place the clip and the ring in the hole located on the base.
https://www.brildor.com/en/sublimation-keyrings-plastic25420Sublimation Keyrings - Plastic<p><a name="know-more1"></a></p>
<h2>More information about plastic keyrings for sublimation</h2>
<ul>
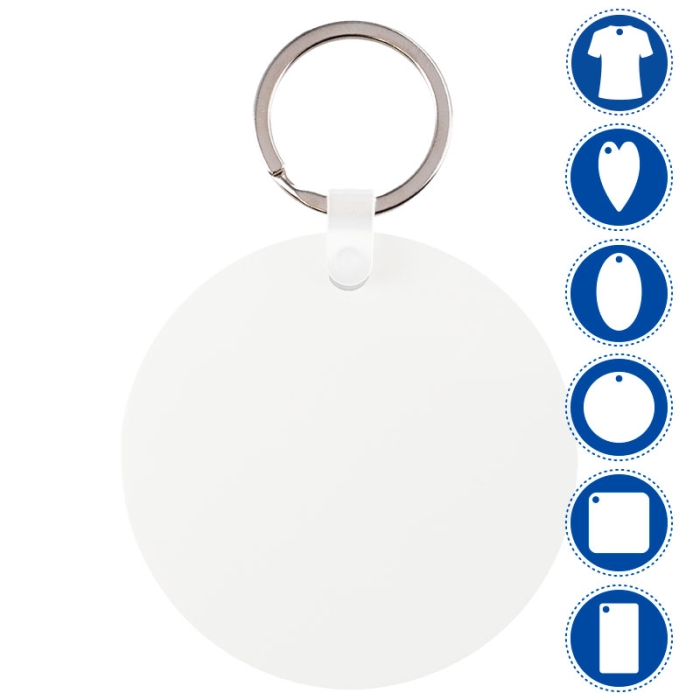
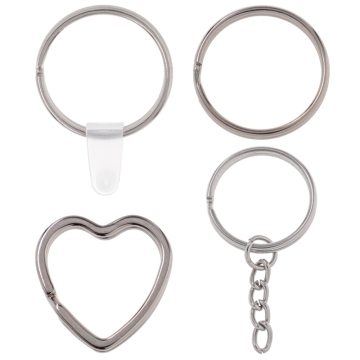
<li>Each keyring includes: 1 ring or metal ring to place the keys and 1 transparent plastic clip to fix the ring to the plastic base.</li>
<li>Rigid and non-flexible plastic base.</li>
<li>With rounded ends and a smooth surface, pleasant to the touch.</li>
<li>Customisable on both sides.</li>
</ul>
<p></p>
<p><strong>DOWNLOAD HERE<br /></strong></p>
<p><a title="Template Square Key Ring" href="https://www.brildor.com/media/upload/downloads/Template_square_keyring.eps" target="_blank" rel="nofollow">Square keyring template (.eps - 1875 kb)</a></p>
<p><a title="Template Heart-shaped Key Ring" href="https://www.brildor.com/media/upload/downloads/Template_heart-shaped_keyring.eps" target="_blank" rel="nofollow">Heart-shaped keyring template (.eps - 1861 kb)</a></p>
<p><a title="Template Round Key Ring" href="https://www.brildor.com/media/upload/downloads/Template_round_keyring.eps" target="_blank" rel="nofollow">Round keyring template (.eps - 1854 kb)</a></p>
<p><a title="Template Rectangular Key Ring" href="https://www.brildor.com/media/upload/downloads/Template_rectangular_keyring.eps" target="_blank" rel="nofollow">Rectangular keyring template (.eps - 1870 kb)</a></p>
<p></p>
<p><strong>DIMENSIONS (APPROX.)</strong></p>
<table >
<tbody>
<tr>
<td><strong>Reference nº<br /></strong></td>
<td style="text-align: center;"><strong>000110</strong></td>
<td style="text-align: center;"><strong>000111</strong></td>
<td style="text-align: center;"><strong>000112</strong></td>
<td style="text-align: center;"><strong>000113</strong></td>
</tr>
<tr>
<td><strong>Shape</strong></td>
<td style="text-align: center;">Square</td>
<td style="text-align: center;">Heart</td>
<td style="text-align: center;">Round</td>
<td style="text-align: center;">Rectangular</td>
</tr>
<tr>
<td><strong>Size</strong></td>
<td style="text-align: center;"><span class="azul-negrita">5.72 x 5.72 cm</span></td>
<td style="text-align: center;"><span class="azul-negrita"><span class="azul-negrita">6.35 x 5.72 cm</span></span></td>
<td style="text-align: center;"><span class="azul-negrita"><span class="azul-negrita">Ø6.35 cm</span></span></td>
<td style="text-align: center;"><span class="azul-negrita"><span class="azul-negrita">7.62 x 3.17 cm</span></span></td>
</tr>
<tr>
<td><strong>Thickness</strong></td>
<td style="text-align: center;"><span class="azul-negrita">2 mm</span></td>
</tr>
<tr>
<td><strong>Print area (face)</strong></td>
<td style="text-align: center;"><span class="azul-negrita">5.72 x 5.72 cm</span></td>
<td style="text-align: center;"><span class="azul-negrita"><span class="azul-negrita">6.35 x 5.72 cm</span></span></td>
<td style="text-align: center;"><span class="azul-negrita"><span class="azul-negrita">Ø6.35 cm</span></span></td>
<td style="text-align: center;"><span class="azul-negrita"><span class="azul-negrita">7.62 x 3.17 cm</span></span></td>
</tr>
<tr>
<td><strong>Ring<br /></strong></td>
<td style="text-align: center;"><span class="azul-negrita">Ø2.5 cm</span></td>
</tr>
<tr>
<td><strong>Clip</strong></td>
<td style="text-align: center;"><span class="azul-negrita">8 mm x 3.5 cm</span></td>
</tr>
</tbody>
</table>
<p></p>
<p><a name="know-more2"></a></p>
<h2><strong>Recommended instructions and parameters for sublimation printing</strong></h2>
<ul>
<li>Print the design in <strong>mirror image</strong>.</li>
<li>Remove the clip and the ring from the base of the keyring.</li>
<li>Preheat the press to <span class="azul-negrita">200ºC</span>.</li>
<li>Place the base of the keyring on the press' lower plate and hold the paper's printed side against it. Secure them with Heat Resistant Tape to keep them from moving.</li>
<li>Close the press at <strong>medium-heavy pressure</strong> for <span class="azul-negrita">40 seconds</span>.</li>
<li>Using a protective glove, remove the base of the newly printed keyring.</li>
<li>Remove the paper carefully.</li>
<li>Repeat the same procedure if you want to sublimate the other side.<span style="font-size: 1.2em;"><br /></span></li>
<li>Once cool, place the clip and the ring in the hole located on the base.</li>
</ul>https://www.brildor.com/media/catalog/product/l/l/llaveros-para-sublimacion-de-plastico-d8.jpg1.95instock01.95000https://www.brildor.com/media/catalog/product/l/l/llaveros-para-sublimacion-de-plastico-d8.jpg2109024552247902531825428/Blanks/Productos destacados/Productos destacados EN/Productos destacados FR/Blanks/Keyrings2021-07-24T06:11:25+0000