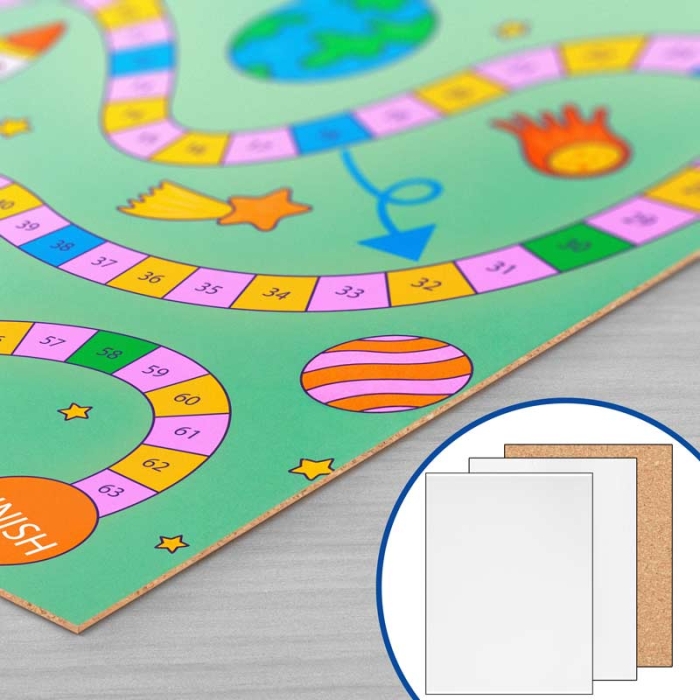
Rectangular cardboard and card panels with straight corners
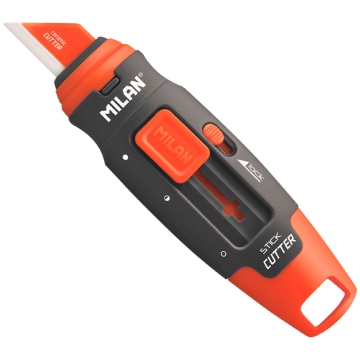
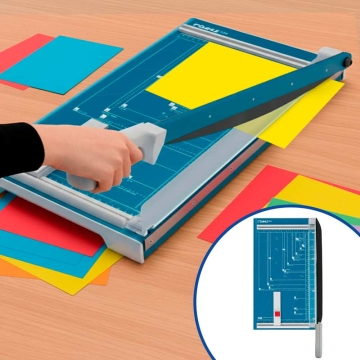
Can be cut to the desired shape and size using a guillotine, scissors, cutter, plotter...
Suitable for laser cutting
Sublimable on the white polyester-coated side of the card and cardboard. Reverse side is unlaminated
Natural cork with a thickness of 1 mm, lightweight, reusable, and recyclable. Features include waterproof, fire-resistant, soundproof, and insulating properties
Easy to use: simply remove the paper layer covering the cork adhesive and fix it to the reverse side of the card or cardboard
THINGS TO KEEP IN MIND
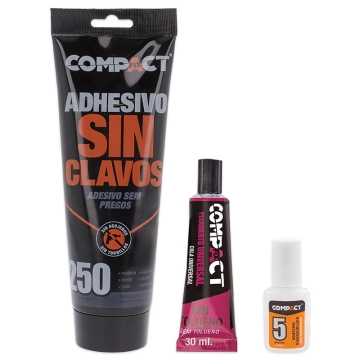
Once the cork is adhered, apply pressure for a few seconds to ensure it stays fixed. You can use glues or adhesives as reinforcement (see Related Products)
If cutting with a plotter, make sure to use an appropriate blade
The card has a white border of approximately 0.5 cm on 2 sides that defines the sublimable area
HOW TO CREATE YOUR OWN PRODUCTS STEP BY STEP
Cut the materials to your desired shape and size: card or cardboard on one side, and cork on the other
Sublimate the glossy white side of the cardboard or card
Stick the cork onto the reverse side of the personalised cardboard or card
HOW MANY PANELS CAN YOU USE WITH 1 SHEET OF CORK?
Reference
055694
054417
Material
Laminated cardboard
Laminated card
Size (cm)
40 x 60
60 x 80
No. of panels per cork sheet
4
2
MEASUREMENTS
Reference
055694
054417
051163
Material
Laminated cardboard
Laminated card
Cork with adhesive
Size (cm)
40 x 60
60 x 80
80 x 120
Customisable area (cm)
40 x 60
59.5 x 79.5
80 x 120
Thickness (mm)
1.4
0.24
1
RECOMMENDED SUBLIMATION INSTRUCTIONS AND PARAMETERS
Parameters indicated as guidelines. It is recommended to conduct preliminary tests to make necessary adjustments before starting production.
FOR CARDBOARD
Print the design in mirror mode
Heat the press to 180 ºC
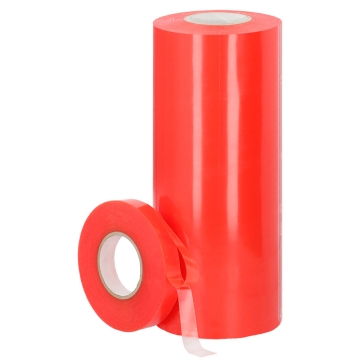
Place the cardboard on the press base and the printed side of the paper on the laminated side of the cardboard. Secure with thermal adhesive tape
Close the press with medium-high pressure for 60-80 seconds
Using a protective glove, remove the freshly sublimated cardboard
Carefully remove the paper
FOR THE CARD
Print the design in mirror mode
Heat the press to 200 ºC
Place the card on the press base and the printed side of the paper on the laminated side of the card. Secure with thermal adhesive tape
Close the press with medium pressure for 40-50 seconds
Using a protective glove, remove the freshly sublimated card
https://www.brildor.com/en/sublimable-laminated-panels-cork-base54388Sublimable Laminated Panels with Cork Base<p><a name="know-more"></a></p>
<h2>More information about the Sublimable Laminated Panels with Cork Base</h2>
<p> </p>
<p><strong>INDEX</strong></p>
<p>> <a href="#know-more1">Description</a></p>
<p>> <a href="#know-more2">Things to keep in mind</a></p>
<p>> <a href="#know-more6">How to create your own products step by step</a></p>
<p>> <a href="#know-more3">How many panels can you use with 1 sheet of cork?</a></p>
<p>> <a href="#know-more4">Measurements</a></p>
<p>> <a href="#know-more5">Recommended sublimation instructions and parameters</a></p>
<p> </p>
<p><a name="know-more1"></a></p>
<p><strong>DESCRIPTION</strong></p>
<ul>
<li>Rectangular cardboard and card panels with straight corners</li>
<li>Can be cut to the desired shape and size using a guillotine, scissors, cutter, plotter...</li>
<li>Suitable for laser cutting</li>
<li>Sublimable on the white polyester-coated side of the card and cardboard. Reverse side is unlaminated</li>
<li>Natural cork with a thickness of <span class="azul-negrita">1 mm</span>, lightweight, reusable, and recyclable. Features include waterproof, fire-resistant, soundproof, and insulating properties</li>
<li>Easy to use: simply remove the paper layer covering the cork adhesive and fix it to the reverse side of the card or cardboard</li>
</ul>
<p> </p>
<p><a name="know-more2"></a></p>
<p><strong>THINGS TO KEEP IN MIND</strong></p>
<ul>
<li>Once the cork is adhered, apply pressure for a few seconds to ensure it stays fixed. You can use glues or adhesives as reinforcement (see <strong>Related Products</strong>)</li>
<li>If cutting with a plotter, make sure to use an appropriate blade</li>
<li>The card has a white border of approximately <span class="azul-negrita">0.5 cm</span> on 2 sides that defines the sublimable area </li>
</ul>
<p> </p>
<p><a name="know-more6"></a></p>
<p><strong>HOW TO CREATE YOUR OWN PRODUCTS STEP BY STEP</strong></p>
<ol>
<li>Cut the materials to your desired shape and size: card or cardboard on one side, and cork on the other</li>
<li>Sublimate the glossy white side of the cardboard or card</li>
<li>Stick the cork onto the reverse side of the personalised cardboard or card</li>
</ol>
<p> </p>
<p><a name="know-more3"></a></p>
<p><strong>HOW MANY PANELS CAN YOU USE WITH 1 SHEET OF CORK?</strong></p>
<table>
<tbody>
<tr>
<td><strong>Reference</strong></td>
<td style="text-align: center;"><strong>055694</strong></td>
<td style="text-align: center;"><strong>054417</strong></td>
</tr>
<tr>
<td><strong>Material</strong></td>
<td style="text-align: center;">Laminated <br>cardboard</td>
<td style="text-align: center;">Laminated <br>card</td>
</tr>
<tr>
<td><strong>Size (cm)</strong></td>
<td style="text-align: center;"><span class="azul-negrita">40 x 60</span></td>
<td style="text-align: center;"><span class="azul-negrita">60 x 80</span></td>
</tr>
<tr>
<td><strong>No. of panels per cork sheet</strong></td>
<td style="text-align: center;"><span class="azul-negrita">4</span></td>
<td style="text-align: center;"><span class="azul-negrita">2</span></td>
</tr>
</tbody>
</table>
<p> </p>
<p><a name="know-more4"></a></p>
<p><strong>MEASUREMENTS</strong></p>
<table>
<tbody>
<tr>
<td><strong>Reference</strong></td>
<td style="text-align: center;"><strong>055694</strong></td>
<td style="text-align: center;"><strong>054417</strong></td>
<td style="text-align: center;"><strong>051163</strong></td>
</tr>
<tr>
<td><strong>Material</strong></td>
<td style="text-align: center;">Laminated<br>cardboard</td>
<td style="text-align: center;">Laminated<br>card</td>
<td style="text-align: center;">Cork<br>with adhesive</td>
</tr>
<tr>
<td><strong>Size (cm)</strong></td>
<td style="text-align: center;"><span class="azul-negrita">40 x 60</span></td>
<td style="text-align: center;"><span class="azul-negrita">60 x 80</span></td>
<td style="text-align: center;"><span class="azul-negrita">80 x 120</span></td>
</tr>
<tr>
<td><strong>Customisable area (cm)</strong></td>
<td style="text-align: center;"><span class="azul-negrita">40 x 60</span></td>
<td style="text-align: center;"><span class="azul-negrita">59.5 x 79.5</span></td>
<td style="text-align: center;"><span class="azul-negrita">80 x 120</span></td>
</tr>
<tr>
<td><strong>Thickness (mm)</strong></td>
<td style="text-align: center;"><span class="azul-negrita">1.4</span></td>
<td style="text-align: center;"><span class="azul-negrita">0.24</span></td>
<td style="text-align: center;"><span class="azul-negrita">1</span></td>
</tr>
</tbody>
</table>
<p> </p>
<p><a name="know-more5"></a></p>
<p><strong>RECOMMENDED SUBLIMATION INSTRUCTIONS AND PARAMETERS</strong></p>
<p>Parameters indicated as <strong>guidelines</strong>. It is recommended to conduct preliminary tests to make necessary adjustments before starting production.</p>
<p><strong>FOR CARDBOARD </strong></p>
<ul>
<li>Print the design in <strong>mirror mode</strong></li>
<li>Heat the press to <span class="azul-negrita">180 ºC</span></li>
<li>Place the cardboard on the press base and the printed side of the paper on the laminated side of the cardboard. Secure with thermal adhesive tape</li>
<li>Close the press with <strong>medium-high pressure</strong> for <span class="azul-negrita">60-80 seconds</span></li>
<li>Using a protective glove, remove the freshly sublimated cardboard</li>
<li>Carefully remove the paper</li>
</ul>
<p><strong>FOR THE CARD</strong></p>
<ul>
<li>Print the design in <strong>mirror mode</strong></li>
<li>Heat the press to <span class="azul-negrita">200 ºC</span></li>
<li>Place the card on the press base and the printed side of the paper on the laminated side of the card. Secure with thermal adhesive tape</li>
<li>Close the press with <strong>medium pressure</strong> for <span class="azul-negrita">40-50 seconds</span></li>
<li>Using a protective glove, remove the freshly sublimated card</li>
<li>Carefully remove the paper</li>
</ul>https://www.brildor.com/media/catalog/product/c/a/cartulinas-cartoncillos-y-corcho-adhesivo-d1.jpg12.95instock012.95000https://www.brildor.com/media/catalog/product/c/a/cartulinas-cartoncillos-y-corcho-adhesivo-d1.jpg24616277204329751235/Blanks/Blanks/Sublimation Panels/Blanks/Sublimation Panels/Cardstock & Cork2025-07-22T09:09:07+0000