Cricut Maker Engraving & Debossing Tips + QuickSwap™ Housing
Cricut Maker Engraving & Debossing Tips + QuickSwap™ Housing
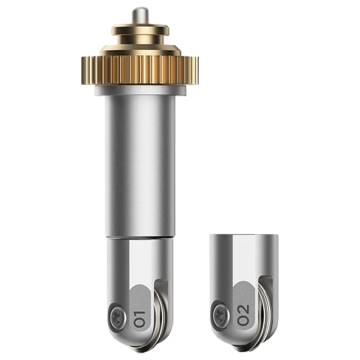
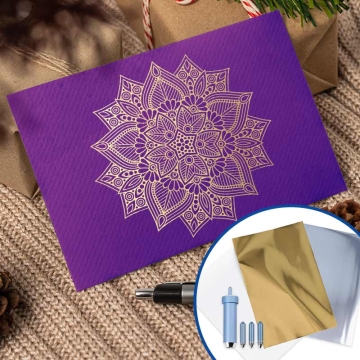
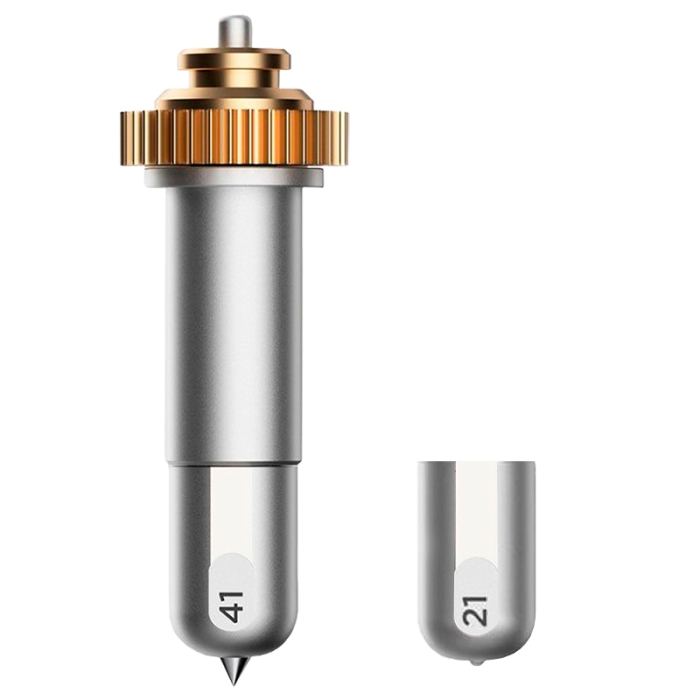
Cricut Engraving and Debossing tips, great for creating embossed designs with the Cricut Maker 3 and 4 vinyl cutter.
- Steel tips designed to add dimensional detail
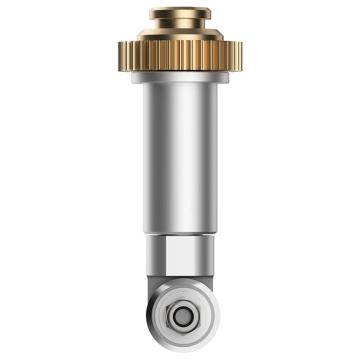
- QuickSwap housing included with the engraving tip (Nº 41)
- You can purchase the debossing (Nº 21) and engraving (Nº 41) tip separately

Related Products
More information about Cricut Maker Engraving and Debossing Tips with QuickSwap™ Housing
INDEX
> How to change QuickSwap™ tips?
DESCRIPTION
- QuickSwap™ Housing and Tools have been designed for the Cricut Maker vinyl cutter only
- The debossing tip (no. 21) allows you to create elegant debossed designs on cards, wedding invitations, and more
- The engraving tip (no. 41) is sharp and perfect for adding text, embellishments and details on keyrings, commemorative plaques, badges, and more
- Deep marking with the fine debossing tip (no. 21) is suitable for paper, cardboard, foil, and cardstock. Use the engraving tip for stronger materials such as metal, wood, or leather (no. 41)
- No calibration required
- The housing allows swapping any QuickSwap™ tip easily. In Related Products, you will find other similar tools to expand your designs
THINGS TO KEEP IN MIND
- It is advisable not to press the plunger on top of the housing while loading the tool to prevent the tip from slipping out
- To minimise wear on the tip, the housing will be raised and rotate for a few seconds at regular intervals
- Be careful when handling already engraved materials. Small fragments of the material may have come off. You can remove them with a lint roller or a piece of adhesive tape
- If you observe irregularities on the edges, remove them with a polishing cloth or sandpaper (360-600 grit). Test the back of the material first to ensure that it won’t be scratched by this procedure
- Before engraving leather, smooth its surface with a dry sponge. This will soften the fibres for better results
HOW TO CHANGE QUICKSWAP™ TIPS?
- Press and hold the plunger on top of the housing until the tip is released
- Gently remove the tip from the tool holder
- While pressing the plunger, align flat areas on the new tip with the housing’s flat sides
- Slide the tip into place
- Ensure the tip is firmly clamped
- Release the plunger to secure the tip
| Ref. | 936646 |
|---|
Reviews
Share your opinion
It will only take a minute, and your opinion can help other customers.
Sign in to submit your review
Write a review
Rating
Add photos of your product (optional)
Sending review...
Error
Review sent Thank you for your interest!
Questions
No questions found for this product.
Be the first to ask a question!
Ask a question
Please complete the CAPTCHA
Submitting your question...
Error
Question Submitted Thank you for your interest!

