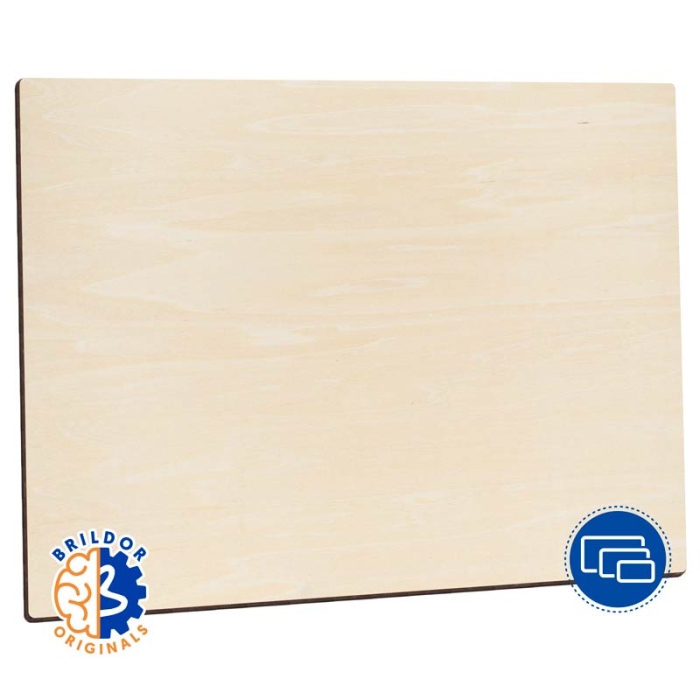
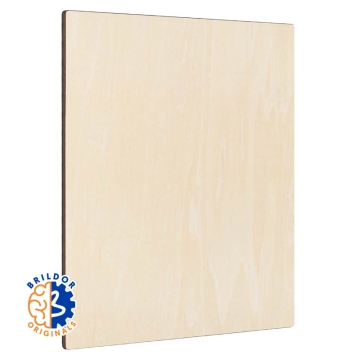
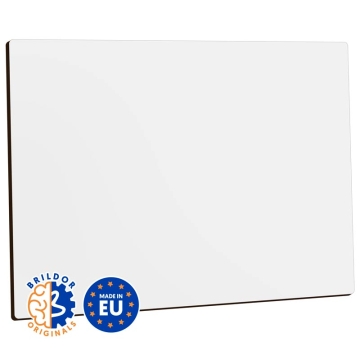
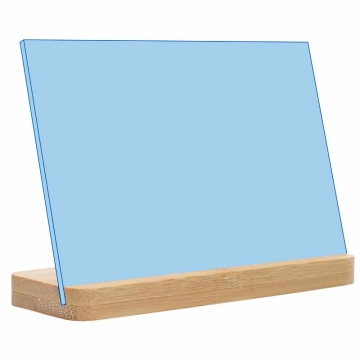
La face sublimable est plus claire et lisse que le verso
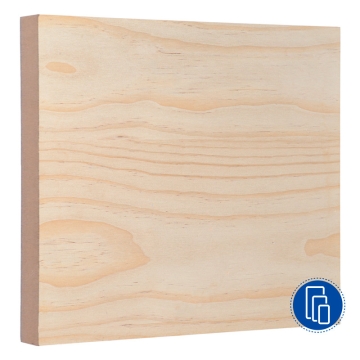
Surface avec des veines naturelles propres au bois
Bords et coins arrondis avec un rayon de 1,5 mm
Peuvent être placés en orientation horizontale ou verticale
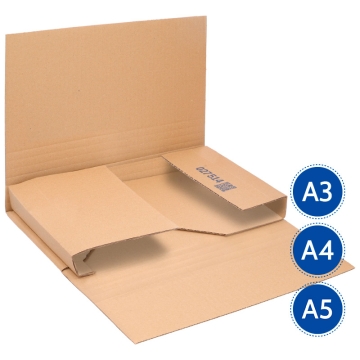
Livrés dans une boîte en carton, parfaite pour présenter le photopanneau une fois sublimé. Vous pouvez en acheter plus dans Produits Connexes
Peuvent également être personnalisés avec gravure laser, UV DTF, sérigraphie, vinyle adhésif et impression UV
À PRENDRE EN COMPTE
Ils peuvent inclure une couche de papier blanc protecteur qui doit être retirée avant de personnaliser
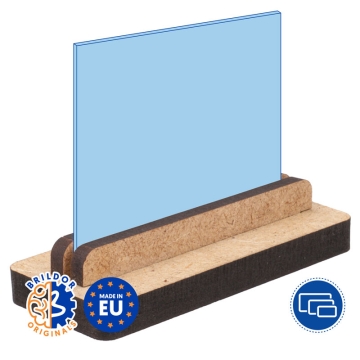
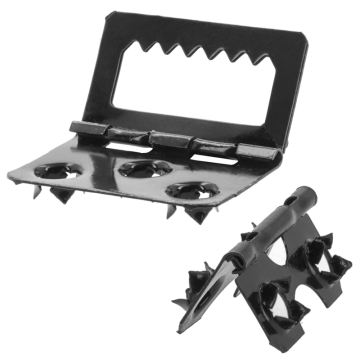
Les photopanneaux ne comprennent pas de supports de table ni de crochets pour accrocher. Vous pouvez les acheter dans Produits Connexes
Vous recevrez la boîte fermée avec du ruban adhésif et une étiquette. Les deux sont amovibles. Ils peuvent être retirés facilement sans endommager la boîte pour que vous puissiez la réutiliser
ASTUCES ET CONSEILS
Vernissez le photopanneau déjà personnalisé pour le protéger et obtenir une finition brillante ou mate
DIMENSIONS
Référence
055898
055899
055901
055902
055903
055904
055906
Zone d'impression (cm)
9 x 12
10 x 15
13 x 18
15 x 20
20 x 25
20 x 30
30 x 40
Unité de vente
2
2
1
1
1
1
1
Format numérique
4:3
3:2
-
4:3
5:4
3:2
4:3
Épaisseur (mm)
3
3
3
3
3
3
3
Poids (g)
118
132
122
131
236
254
520
INSTRUCTIONS ET PARAMÈTRES DE SUBLIMATION RECOMMANDÉS
Paramètres indiqués à titre indicatif. Il est recommandé de faire des essais préalables pour effectuer les ajustements nécessaires avant de commencer la production.
Imprimez le design en mode miroir
Chauffez la presse à 180 ºC
Retirez la couche de papier protecteur, le cas échéant
Placez le photopanneau sur la base de la presse et le design imprimé sur la face personnalisable. Fixez-le avec du ruban adhésif thermique
Fermez la presse avec une pression moyenne pendant 60 secondes
Avec l'aide d'un gant de protection, retirez le photopanneau fraîchement imprimé
https://www.brildor.com/fr/photopanneaux-basiques-bois-naturel-3mm-sublimable53852Photopanneaux Basiques bois naturel 3mm sublimable<p><a name="savoir-plus"></a></p>
<h2>Plus d'information sur les photopanneaux Basiques en bois naturel 3mm sublimable</h2>
<p> </p>
<p><strong>INDEX</strong></p>
<p>> <a href="#savoir-plus1">Description</a></p>
<p>> <a href="#savoir-plus2">À prendre en compte</a></p>
<p>> <a href="#savoir-plus4">Astuces et conseils</a></p>
<p>> <a href="#savoir-plus3">Dimensions</a></p>
<p>> <a href="#savoir-plus5">Instructions et paramètres de sublimation recommandés</a></p>
<p>> <a href="#savoir-plus6">Articles connexes</a></p>
<p> </p>
<p><a name="savoir-plus1"></a></p>
<p><strong>DESCRIPTION</strong></p>
<ul>
<li>La face sublimable est plus claire et lisse que le verso</li>
<li>Surface avec des veines naturelles propres au bois</li>
<li>Bords et coins arrondis avec un rayon de<span class="azul-negrita"> 1,5 mm</span></li>
<li>Peuvent être placés en orientation horizontale ou verticale</li>
<li>Livrés dans une boîte en carton, parfaite pour présenter le photopanneau une fois sublimé. Vous pouvez en acheter plus dans <strong>Produits Connexes</strong></li>
<li>Peuvent également être personnalisés avec <span class="azul-brildor-negrita">gravure laser</span>, <span class="azul-brildor-negrita">UV DTF</span>, <span class="azul-brildor-negrita">sérigraphie</span>, <span class="azul-brildor-negrita">vinyle adhésif</span> et <span class="azul-brildor-negrita">impression UV</span><strong><br></strong></li>
</ul>
<p> </p>
<p><a name="savoir-plus2"></a></p>
<p><strong>À PRENDRE EN COMPTE</strong></p>
<ul>
<li>Ils peuvent inclure une couche de papier blanc protecteur qui doit être retirée avant de personnaliser<strong><br></strong></li>
<li>Les photopanneaux ne comprennent pas de supports de table ni de crochets pour accrocher. Vous pouvez les acheter dans <strong>Produits Connexes<br></strong></li>
<li>Vous recevrez la boîte fermée avec du ruban adhésif et une étiquette. Les deux sont amovibles. Ils peuvent être retirés facilement sans endommager la boîte pour que vous puissiez la réutiliser</li>
</ul>
<p> </p>
<p><a name="savoir-plus4"></a></p>
<p><strong>ASTUCES ET CONSEILS</strong></p>
<ul>
<li>Vernissez le photopanneau déjà personnalisé pour le protéger et obtenir une finition brillante ou mate<strong><br></strong></li>
</ul>
<p> </p>
<p><a name="savoir-plus3"></a></p>
<p><strong>DIMENSIONS</strong></p>
<table>
<tbody>
<tr>
<td><strong>Référence</strong></td>
<td style="text-align: center;"><strong>055898</strong></td>
<td style="text-align: center;"><strong>055899</strong></td>
<td style="text-align: center;"><strong>055901</strong></td>
<td style="text-align: center;"><strong>055902</strong></td>
<td style="text-align: center;"><strong>055903</strong></td>
<td style="text-align: center;"><strong>055904</strong></td>
<td style="text-align: center;"><strong>055906</strong></td>
</tr>
<tr>
<td><strong>Zone d'impression (cm)</strong></td>
<td style="text-align: center;"><span class="azul-negrita">9 x 12</span></td>
<td style="text-align: center;"><span class="azul-negrita">10 x 15</span></td>
<td style="text-align: center;"><span class="azul-negrita">13 x 18</span></td>
<td style="text-align: center;"><span class="azul-negrita">15 x 20</span></td>
<td style="text-align: center;"><span class="azul-negrita">20 x 25</span></td>
<td style="text-align: center;"><span class="azul-negrita">20 x 30</span></td>
<td style="text-align: center;"><span class="azul-negrita">30 x 40</span></td>
</tr>
<tr>
<td><strong>Unité de vente </strong></td>
<td style="text-align: center;"><span class="azul-negrita">2</span></td>
<td style="text-align: center;"><span class="azul-negrita">1</span></td>
</tr>
<tr>
<td><strong>Format numérique </strong></td>
<td style="text-align: center;"><span class="azul-negrita">4:3</span></td>
<td style="text-align: center;"><span class="azul-negrita">3:2</span></td>
<td style="text-align: center;"><span class="azul-negrita">-</span></td>
<td style="text-align: center;"><span class="azul-negrita">4:3</span></td>
<td style="text-align: center;"><span class="azul-negrita">5:4</span></td>
<td style="text-align: center;"><span class="azul-negrita">3:2</span></td>
<td style="text-align: center;"><span class="azul-negrita">4:3</span></td>
</tr>
<tr>
<td><strong>Épaisseur (mm) </strong></td>
<td style="text-align: center;"><span class="azul-negrita">3</span></td>
</tr>
<tr>
<td><strong>Poids (g)</strong></td>
<td style="text-align: center;"><span class="azul-negrita">118</span></td>
<td style="text-align: center;"><span class="azul-negrita">132</span></td>
<td style="text-align: center;"><span class="azul-negrita">122</span></td>
<td style="text-align: center;"><span class="azul-negrita">131</span></td>
<td style="text-align: center;"><span class="azul-negrita">236</span></td>
<td style="text-align: center;"><span class="azul-negrita">254</span></td>
<td style="text-align: center;"><span class="azul-negrita">520</span></td>
</tr>
</tbody>
</table>
<p> </p>
<p><a name="savoir-plus5"></a></p>
<p><strong>INSTRUCTIONS ET PARAMÈTRES DE SUBLIMATION RECOMMANDÉS</strong></p>
<p>Paramètres indiqués à titre <strong>indicatif</strong>. Il est recommandé de faire des essais préalables pour effectuer les ajustements nécessaires avant de commencer la production.</p>
<ul>
<li>Imprimez le design en <strong>mode miroir</strong></li>
<li>Chauffez la presse à<span class="azul-negrita"> 180 ºC</span></li>
<li>Retirez la couche de papier protecteur, le cas échéant</li>
<li>Placez le photopanneau sur la base de la presse et le design imprimé sur la face personnalisable. Fixez-le avec du ruban adhésif thermique</li>
<li>Fermez la presse avec une <strong>pression moyenne</strong> pendant <span class="azul-negrita">60 secondes</span></li>
<li>Avec l'aide d'un gant de protection, retirez le photopanneau fraîchement imprimé</li>
<li>Retirez soigneusement le papier</li>
</ul>
<p> </p>
<p><a name="savoir-plus6"></a></p>
<p><strong>ARTICLES CONNEXES</strong></p>
<p><a href="https://www.brildor.com/blog/es/como-personalizar-madera/" target="_blank" rel="noopener">Personnaliser le bois : quelle technique est la meilleure pour vous ?</a></p>
<p><a href="https://www.brildor.com/blog/es/materiales-maquina-laser-todo-necesitas-saber/" target="_blank" rel="noopener">Matériaux pour votre machine laser : Tout ce que vous devez savoir</a></p>https://www.brildor.com/media/catalog/product/f/o/fotopaneles-b_sicos-madera-natural-dm3-sublimable-d1.jpg13.99instock013.99000https://www.brildor.com/media/catalog/product/f/o/fotopaneles-b_sicos-madera-natural-dm3-sublimable-d1.jpg431744343549785512465263453312533395344254045/Produits personnalisables/Produits personnalisables/Panneaux photo sublimables/Produits personnalisables/Panneaux photo sublimables/Bois2025-03-14T07:03:22+0000