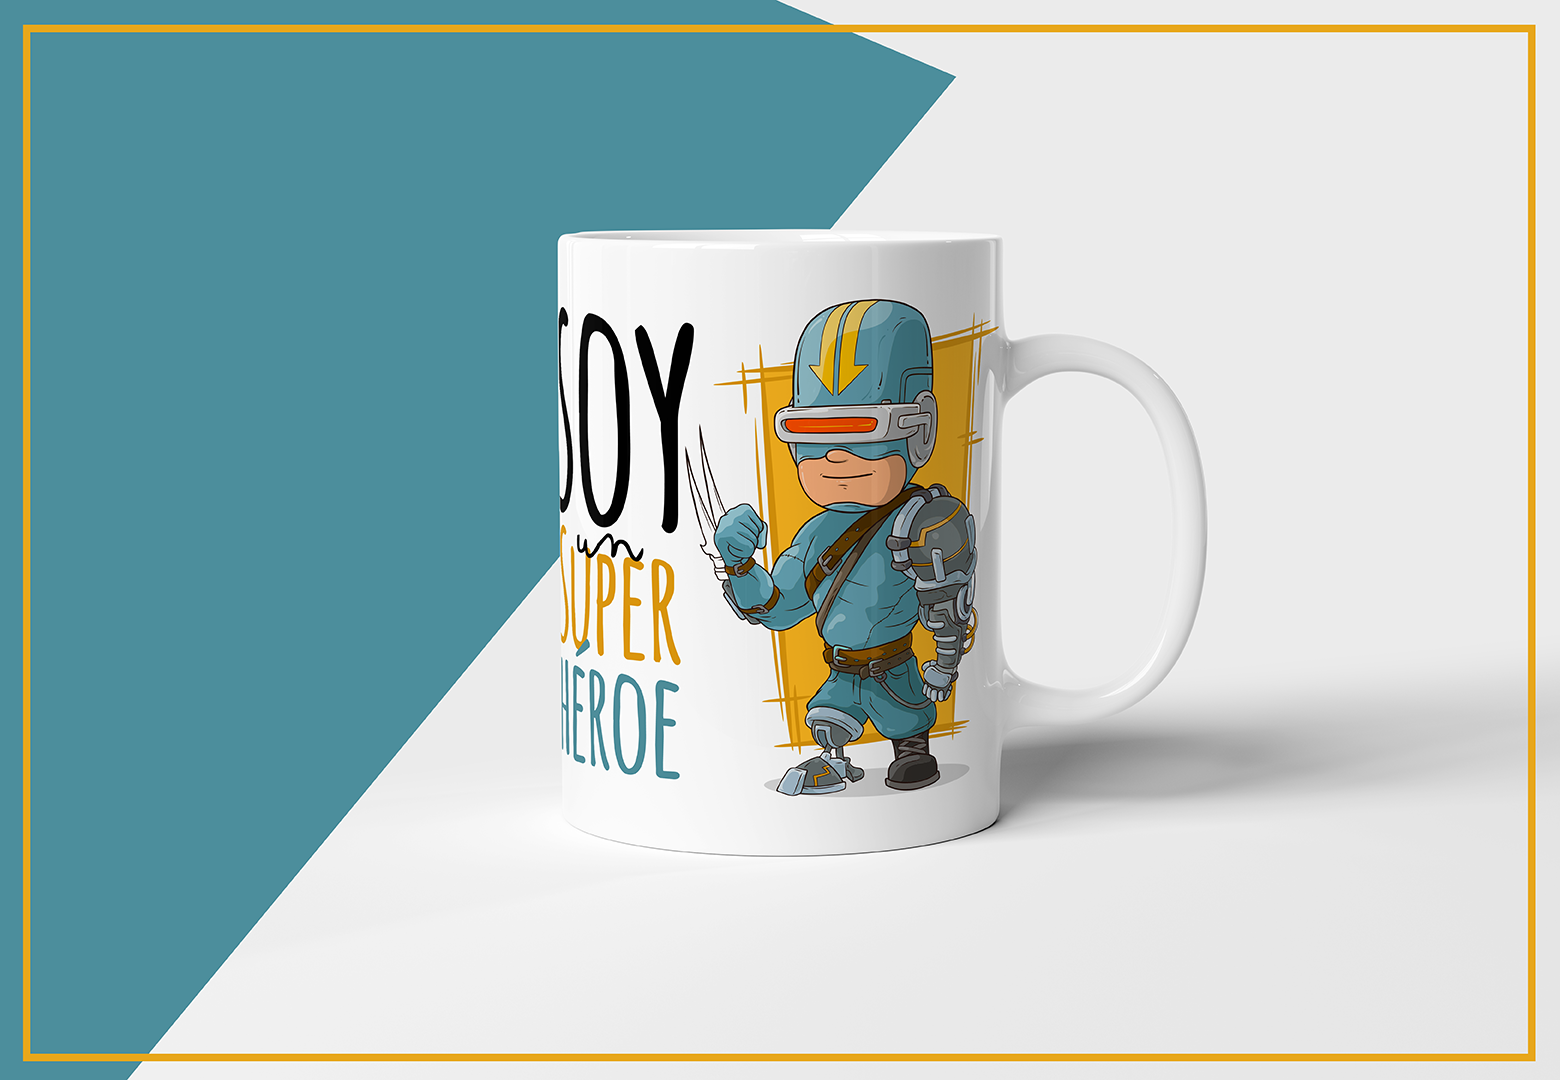
If you’ve just landed in the product personalisation world, you probably noticed that the mug is, above all, the bestselling customisable item. Many techniques are available for mug personalisation but the most commonly used, and also the one that offers the best results, is sublimation printing.
Keep reading this article, and you’ll learn how to print the perfect mug in no time.
How to personalise mugs through sublimation printing and how much does it cost?
I’m sure your cupboard stores personalised mugs you’ve received as a gift, with cute motifs, or with photos or designs from your favourite superheroes, films, TV shows or characters, that makes it your all-time favourite. If you’ve always wondered how a mug is printed on, then we will tell you that most of them have been printed with sublimation equipment.
We do not want you to think that this gear is something too classy or expensive. It is indeed the exact opposite, and that’s why this technique is within reach of any entrepreneur or business.
How to sublimate mugs
To start printing on mugs, you need:
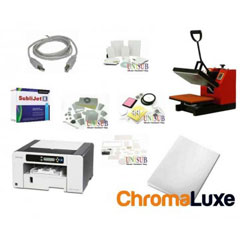
- Sublimation printer. One in A4 format will be more than enough, given the fact that its printing area is relatively small and you will amply cover it with that size.
- Sublimation ink. These are special inks that turn into gas after reacting with temperature, and get integrated into the polyester polymer. It seems complicated, but you’ll see it’s not.
- Sublimation paper. It holds the ink and will let it out to the mug when applying heat.
- Heat resistant tape. Used to fix the printed paper against the mug. It resists heat press temperature without burning.
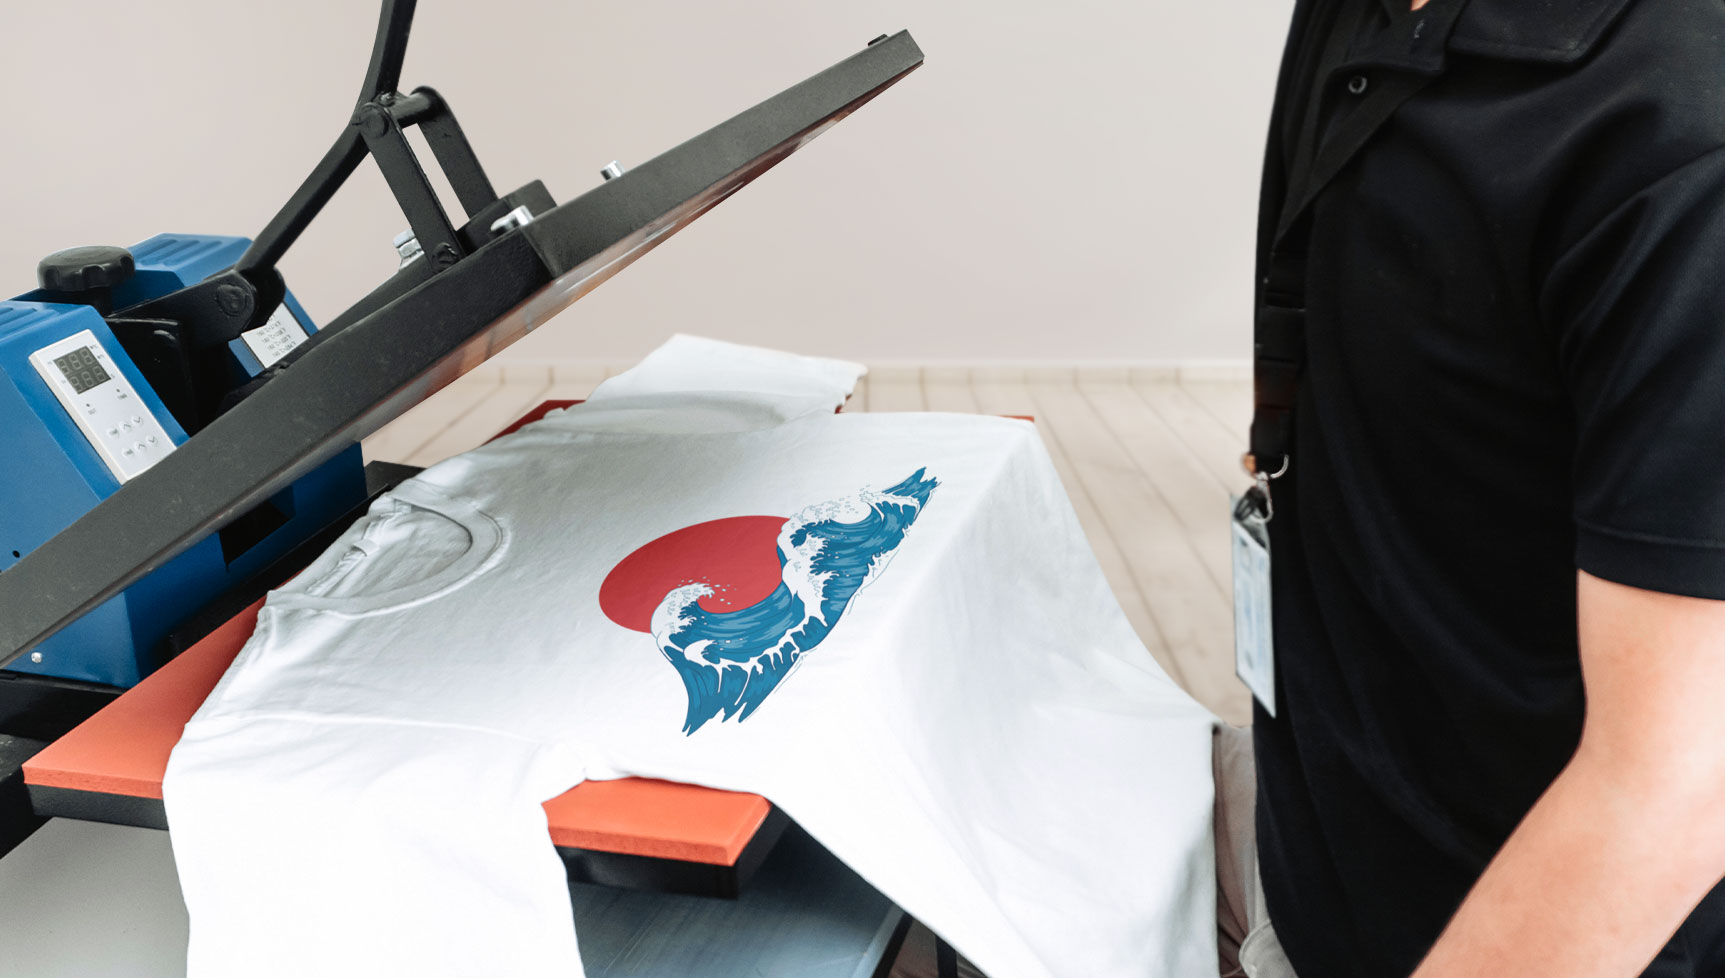
- Mug heat press. There are different types and different versions. You can start with a basic press for a single mug, with interchangeable mug heaters.
If we add up everything you need, you can see that you can start printing on mugs with just over €500. However, the absolute and indispensable protagonist of this post is still missing: the sublimation mug.
Not any mug will do the job. It must be prepared for sublimation printing and must be white in order to get the perfect colours. This is because colour adds up in the sublimation process so, if you print on a coloured mug, the design merges with its colours.
Different qualities are available: A, AA, AAA being the latter the highest one. The difference lies in the quality of their coating and the uniformity of their surface, which ensures better printing and resistance to wear and washing. A mug of the highest quality will cost around €1.50.

How to design and print on sublimation paper
Now that you know everything you need to sublimate mugs, we will explain how to print them correctly.
- First, we must design what we’re going to print on the mug. Depending on each mug, the maximum printing area may vary, but the most common for an 11-ounce mug is 20×9.5 cm. If you want to take full advantage of the A4 sublimation sheets, you can include up to 3 designs on each sheet. Remember that mirror image must be activated in the options of your printer (if this option is not available, flip the design before printing it).
- Once printed, crop the design with scissors or a guillotine.
- Place the paper around the mug, centre it, and fix it with heat-resistant tape to avoid any movement when pressing.
- Preheat the heat press to 200ºC and set it to 180 seconds. It is important to keep the mug at room temperature, so it is not too cold. Otherwise, it could affect the pressing parameters. For example, if the material is stored in a very cold place, you may have to increase the time a little.
- Put the mug into the mug press and adjust to medium pressure.
- Once the pressing time is over, remove the paper quickly, but be careful not to burn yourself. For better results and more precise details, it is recommended to cool the mug by immersing it in warm water (except when the mug is made of glass) or using a fan.
Just below, we leave you a video that shows everything we just explained, in a more visual way. Go check it out!
Now you know how easy it is to personalise a mug using sublimation printing, and how powerful it is for generating business if your designs or photos are attractive. Please, remember that the printing parameters we gave you will depend on the materials you use and environmental conditions.
If you liked this post and its additional content, you can subscribe to our blog and our YouTube channel. Doing so, you will stay informed of everything that goes on into the world of personalisation. You can also leave a comment below with any question or suggestion you may have. We’d be happy to help you.
See you next post!


