


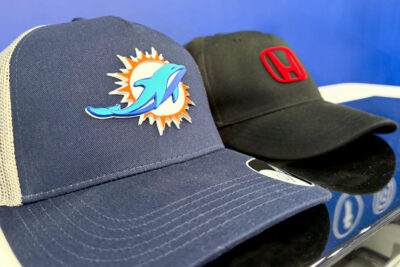
✂️ Laser cutting of textile vinyl: create customised caps with a 3D effect
✂️ Laser cutting of textile vinyl: create customised caps with a 3D effect
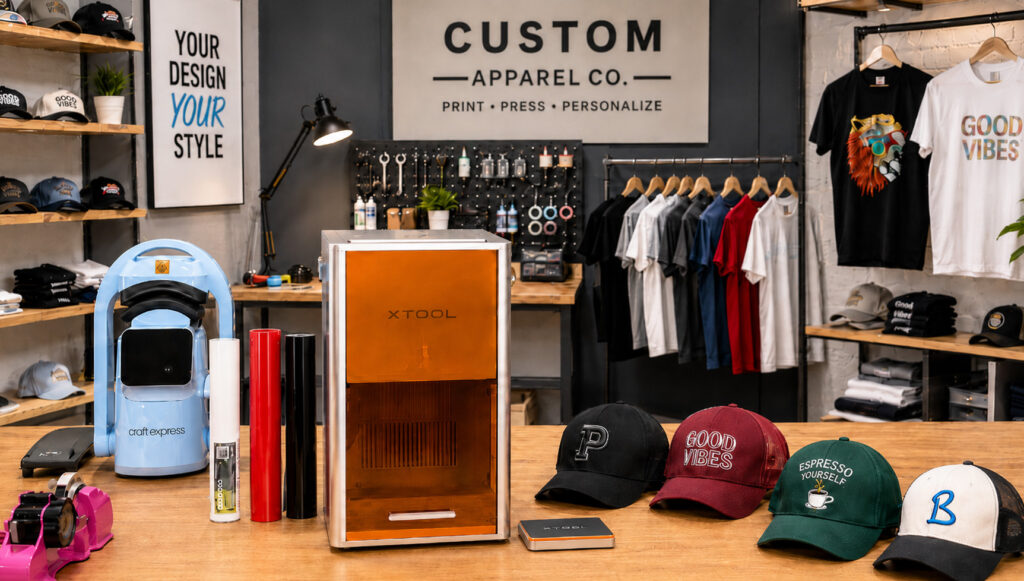
When we think of a machine like the xTool F2 Ultra UV, we often imagine it engraving wood, metal, or glass. However, this equipment also allows for laser cutting of textile vinyl with speed and precision that are particularly appealing for small and complex designs.
In this tutorial, we will use the laser to customise a cap with a multi-layer design. We will combine the flocked and overlapping finish of the Br-Flock Flap vinyl with details in turbo textile vinyl to achieve a result with relief, texture, and a 3D finish.
The main advantage of this technique is that it allows for the production of very precise lines without using blades or subjecting the material to the usual drag of a cutting plotter.
ÍNDICE
- Materials for cutting textile vinyl with a laser
- How to prepare heat transfer vinyl for laser cutting
- Parameters for laser cutting of textile vinyl
- Advantages of cutting textile vinyl with laser
- How to weed vinyl
- How to create the 3D effect with Br-Flock Flap
- How to place the cap on the transfer press
- Result: a cap with embossing and a professional finish
- Start creating customised caps with a 3D effect.
- Frequently asked questions about laser cutting textile vinyl
Materials for cutting textile vinyl with a laser
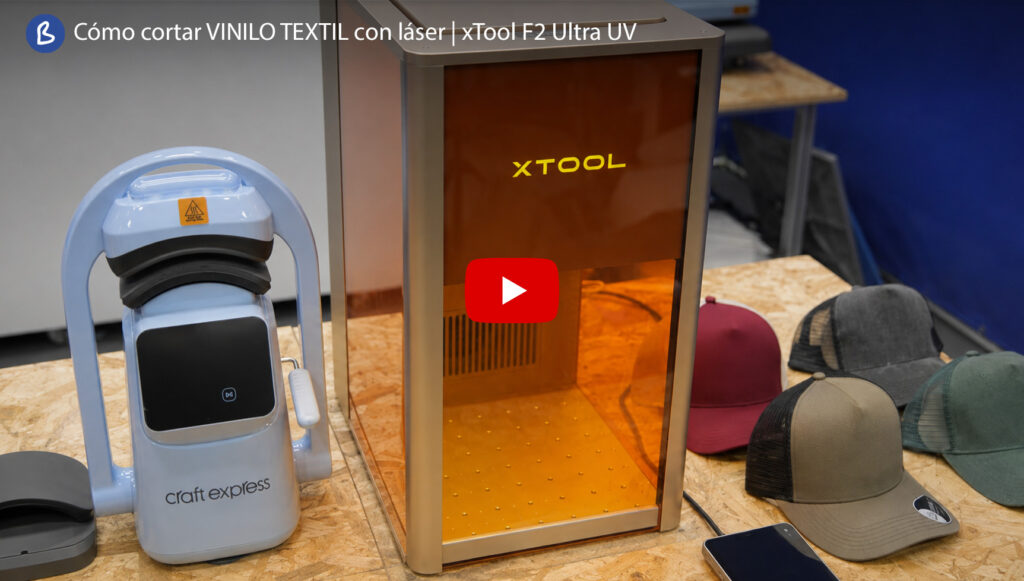
To undertake this project, we will use the xTool F2 Ultra UV, the Br-Flock Flap vinyl to construct the relief layers, and turbo textile vinyl to add the finer details of the design.
The customization will be applied to a cap using the Craft Express 3-in-1 Cap Transfer Press. We will also need a weeding tool set, heat tape to secure the pieces during pressing, and adhesive tape to keep the vinyl flat on the laser base.
At Brildor, you can find different models of customisable caps and hats to adapt this technique to the style and finish you wish to achieve.
How to prepare heat transfer vinyl for laser cutting
Before inserting it into the machine, ensure that the vinyl is compatible with laser cutting and free from PVC and chlorinated components. When heated, these materials can release harmful and corrosive gases, and therefore should not be processed with a laser.
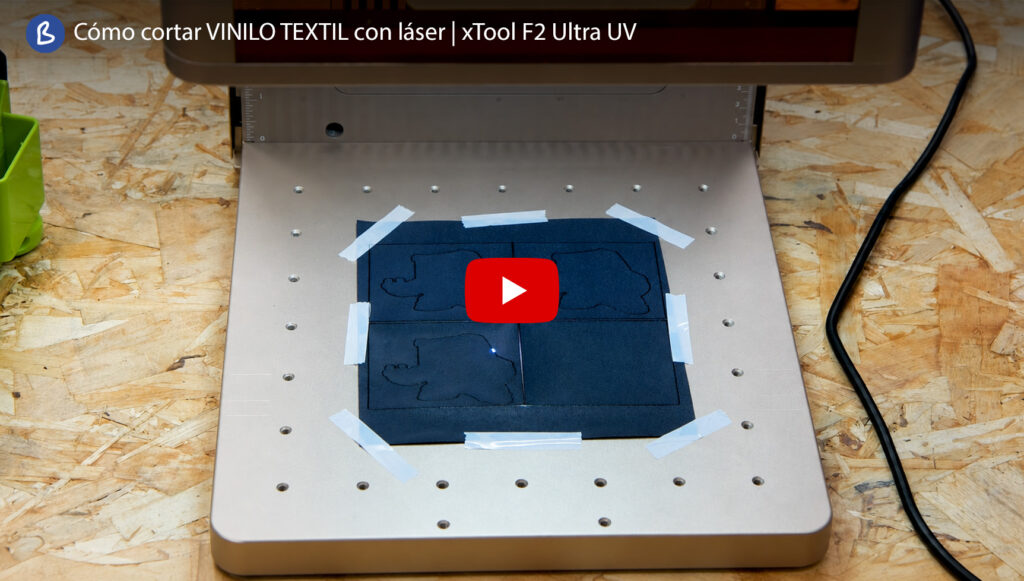
Once you have checked its composition, place the vinyl on the work area with the liner or protective backing facing down.
Secure the edges with adhesive tape to prevent the material from shifting during cutting. It is important that it remains completely flat, as any waviness or raised edge can alter the distance from the head and affect the result.
In this project, we have also placed an auxiliary wooden base to prevent the laser from directly marking the metal surface of the machine.
Prepare the design in mirror image
Load the file into xTool Studio and arrange the different pieces within the workspace.
As happens in textile vinyl cutting with a plotter, the design must be sent in mirror image. Select all the elements and use the option:
Reflect → Reflect horizontally
This step is essential when the file contains text, logos, or elements with a specific orientation. When placing the vinyl on the cap, the design will regain its correct position.
Parameters for laser cutting of textile vinyl
The goal is to perform a kiss cut or half cut. This means that the laser should cut through the vinyl layer while keeping the liner, which acts as a support, intact.
In our tests with Br-Flock Flap and turbo textile vinyl, we used the following parameters:
Power: 100
Speed: 99
Passes: 2
Frequency: 40
With this configuration, a clean cut is achieved without piercing the protective base.
These parameters should be used as a reference for this project, not as a universal setting. The result may vary depending on the material, colour, design size, or the machine's working conditions.
Therefore, before cutting all the pieces, it is advisable to perform a test on a small area of the vinyl.
How to know if the kiss cut is correct
Once the cut test is completed, try to lift a part of the excess material.
If the vinyl does not separate easily, the cut probably isn't deep enough. If the laser has also penetrated the liner, the setting was too intense.
The adjustment is correct when the excess is removed cleanly, but the protective backing remains intact.
This check will allow you to adjust the parameters before starting the full cut and avoid wasting material.
Advantages of cutting textile vinyl with laser
One of the most noticeable differences compared to blade cutting is the speed at which the laser follows the path. In small and detailed designs, it can complete complex shapes in a very short time.
Furthermore, as there is no physical contact between a blade and the material, some of the common issues associated with mechanical cutting are reduced:
- There are no blades that lose their edge with use.
- The material does not experience the same drag.
- Fine lines can be reproduced with great precision.
- It is not necessary to physically adjust the depth of a blade.
- The tracing remains stable even in complex designs.
This precision is particularly useful for preparing logos, small text, and compositions with fine details.
However, it is important to consider the limitations of the vinyl itself. An extremely fine line may be cut correctly, but it can still be difficult to weed, place, or transfer onto the garment.
How to weed vinyl
Once you have cut all the layers, remove the vinyl from the machine and start weeding out the areas that are not part of the design.
Start with the large excess pieces and continue with the inner gaps, the letters, and the smaller elements. In delicate areas, use a weeding tool to lift the material without damaging the design lines.
Even if the cut is precise, avoid pulling too hard. A sudden movement could lift a thin piece that should remain on the liner.
Before moving on to ironing, ensure that the design is completely clean, that all pieces are correctly positioned, and that the different layers align with each other.
How to create the 3D effect with Br-Flock Flap
The unique element of this customization is the Br-Flock Flap.
Its flocked finish adds texture and volume, but its main advantage in this project is that it allows for the layering of multiple vinyl sheets. Thanks to this property, we can build different levels of relief and create a three-dimensional effect.
The composition combines an initial base of Br-Flock Flap, details in turbo textile vinyl, and new flocked layers that add volume.
Instead of achieving a completely flat print, we obtain a customization with greater depth, texture, and visual presence.
How to place the cap on the transfer press
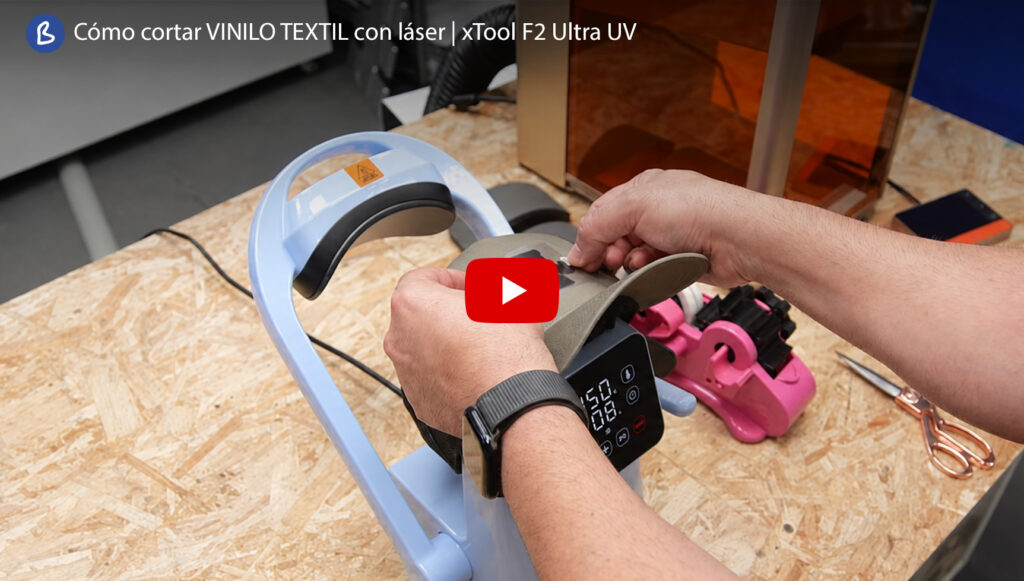
To transfer the design, we will use the Craft Express 3-in-1 Cap Press.
This press features a semi-automatic opening and closing system, as well as three interchangeable bases that allow it to be adapted to different types and sizes of caps.
Select the base that best fits the model you are going to customise and place the cap on it. The front should be tight, stable, and wrinkle-free.
Incorrect placement can cause pressure differences and result in some areas of the vinyl not adhering properly.
Application of the first coat
Place the first piece of Br-Flock Flap on the front of the cap and ensure it is well centred.
Once you have defined its position, secure it with heat tape to prevent it from shifting when closing the press.
For this application, we have used:
Temperature: 150 °C
Time: 8 seconds
Once the pressing is complete, open the press and remove the liner following the vinyl application instructions.
Placement of the details
After applying the base, place the cut pieces on turbo textile vinyl.
These pieces allow for the addition of smaller details and create contrasts within the composition. Carefully align each element and transfer it before proceeding with the next layer of embossing.
Always check the position of the design before closing the press, especially after removing each carrier.
Construction of relief by layers
Once the details have been transferred, place the following pieces of Br-Flock Flap onto the base.
As it is an overlapping material, you can layer the different sheets to progressively build the 3D effect.
Work on one layer at a time and check its alignment before each pressing. In small designs, any misalignment can be noticeable in the final result.
During successive applications, protect the areas already transferred and avoid subjecting them to more heat than necessary.
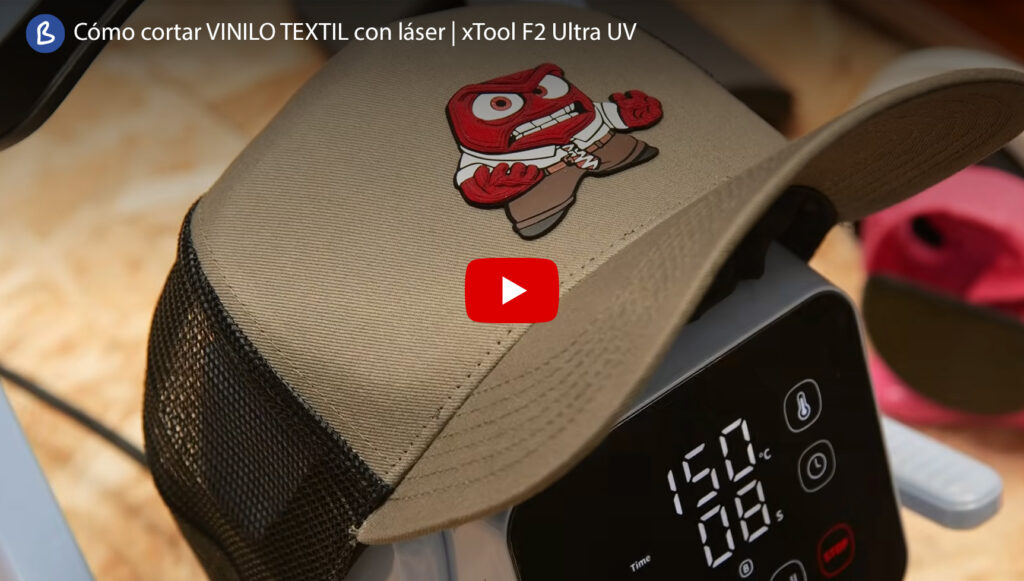
Result: a cap with embossing and a professional finish
The final result is a customised cap with precise lines, multiple levels of embossing, and a flocked texture that stands out on the front surface.
The combination of laser cutting with an overlapping vinyl allows for compositions with greater visual depth than a conventional flat print.
This technique can be applied to different types of projects:
- Corporate caps.
- Merchandising for brands.
- Embossed logos.
- Urban collections.
- Short productions with a high level of detail.
In addition to providing a more striking finish, the 3D effect can enhance the perceived value of the customisation and help you expand the options available in your workshop.
Start creating customised caps with a 3D effect.
Laser cutting of textile vinyl opens up new possibilities for producing small designs, complex compositions, and details that may be more challenging to achieve with a traditional cutting system.
At Brildor, you can find the xTool F2 Ultra UV, the Br-Flock Flap vinyl, the Craft Express 3-in-1 cap press, and various models of caps to apply this technique.
Discover the xTool F2 Ultra UV, the Br-Flock Flap vinyl, and the Craft Express 3-in-1 press, and start creating personalised caps with embossing and professional finishes.
Frequently asked questions about laser cutting textile vinyl
What is a kiss cut?
It is a half cut that goes through the vinyl but keeps the liner or protective backing intact.
Why must the design be cut in mirror?
Because the vinyl is placed on the cap with the adhesive side in contact with the fabric.
Can any textile vinyl be cut with a laser?
No. The material must be compatible with laser cutting and free from PVC and chlorinated components.
How is the 3D effect achieved?
By layering multiple layers of Br-Flock Flap on the same customisation.
Is it necessary to perform a cutting test?
Yes. The test ensures that the vinyl is cut correctly without cutting through the liner.
If you have any questions, share them with us in the comments. Our team will be delighted to provide you with answers and assistance. You can also directly contact our Customer Service department for further help.
Remember that on our social media platforms, we post a wealth of ideas, offers, and the latest news related to various personalisation techniques daily. To stay updated on everything, follow us on Instagram and TikTok. And don't forget to subscribe to our YouTube channel to keep learning with us!
See you in the next post!
👇 Other articles that may be of interest to you:
🧢 How to make custom caps with a 3D effect using heat transfer vinyl
🤔 How to apply heat transfer vinyl on challenging fabrics
👟 Personalise sports footwear with heat transfer vinyl
🏪 Start your t-shirt business with heat transfer vinyl for less than €800
WE WANT TO KNOW WHAT YOU THINK
You may also like