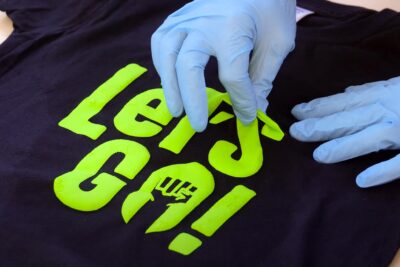
🤩Free DTF Transfers with your Epson F2100 T-shirt printer
🤩Free DTF Transfers with your Epson F2100 T-shirt printer
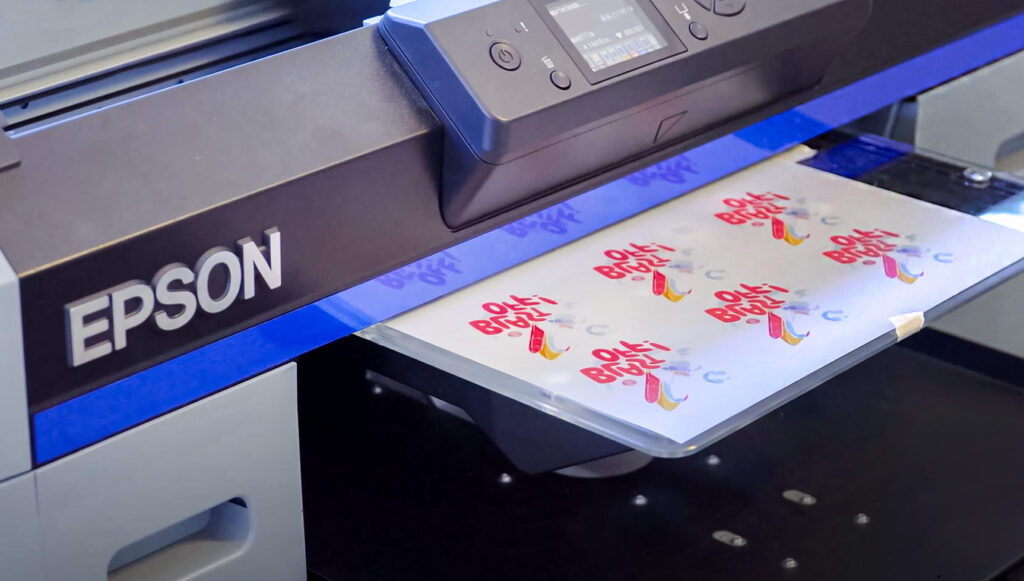
If you thought that, with the arrival of the technique DTF, direct textile printing or DTG would become a thing of the past, you were wrong. Now you can take the versatility of your t-shirt printer to another to another level by printing DTF transfers and without the need to invest in software!
We explain step by step how to print high quality transfers with your EPSON F2100 at a much higher speed than a standard DTF printer.
Advantages of combining your T-shirt printer with DTF
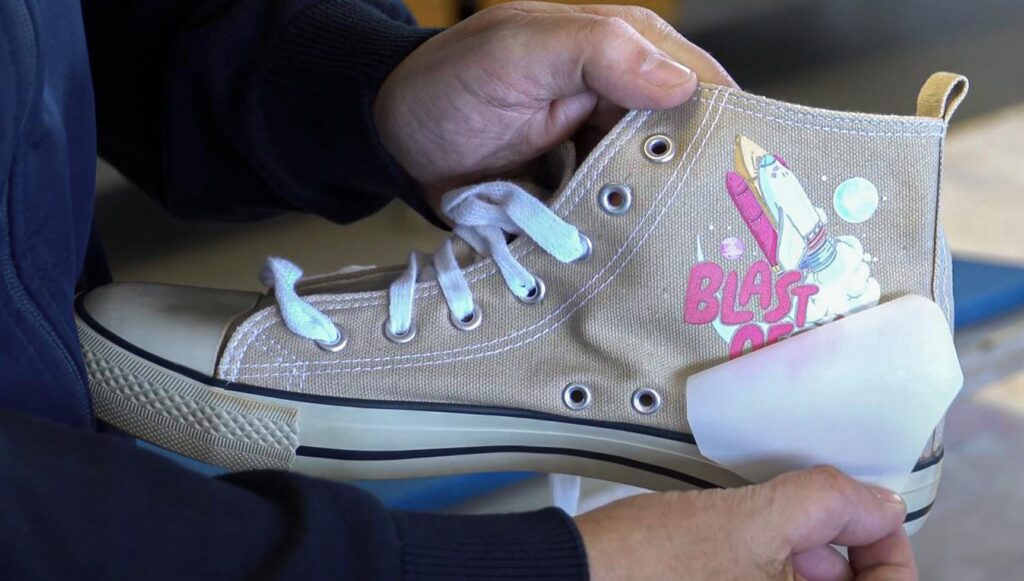
Did you know that you can use your EPSON SC F2100 T-shirt printer to print on sneakers, caps, workwear and more? The DTF technique is perfectly combined with this textile printer, increasing its versatility without requiring additional investment. All you need is EPSON Garment Creator and, to use the DTF functionalities, a small file to request from your usual retailer, and it's totally free!
This way, you can get a 2 in 1 machine, DTF and DTG in the same printer! This is excellent news for those who already have a direct textile printer and can be an advantage when deciding for the DTG. In this way, you will be able to offer design printing services to send to customers or have printed material ready to print later and increase the productivity of your work.
Best of all, thanks to ink recirculation, you can make DTF transfers without clogging the white ink nozzles, which solves one of the most common DTF problems.
Installation of Garment Creator DTF
As you know, to create DTF transfer designs, it is necessary to print the color first and then a layer of white ink over the design. In order to do this with a direct textile printer, the order in which the inks are printed must be switched. We explain step by step how to do it:
- Download the latest version of the RIP Garment Creator from the EPSON support page.
- Install the software.
- After installation, open and close the program.
- Access the path Disk C:/Users/Your username, activating the "view hidden items" option in the "view" tab.
- Open App Data<Roaming<Garment Creator<Local Store and paste there the file requested from the official EPSON distributor or supplier.
- Open Garment Creator and, in the "White Management" section, you will see an area enabled where you can change the printing order of the inks, which is essential for printing the DTF transfer.
Here is a visual explanation in case you have any doubts:
Creating a template and preset for DTF
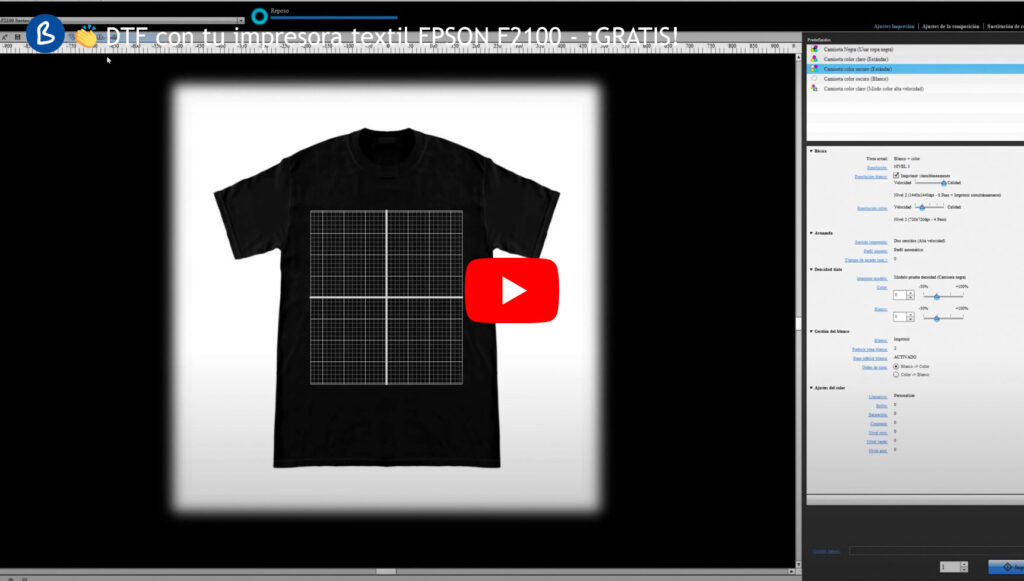
The next step is to prepare the preset for DTF. The first thing we recommend is to create a template in Photoshop, that is, a document with a light-colored background and in the size of the film you are going to use. When you have it, save it in .png or .jpg.
Then, in Garment Creator, select one of the presets according to the garment to be printed. You can choose between black T-shirt, light, standard or dark colored T-shirt. Then, import the background image and resize it. It is best to place it on one side of the grid, this will make it easier for you to position the designs on the film.
As for the white resolution, disable simultaneous printing. For the color resolution, you can select between 10 or 16 steps, depending on the image to be printed.
Remember that the higher the resolution, the more steps and, therefore, the more ink. In this case, when printing on a film, it is advisable not to overdo it with the amount of ink, as it may expand and spoil the design.
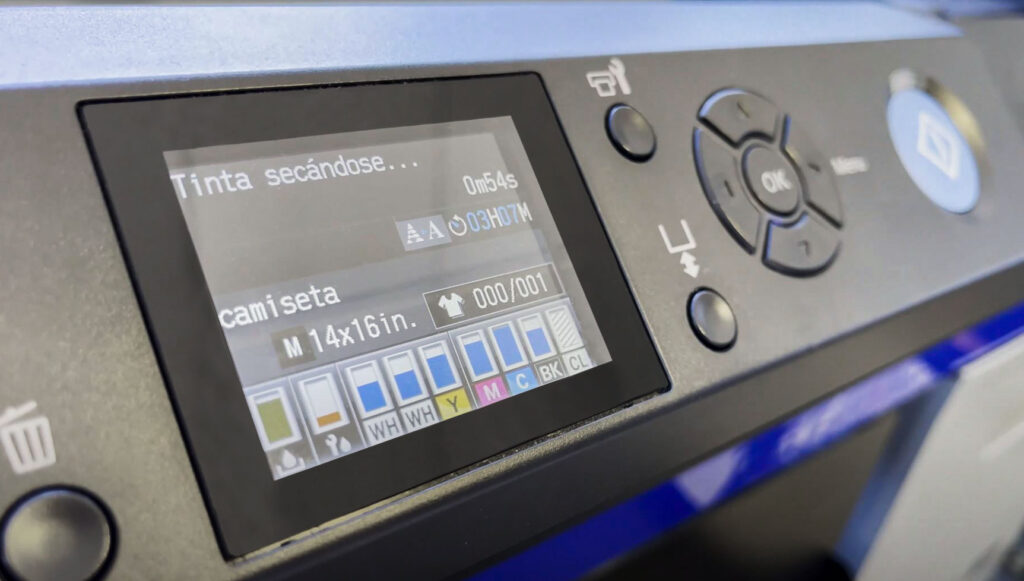
One of the keys to this process is to increase the drying time to 60 seconds. This prevents colored inks and white from mixing.
Regarding ink density, we recommend you to do your own tests. In case you are going to print a dark textile, you can start by setting the color up to 40 and the white down to -25. You can also lower the white resolution to 4 steps and leave the density at -10.
Finally, select the ink order: color first and then white. It is recommended to create a new setting by adding the name of the source preset. Here is a step-by-step explanatory video:
DTF film preparation and printing
Now that you're all set up, it's time to get the most out of DTF printing with the EPSON F2100:
- Place the film on the printer platen and secure it using masking tape that leaves no residue. Make sure it is completely attached to the platen to prevent the head from hitting the film in case the film might lift up.
- Adjusts the height.
Now, it is time to prepare the designs. Remember that multiple designs can be printed on the same film, saved, and applied later. We explain how:
- Go to Edit<Multiple image and select all designs.
- Set all images to the correct size for printing. If you want, you can make as many copies as you want by pressing the duplicate button. Once you have them all in place click "OK".
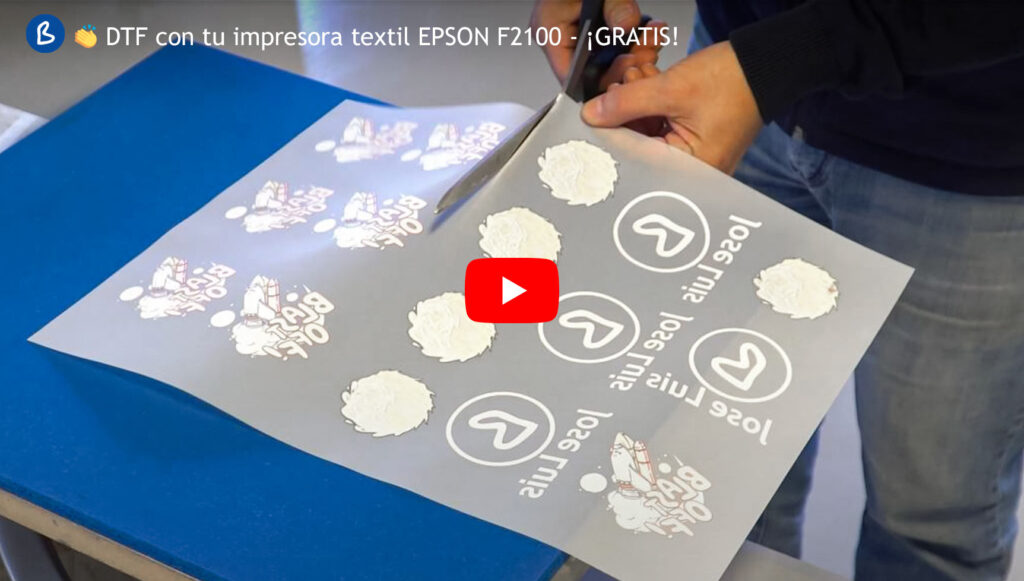
- Now you must go to: "Composition settings" and click on the rotate icon to put the designs in mirror mode.
- Reposition the design and you are ready to print.
- Now all you have to do is press the blue button on the textile printer.
The printer will start printing the color layer with the original DTG inks. Then, you will pause for 60 seconds to prevent the white from mixing with the color and finally, you will print the white layer.
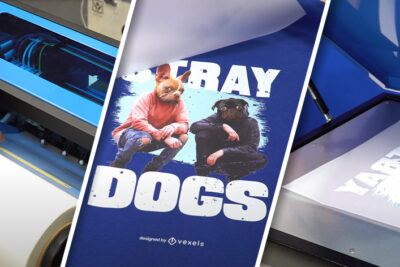
Quick and easy designs with Vexels
If you need to create designs for your t-shirts, but don't have the time or skills to do it, we recommend Vexels. This platform offers a wide selection of vectors, patterns, PNGs, editable PSDs and print-ready images using any customization technique you prefer. You also have the option of using ready-made templates or mockups for your social networks or e-commerce.
Note that Vexels is not free, but the investment required is very low compared to the benefits you can get. In addition, if you register through us, you will receive a 35% discount on your subscription. To learn more about how Vexels works and what it offers, you can check out these two videos we have prepared for you:
Curing and application on different textiles
After finishing the printing, you should carefully remove the printed film and proceed to apply the DTF powder using a bucket or dustpan. It is important that you do not perform this task near the printer to prevent dust from entering the machine and causing damage.
To cure the film, you can use an oven or a transfer plate. If you plan to apply the transfers immediately, a couple of minutes at 165ºC will suffice. However, if you wish to store them for later use, you will need to increase both the temperature and the curing time.
This printed film will allow you to customize products that normally cannot be printed on a T-shirt printer, such as caps, shoes or workwear. Once you have cut out the transfers, you can apply them or save them for later use. In this video we show you how to do it:
What are you waiting for? Start exploiting your T-shirt printer even further creating DTF transfers. Expand your possibilities and create customized clothing and accessories that you couldn't print with DTG until now.
If you have any questions or if we have left anything out, leave us a comment so we can help you. You can also contact our Customer Service department.
Remember to check our social media, where we post plenty of ideas, offers and news from all areas of personalisation. Follow us on Instagram and Facebook to make sure you don't miss anything. Don't forget to subscribe to this Blog and to our Youtube channel.
If you liked it, don't leave without leaving your five stars!
See you soon in a new post!
WE WANT TO KNOW WHAT YOU THINK



You may also like