🪡 Repairing embroidery mistakes: quick and effective solutions
🪡 Repairing embroidery mistakes: quick and effective solutions
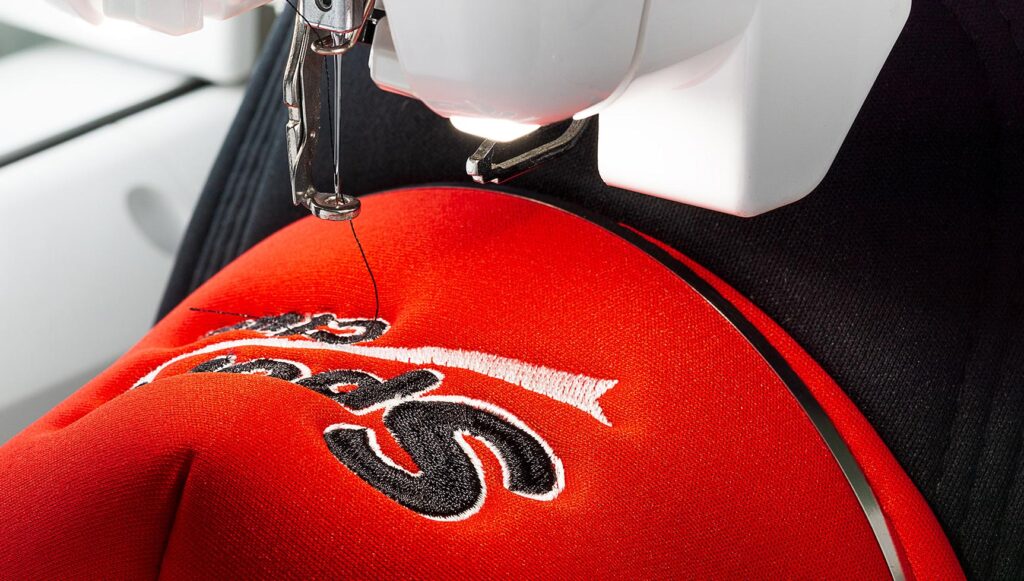
Making mistakes in embroidery is more common than it seems, even if you have experience. A broken thread, a misaligned design, or an incorrect letter can jeopardise the work. But not all is lost. In this post, we explain how to effectively repair embroidery mistakes without damaging the garment or wasting time.
Act without haste: calm is your best ally.
You are surely familiar with the saying "dress me slowly, I'm in a hurry." In embroidery, this holds true as well. Precisely when you are working with a valuable garment or have an urgent delivery... that's when the most mistakes occur. The reason? Rushing.
Attempting to fix an error with nerves or in a rush only makes things worse. If you try to undo stitches hastily, you might damage the fabric and turn a minor mistake into a bigger problem. The most important thing is to stay calm, carefully analyse what has happened, and act patiently. This way, you not only repair better but also avoid making another mistake by going too fast.
Do not remove the garment from the frame.
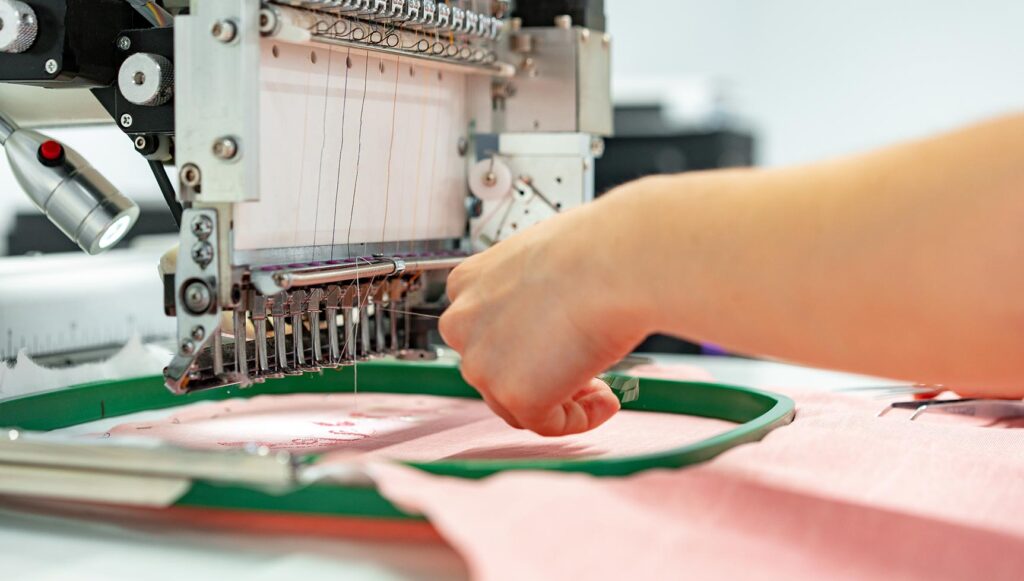
When you detect an error, resist the temptation to remove the garment from the embroidery hoop. It's the first thing we tend to do impulsively, but it's exactly the opposite of what you should do.
Why? Because repositioning the garment in the exact same position is nearly impossible. If you keep it secured in the hoop, you have a much better chance of resuming the embroidery without misaligning anything. You only need to note the exact point in the design where the error occurred, find the correct stitch, and restart the embroidery machine from there.
You can note that reference directly on the backing or on a sheet, marking the stitch where the machine stopped. Although the error usually occurs just before, that mark will help you go slightly back and repeat only the affected part.
Moreover, consider the time. If you know that fixing the error will take you 20 or 30 minutes, do not leave the machine idle: continue embroidering another garment. Ideally, have spare hoops of the same size to swap and keep the production going.
How to undo stitches without damaging the design
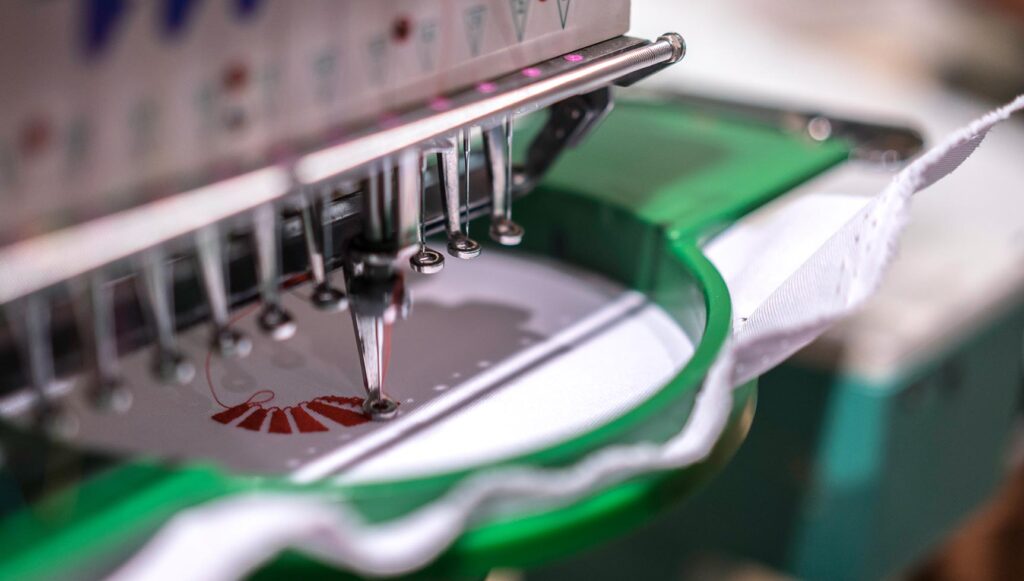
In most cases, fixing an error involves undoing part of the embroidery. Ideally, you should remove only the affected section without undoing the entire design. The fewer stitches you remove, the better you will preserve the structure and ease the realignment.
A useful tip is to frame the design on a piece of paper or transparent cover, mark the area of the error on it, and use it as a visual guide. This will help you identify the exact point of origin in the punching and correctly align the design with the machine. Instead of starting from the centre, you can begin from an already embroidered area that serves as a reference.
It is also important to carefully decide which part to undo. For instance, if you have made a mistake with just one letter in a name, it might be easier to align everything if you remove that letter along with one before or after it. This reduces the risk of the new embroidery being misaligned or overlapping.
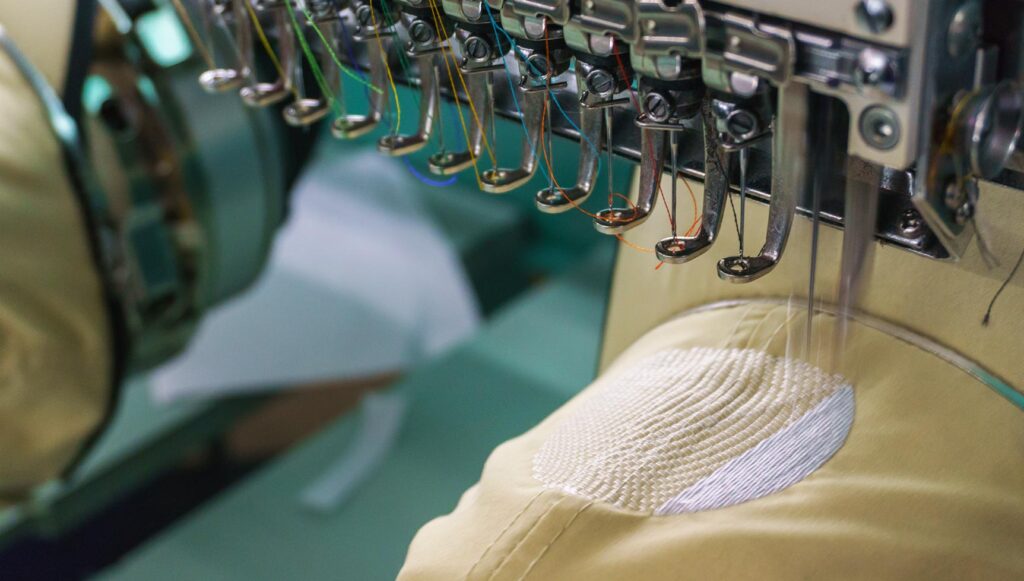
Can you embroider over a mistake? Yes, and it is a quick way to fix it.
A simple way to correct embroidery mistakes is to embroider over the error without the need to undo stitches. This is particularly useful when the mistake involves embroidering with the wrong thread colour.
As soon as you detect the mistake, go back to the point in the design where it started and repeat the area with the correct colour. You do not need to remove the previous thread, just cover it.
However, it may happen that the previous thread shows through the new one. To prevent this, place a thin interfacing between the two layers of stitches. It will act as a visual barrier, and if you use a tear-away interfacing, you can remove it before continuing with the design.
This technique of embroidering over mistakes is widely used by professional embroiderers. You can also create a small decorative or filler design to cover the mistake creatively.
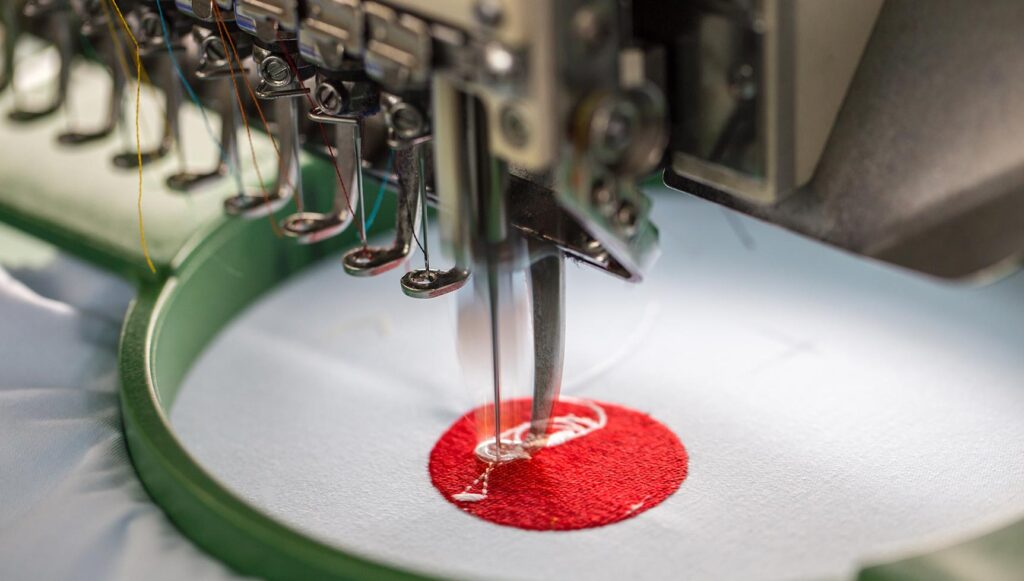
How to repair holes caused during embroidery
Repairing holes in an embroidered garment can be simple or complex, depending on their location. If the hole is within the embroidery area, it is most likely that you can cover it with new stitches.
To do this, move back to a position before the hole, place a small piece of interfacing on the reverse side of the garment and embroider over it again. The stitches will not only cover the hole, but the interfacing will reinforce that area and prevent it from tearing again.
The problem arises when the hole is outside the design area. In that case, you will need to patch the fabric or redesign the embroidery to cover it. You can add a fill area or a decorative applique to conceal the damage and maintain a professional finish.
And do not forget to assess the type of garment: if it is a very low-cost basic T-shirt and the repair is not worthwhile, sometimes the best option is not to invest more time in it and move on to the next piece.
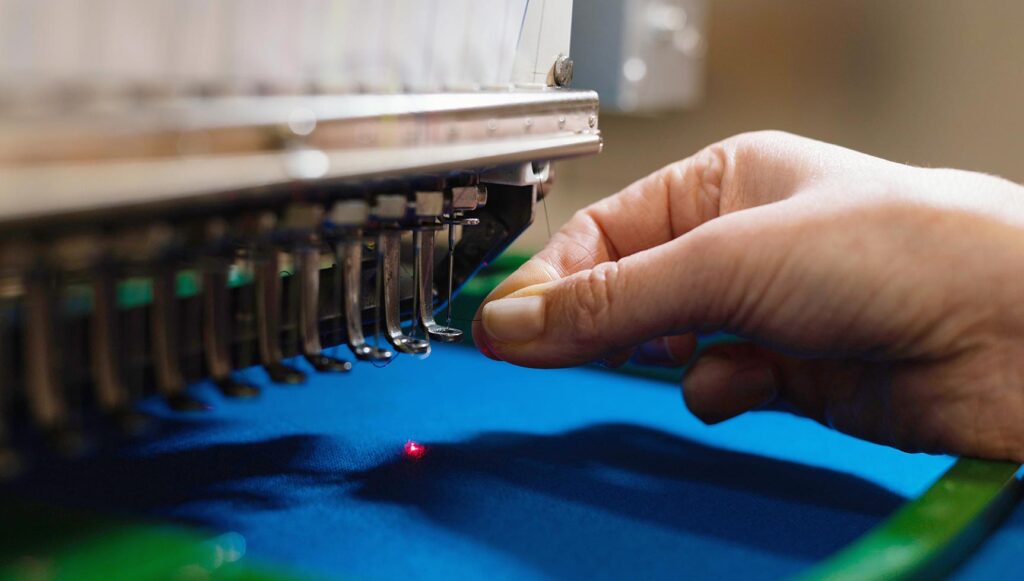
Errors in embroidery are inevitable, but with the right tips, you can fix them without wasting materials or time. Having a plan for each type of mistake, from a broken thread to a hole in the fabric, allows you to maintain the quality of your work and continue producing without interruptions.
If you have any questions, please feel free to leave a comment. Our team will be delighted to provide you with answers and assistance. You can also contact our Customer Service department directly for additional help.
Remember that on our social media channels, we post daily a wide range of ideas, offers, and the latest news related to various personalisation techniques. To stay updated with everything, follow us on Instagram and TikTok. And don't forget to subscribe to our YouTube channel to keep learning with us!
WE WANT TO KNOW WHAT YOU THINK

You may also like