


🖼️ Custom stickers: the trend that's taking over (and how to make them yourself)
🖼️ Custom stickers: the trend that's taking over (and how to make them yourself)
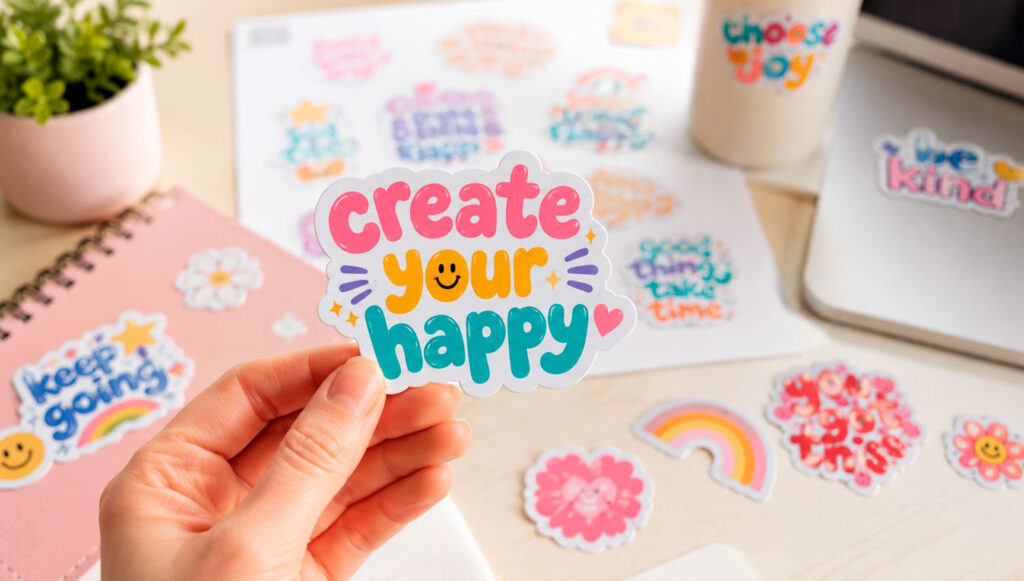
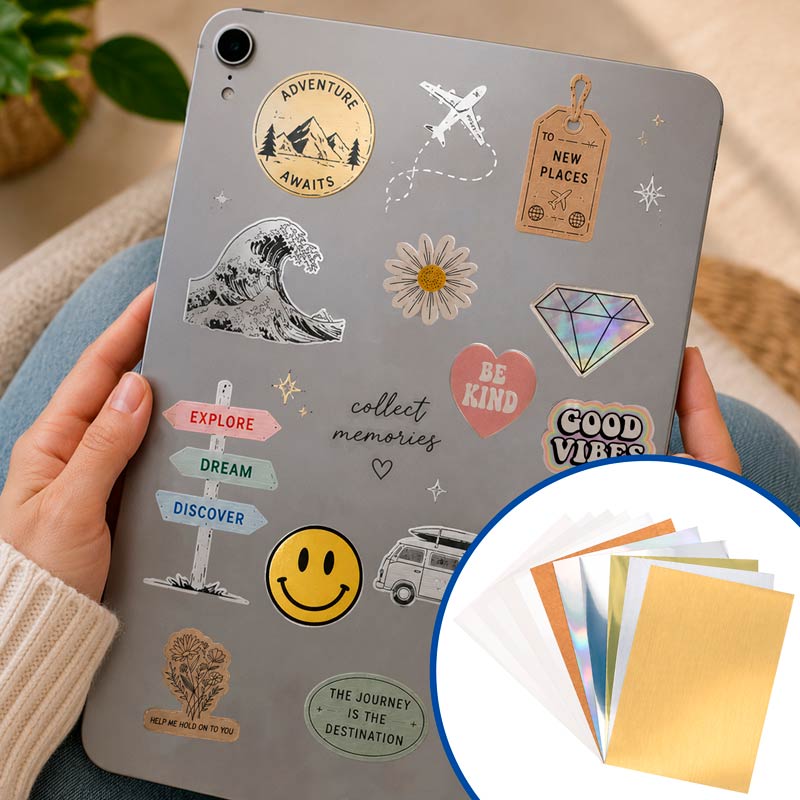
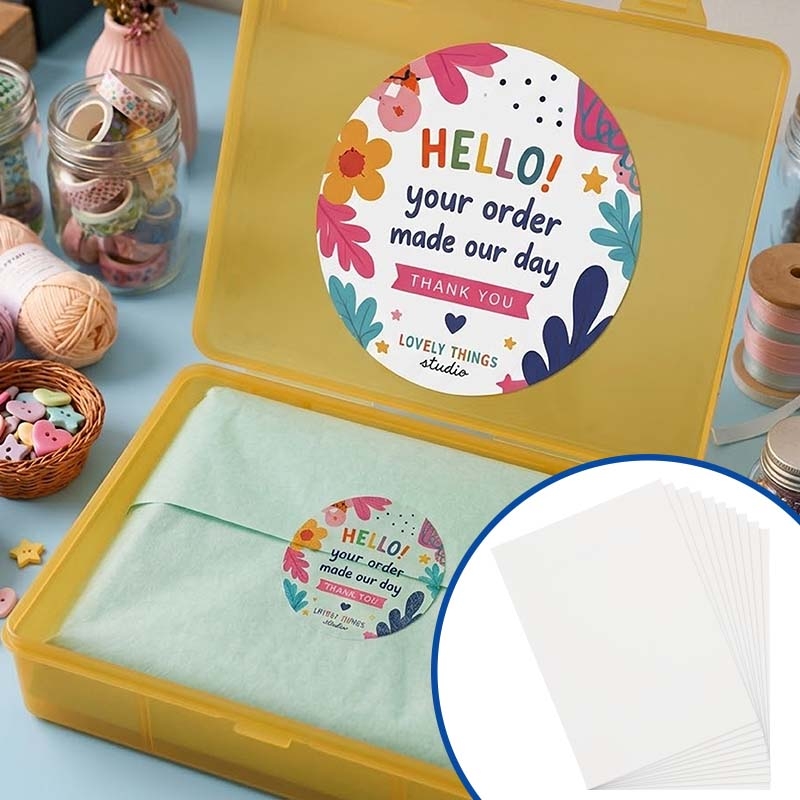
Custom stickers have evolved from being a simple decorative adhesive to becoming a highly popular product for personalisation businesses. They are quick to produce, cost-effective, versatile, and easy to adapt to all types of designs: from packaging labels to sticker collections to sell as a final product.
In this post, we explain how to create personalised stickers using your home printer (inkjet or laser) or, if you are already into sublimation, with sublimable adhesive vinyls. We also discuss other options for more durable results, such as UV DTF printing.
ÍNDICE
Why have stickers become a trend?
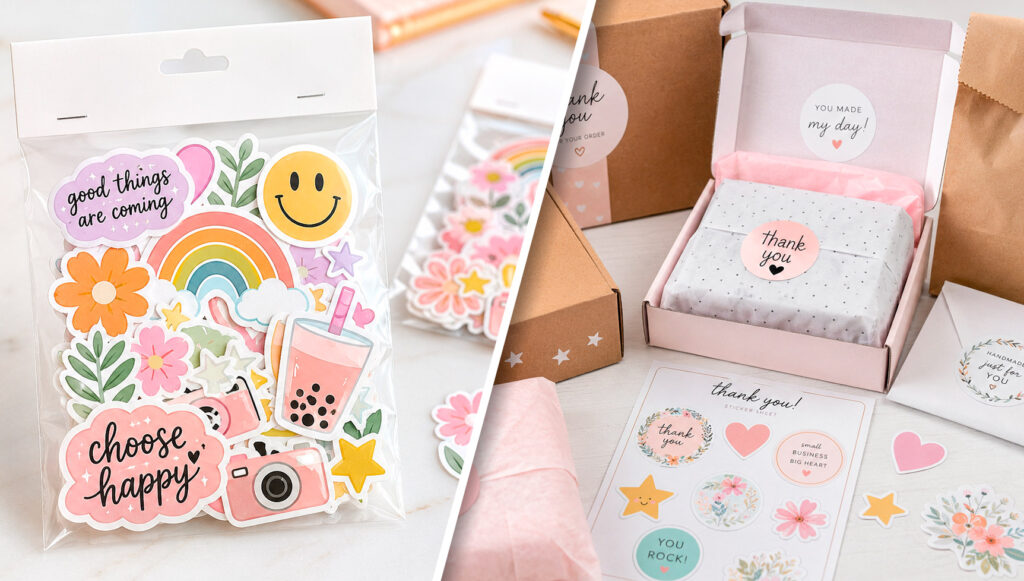
The rise of stickers is no coincidence: they are quick to produce, have a low material cost, adapt to any design, and work both as a final product (direct sale) and as a branding element (packaging, labelling, merchandising).
What you need to make custom stickers
Before starting, it is advisable to choose the material according to the type of printer and the finish you want to achieve.
Basic materials
To create custom stickers you may need:
- Printable adhesive vinyl, compatible with your printing system.
- Inkjet printer, laser printer or sublimation equipment.
- Cutting plotter, if you want precise outlines and more efficient production.
- Scissors or cutter, if you are going to make small batches or simple shapes.
- Self-adhesive protective film, recommended for enhancing durability.
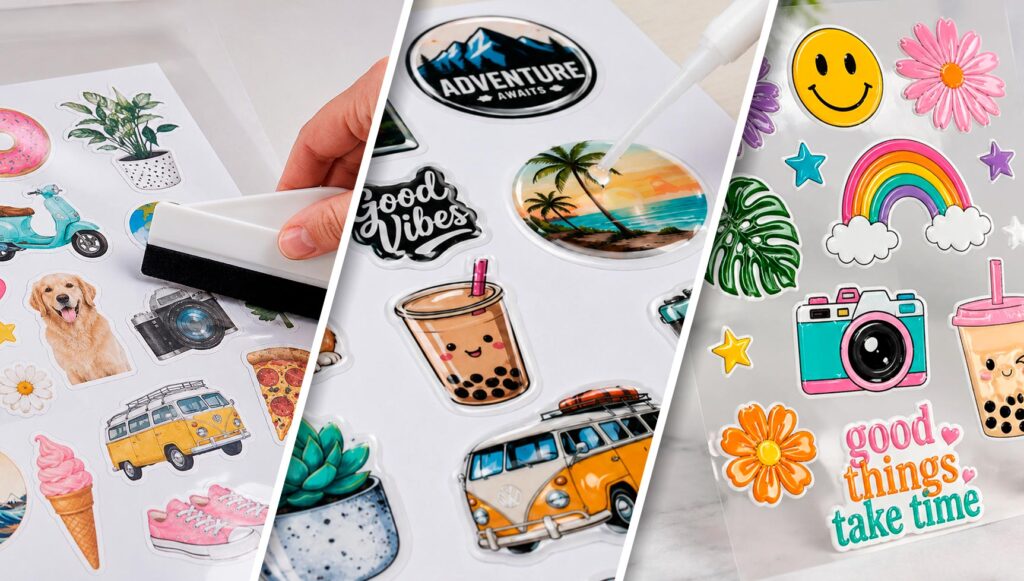
- Squeegee, for applying laminate without bubbles.
- Transfer Tape, useful for designs with many details or loose texts.
How to make stickers quickly and easily
Step 1: Design your stickers
Prepare your designs in the program you usually use. If you are going to cut with a plotter, it is ideal to work with vector files or to properly prepare the cutting lines.
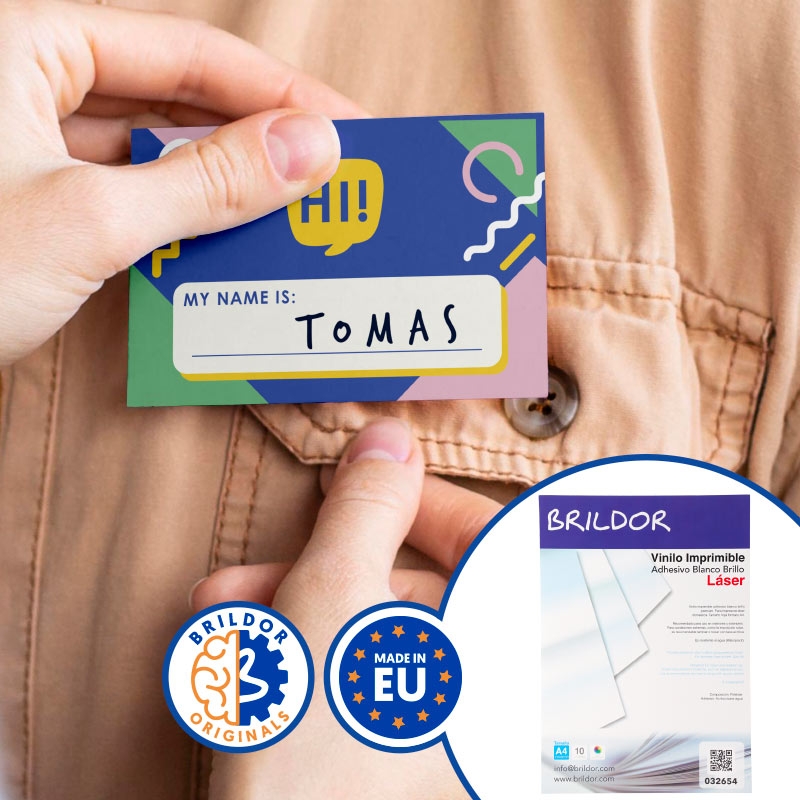
You can create individual designs, full sheets of stickers, product labels, name stickers, icons, illustrations, phrases, or small decorative elements.
💥Tip: To make the most of each A4 sheet, arrange multiple designs in a single composition and leave enough margin between them to facilitate cutting.
Step 2: Print the adhesive vinyl
Select the vinyl according to your printer. If you have a home printer, you can opt for the printable adhesive vinyl for inkjet or laser. It is ideal for starting as you can achieve professional results without investing in new equipment. Print the design directly onto the printable side of the material. Then, allow the ink to dry before handling or cutting the sheet.
If your business already works with sublimation, there's no need to invest in a new printer: you can produce stickers with the same equipment you use to customise mugs, bottles or flasks, t-shirts, tote bags, keyrings, magnets…
In this case, the process is different from that of an inkjet printer: first, the design is printed in mirror mode on sublimation paper and then transferred to the adhesive vinyl using a transfer press. It is not printed directly onto the vinyl.
The result is stickers with high adhesion, water and scratch resistance, ideal for both product and labeling. As with any customization process, we recommend conducting preliminary tests before mass production.
You can explore our entire range of printable adhesive vinyl to compare finishes and choose the one that best suits your project.

Step 3: Protect your stickers (optional but recommended)
Lamination is not always mandatory, but it is highly recommended if the stickers will be exposed to friction, moisture, frequent handling, or sunlight.
Applying an adhesive protective film helps to better preserve the colours and provides a more professional finish.
💥Tip: To avoid bubbles, apply the film gradually and use a spatula.
Step 4: Cut precisely
Once the material is printed and, if applicable, laminated, cut your stickers.
If you have a cutting plotter, you can achieve more precise outlines and repeat runs more quickly. To do this, use registration marks and ensure that the cutting file is well aligned with the printed design.
If you don't have a vinyl cutter, you can also cut the stickers with scissors or a craft knife. This is a good option for testing, small orders, or designs with simple shapes.
Step 5: Remove the excess and apply
After cutting, remove the excess vinyl around the stickers. This process is also known as weeding.
If the design includes small text, fine shapes, or many separate elements, using a transfer tape can help you move and apply it more easily.
Remember to apply the stickers on clean, dry, smooth, and non-porous surfaces to achieve better adhesion.
How to achieve stickers with a more professional finish
Once you have mastered the basic process, you can add special finishes to differentiate your stickers.
Laminated for increased durability
Doming: stickers with a 3D effect
UV DTF printing for special stickers
Lamination is a simple and very useful enhancement. It provides protection against scratches and handling, and can improve the durability of the adhesive in certain applications.
It is a good recommendation for product labels, packaging stickers, decorative stickers, or adhesives intended for surfaces that are frequently handled.
Doming, also known as resin drop, involves applying a transparent resin over the already printed and cut sticker. Once dried, it creates a volume effect that adds shine, relief, and a 3D-like finish.
This finish works very well on logos, premium labels, keychains, emblems, corporate stickers, or decorative stickers with a more professional appearance.
To apply doming, place the stickers on a flat surface, discard the excess vinyl, and carefully apply the resin over each piece. It is important to work in a clean, stable environment with the appropriate temperature and humidity conditions to avoid bubbles or defects during drying.
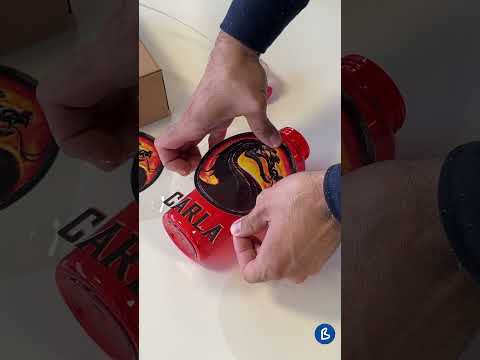
Unlike sublimation or printable vinyl, the process uses a two-layer film (film A and film B): the UV ink is printed onto film A and instantly cured with ultraviolet light, achieving very vibrant colours and a distinctive embossed effect. Once the transfer is prepared, the application is done cold, without the need for an iron or heat: simply peel off the protective film, place the design on the surface, and press with a spatula.
However, it does require a specific UV printer, as well as inks, film, etc. Therefore, it is usually considered more as a complementary service rather than an immediate home alternative.

As you can see, you can start with a home printer and printable adhesive vinyl, make use of your sublimation equipment if you already work with this technique, or take a leap to premium finishes with doming and UV DTF.
Have you already been inspired to create your own stickers? Tell us in the comments what technique you use and what type of designs you make; we love seeing your projects!
If you have any questions, share them with us in the comments. Our team will be delighted to provide you with answers and assistance. You can also contact our Customer Service department directly for additional help.
Remember that on our social media, we post a wide range of ideas, offers, and the latest news related to various personalisation techniques daily. To stay updated with everything, follow us on Instagram and TikTok. And don't forget to subscribe to our YouTube channel to keep learning with us!
See you in the next post!
👇 Other articles that may be of interest to you:
🖼️ The secret to customising a sublimable canvas
🆕 Cameo PRO MK-II and the cloChé heat press, among the 9 new Silhouette products that will boost your creativity
🧙♂️ Discover Shrink Plastic: what it is and everything you can create with it
WE WANT TO KNOW WHAT YOU THINK
You may also like