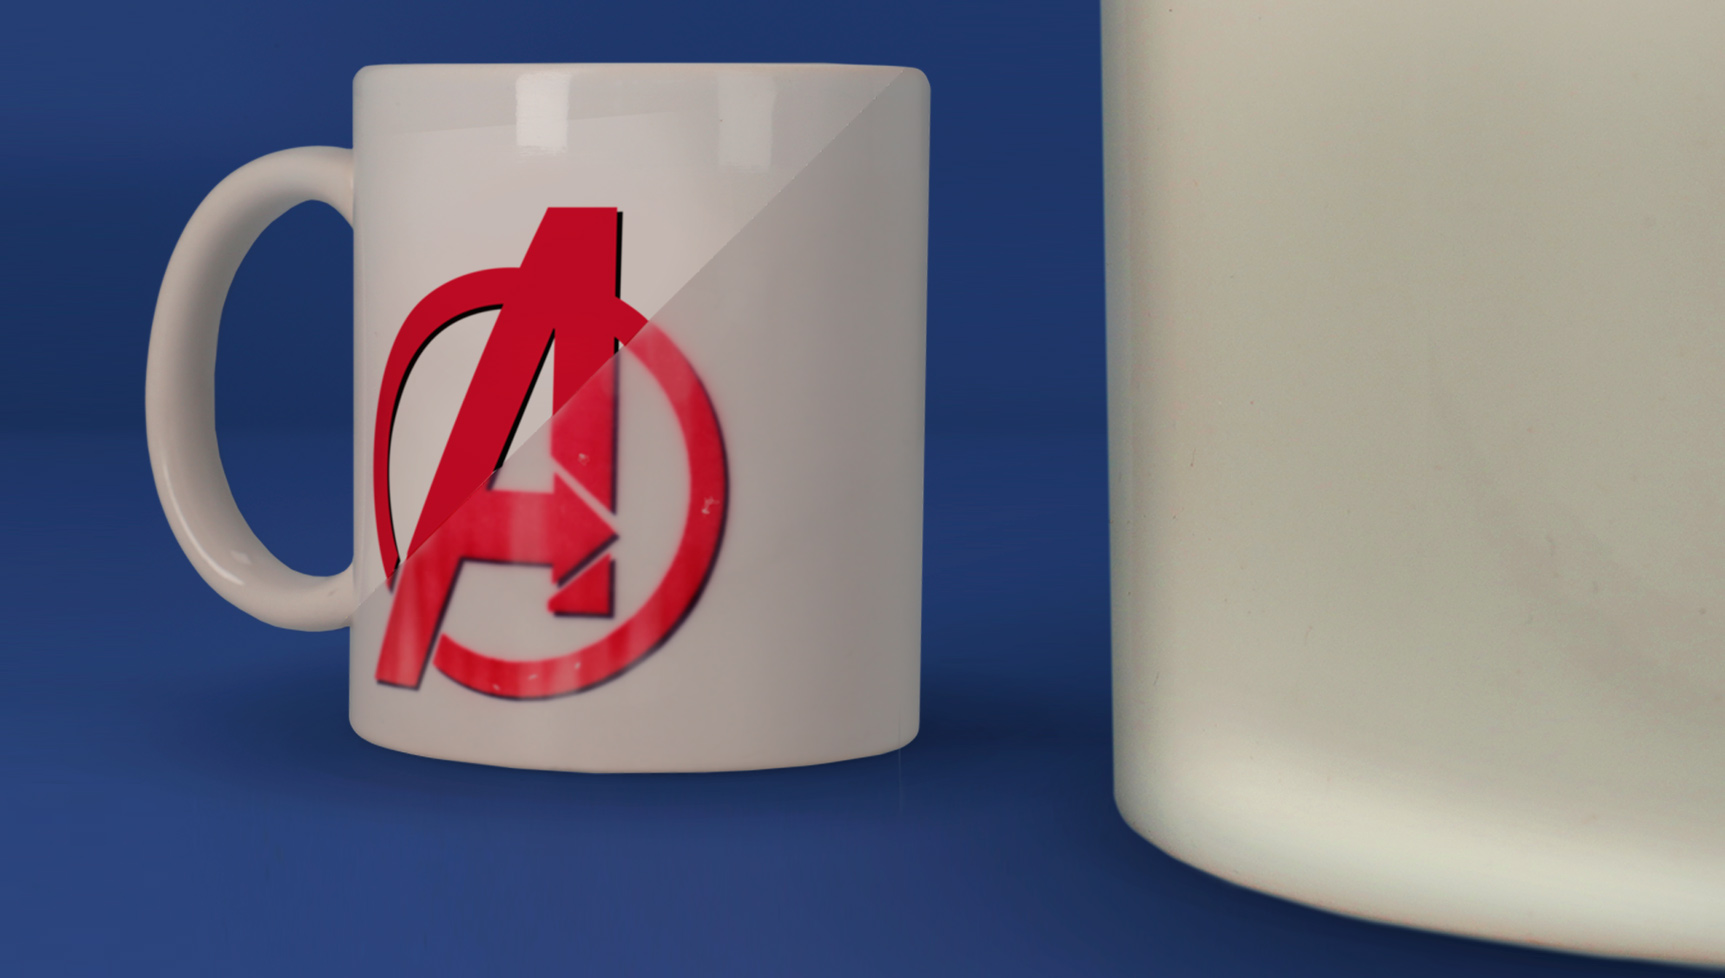
🔥 Shrink bags and sublimation oven to customise like a pro
🔥 Shrink bags and sublimation oven to customise like a pro
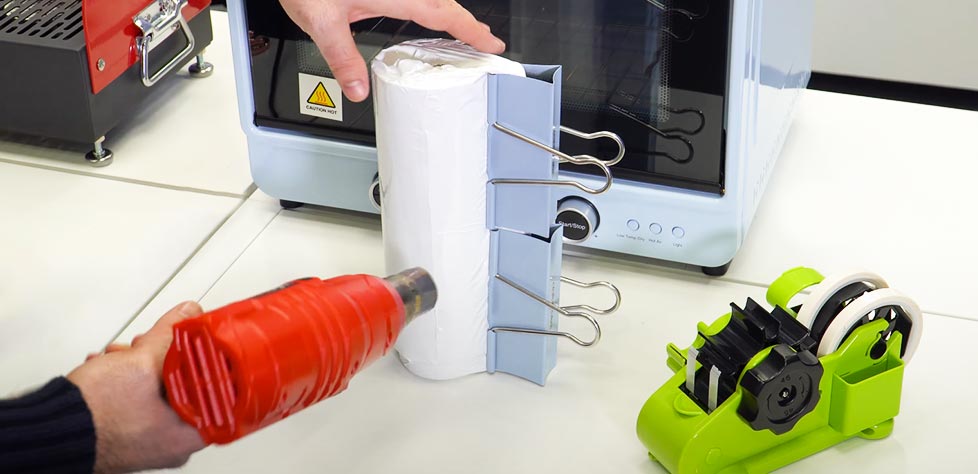
Did you know that you can sublimate objects of complex shapes and sizes without the need for a vacuum oven? We explain how to do it with shrink wrap bags and a standard sublimation oven.
Why use shrink wrap bags?
The various shapes and sizes of many sublimable objects make their printing challenging, and most of the time it is necessary to use a vacuum oven and clamps without moulds.
Shrink bags are a practical and economical solution for sublimating a wide variety of objects, eliminating the need for complex moulds. Thanks to their versatility, you can personalise items of different shapes and sizes using only a heat gun or stripper and an oven.
These bags are available in various sizes, allowing them to fit perfectly with products such as mugs, thermoses, tapered glasses, and even tiles, making customisation easier and ensuring quality results.
What do you need to get started?
- Sublimation Oven
- Shrink bags in different sizes
- Heat Gun or Stripper
- Sublimable Products
In our online store you will find everything you need to get started, from machines to accessories and consumables.
How to Choose the Right Shrink Bag
Choosing the right bag will ensure that the design fits well and will prevent issues during the sublimation process. Follow these steps to ensure you select the ideal size:
- Measure the object to sublimate: Take the width and height measurements of the item.
- Add a 10 cm margin to the height: The bag should be about 10 cm taller than the object, allowing for a 5 cm margin at the top and another 5 cm at the bottom. For instance, for an object that is 10 cm high, you will need a bag approximately 20 cm in height.
- Consider the particularities of the object: In the case of mugs, ensure the width includes the base and the distance between the mug and the handle to ensure a proper fit.
Step by Step: Sublimation in a Non-Vacuum Oven
Sublimate Thermoses and Bottles
We can sublimate flasks and bottles easily, with the added advantage of being able to produce several at once.
- Print your design: Use your sublimation printer and set the design to mirror mode.
- Position the design: Adjust the sublimable paper around the flask or bottle, ensuring that the entire printing area is evenly covered.
- Secure with heat tape: Attach the paper to the object with heat tape to prevent it from shifting.
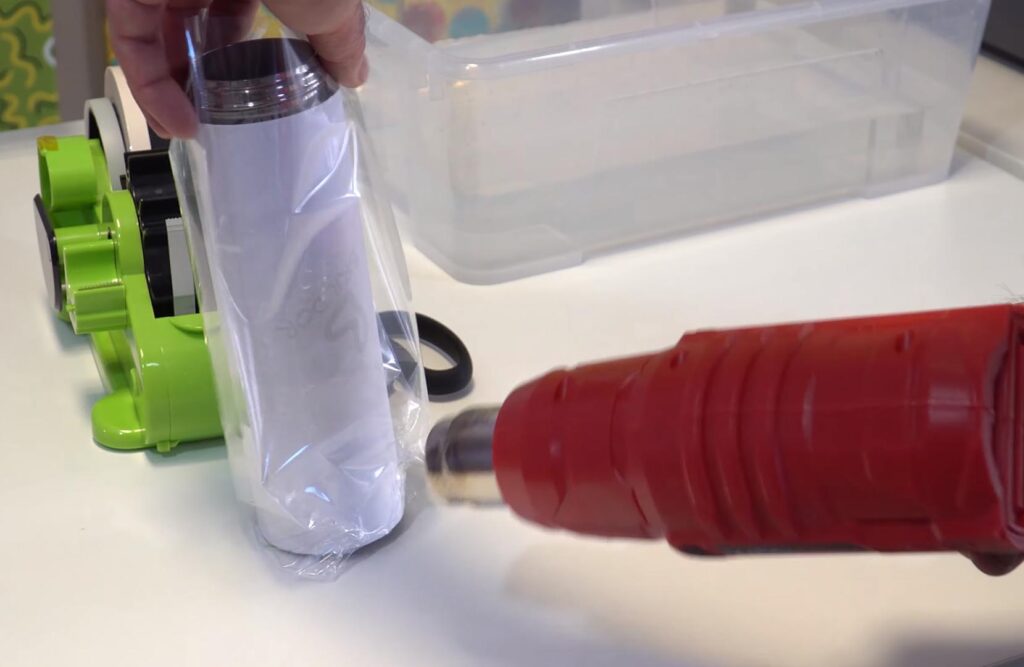
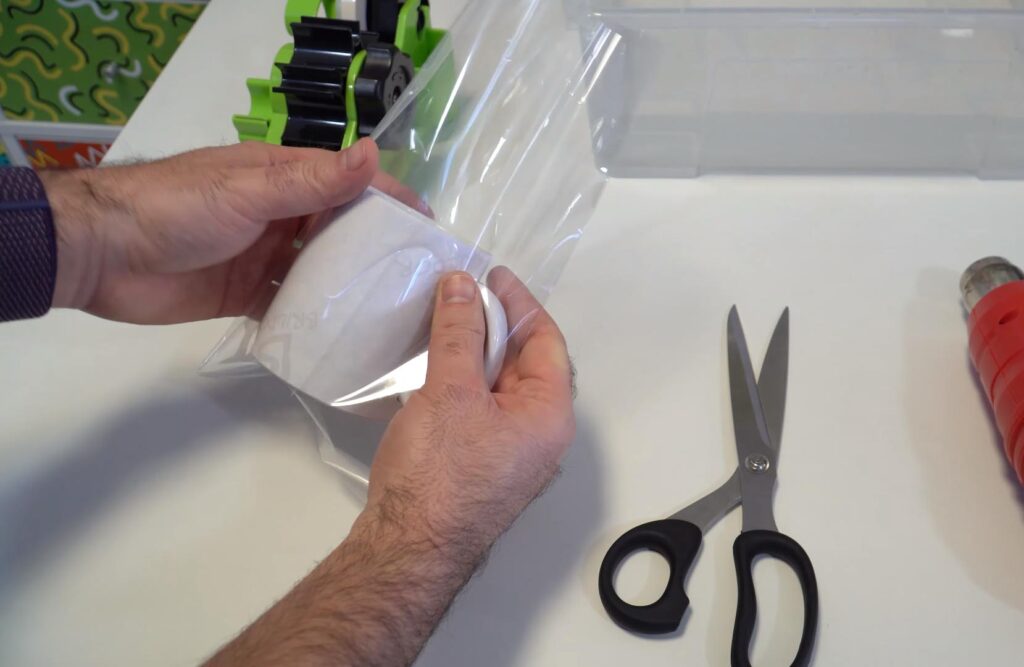
- Prepare the shrink wrap bag: Select a bag suitable for the size of the item. Place the flask or bottle inside the bag and use a heat gun to gradually apply heat until the bag fits perfectly around the entire surface.
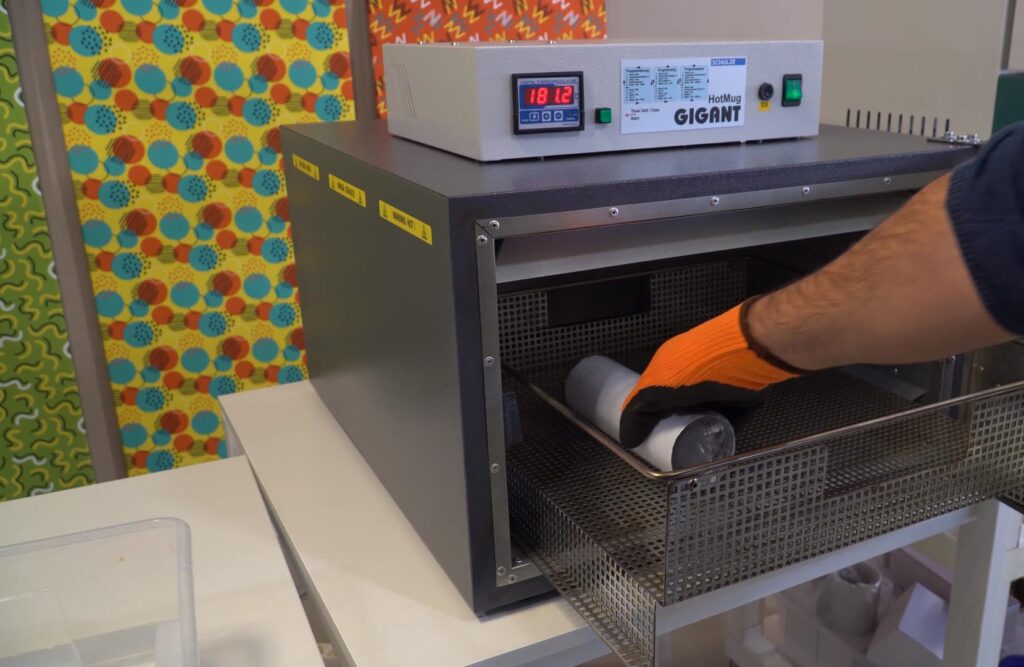
- Bake: Place the item in the sublimation oven and press at 180 ºC for 7 minutes.
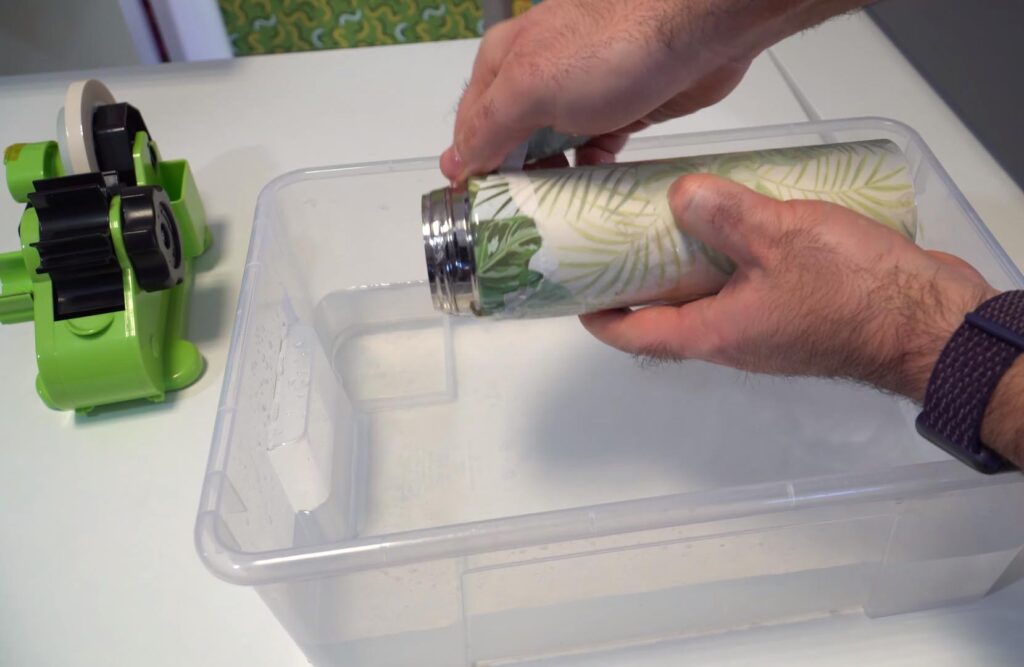
- Cool the object: Once baking is complete, quickly cool the tumbler or bottle using a fan or by submerging it in lukewarm water.
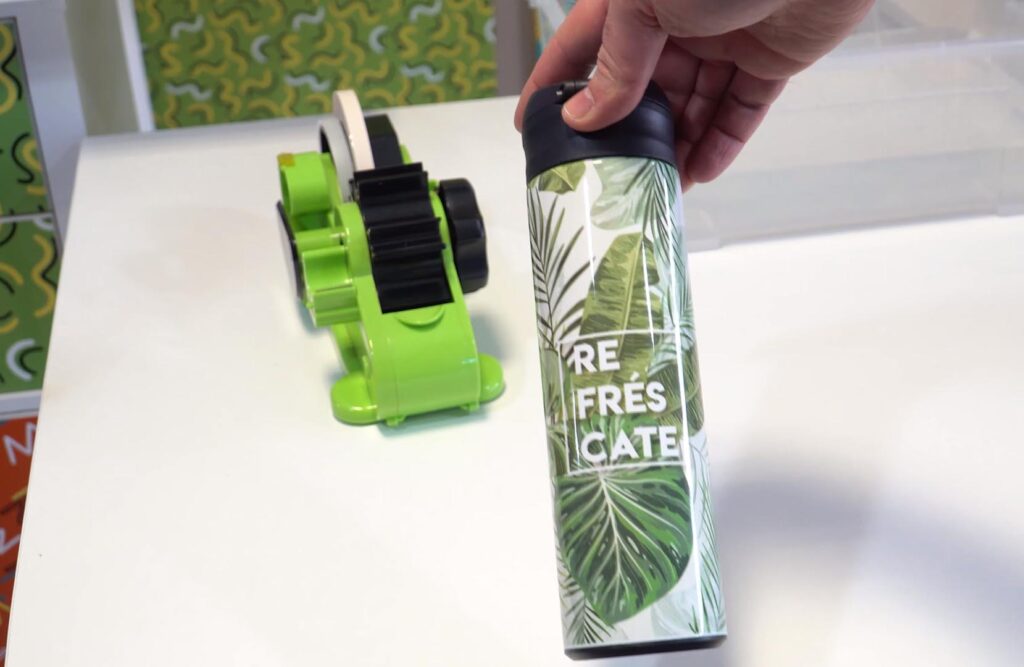
- Remove the materials: Carefully remove the shrink wrap and the sublimation paper to reveal the final result.
Full Mug Printing
In previous posts, we have already shown you how to print on a full mug, but today you will discover that with shrink wrap bags, the process is much simpler. Moreover, they allow you to optimise production, as you can sublimate multiple objects at once in the oven, saving time and reducing costs.
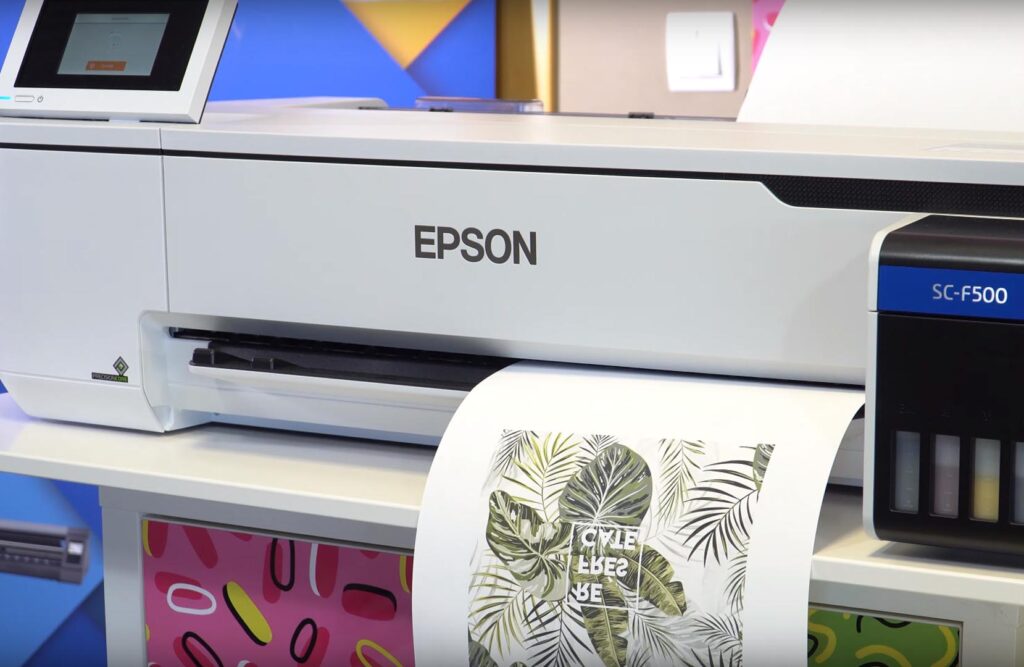
- Prepare your design: Print your design in mirror mode using your sublimation printer.
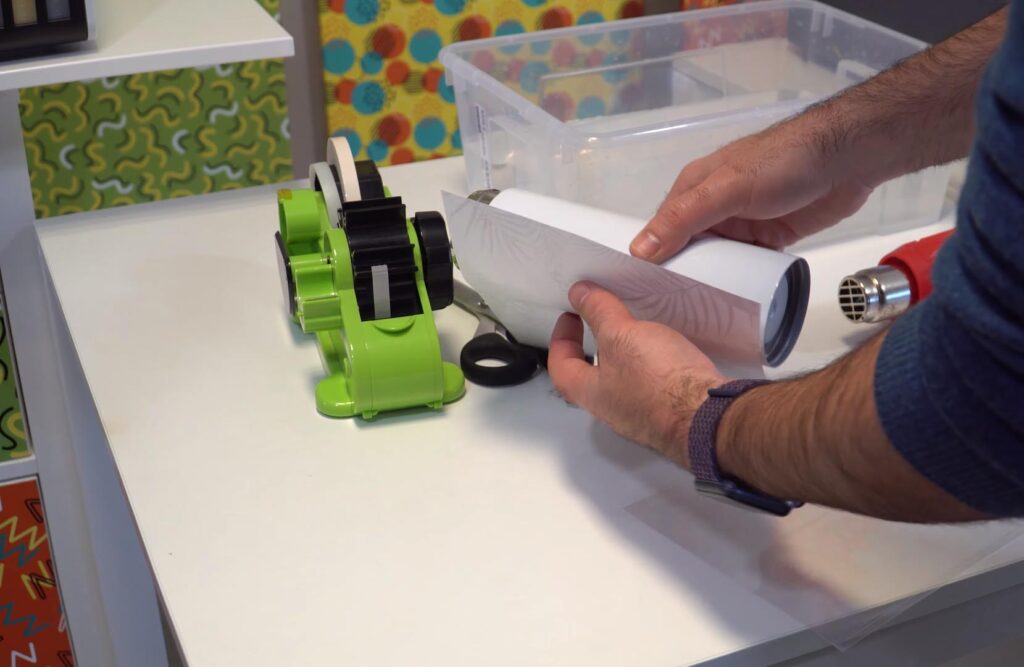
- Adjust the paper: Wrap the mug with the printed paper. To avoid issues with the handle, make cuts in the paper precisely where it passes. Secure everything with heat tape to keep it in place.
- Place in the bag: Put the mug inside a shrink wrap bag and trim the area around the handle. Secure the edges of the cut with heat tape to seal it properly.
- Apply heat: Use a heat gun to evenly warm the bag. Ensure it is completely adhered to the surface of the mug.
- Bake: Place the mug in the sublimation oven and bake at 180 ºC for 13 minutes.
- Cool: Once the process is complete, cool the mug in lukewarm water. Remove the bag and the sublimation paper to reveal the design with a perfect finish.
Sublimation of Thermal Mugs
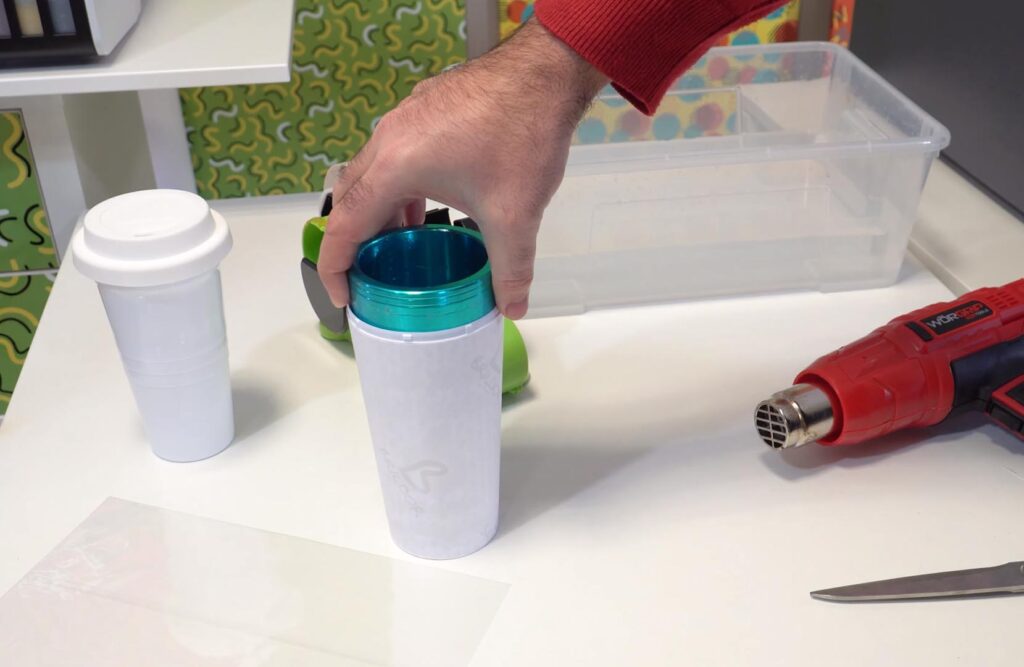
To sublimate a thermal mug, it is essential to use an aluminium mould or form, as it prevents the plastic from deforming during baking. Sublimation in a non-vacuum oven with shrink wrap bags is notable for its ability to print comprehensively, even on conical objects.
- Print your design: Set your sublimation printer to mirror mode and print the design you wish to personalise.
- Place the design on the mug: Wrap the mug with the printed sublimation paper, securing it with heat tape at the seams, as well as at the top and bottom edges, to prevent it from moving during the process.
- Prepare the mug with the mould: Insert the mould inside the mug to prevent deformations during baking. Then, place the set into a shrink wrap bag and apply heat with a heat gun until the bag fits snugly around the mug.
- Bake: Place the glass in the oven and sublimate for 9 minutes at 180 ºC.
- Remove the mould while hot: Once finished, remove the mould while the glass is still hot. If it cools down, the mould will adhere to the glass.
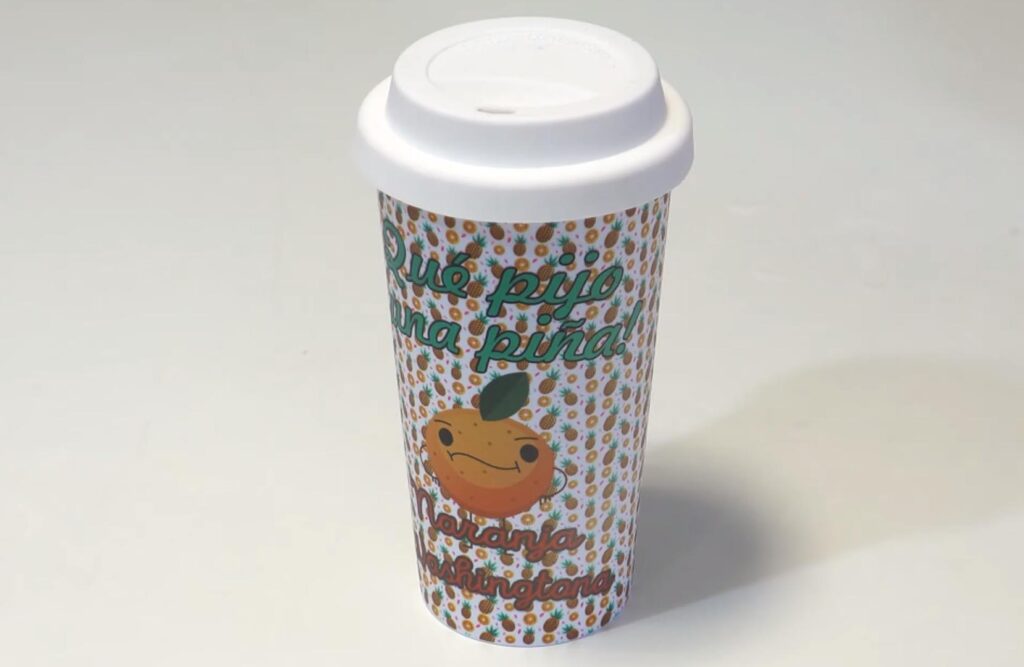
- Final Finish: Remove the plastic and sublimation paper. Cool the cup, assemble the interior, and place the lid. Ready to use!
Customisation of a Sublimable Tile
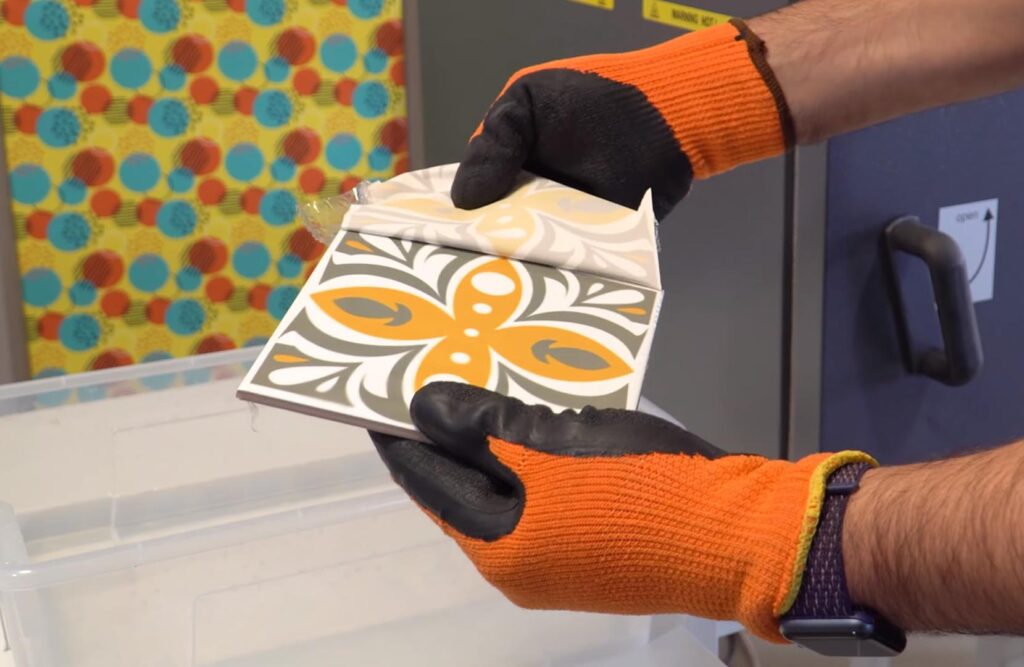
To demonstrate the versatility of shrink bags, we explain how to sublimate a tile with a design inspired by the iconic hydraulic mosaics.
- Prepare the design: Print the design in mirror mode using your sublimation printer.
- Place the design on the tile: Align the tile with the printed design, ensuring that the white side is in contact with the print. Secure both with heat tape to keep them in place.
- Wrap with the bag: Place the tile in a shrink wrap bag and trim any excess material. Use a heat gun to apply heat evenly, ensuring the bag fits snugly around the tile.
- Bake: Place the tile in the oven and sublimate for 13 minutes at 180 ºC.
- Reveal the design: Once the process is complete, remove the plastic and the sublimation paper. Cool the tile with lukewarm water or a fan to achieve a flawless finish.
▶️ SUBLIMATION in OVEN WITHOUT VACUUM USING SHRINK BAGS
In addition to the examples above, this technique is ideal for personalising cutlery, glasses, jugs, and many other products. Are you keen to give it a try?
If you have any questions or queries, please feel free to leave a comment. You can also contact our Customer Service team for more information or to address any concerns.
Additionally, we will be sharing first impressions and ideas on our social media for using this new cutting tool. Follow us on Instagram and TikTok to stay updated with all the latest, and don't forget to subscribe to our YouTube channel to continue learning with us.
See you in the next post!
WE WANT TO KNOW WHAT YOU THINK
You may also like