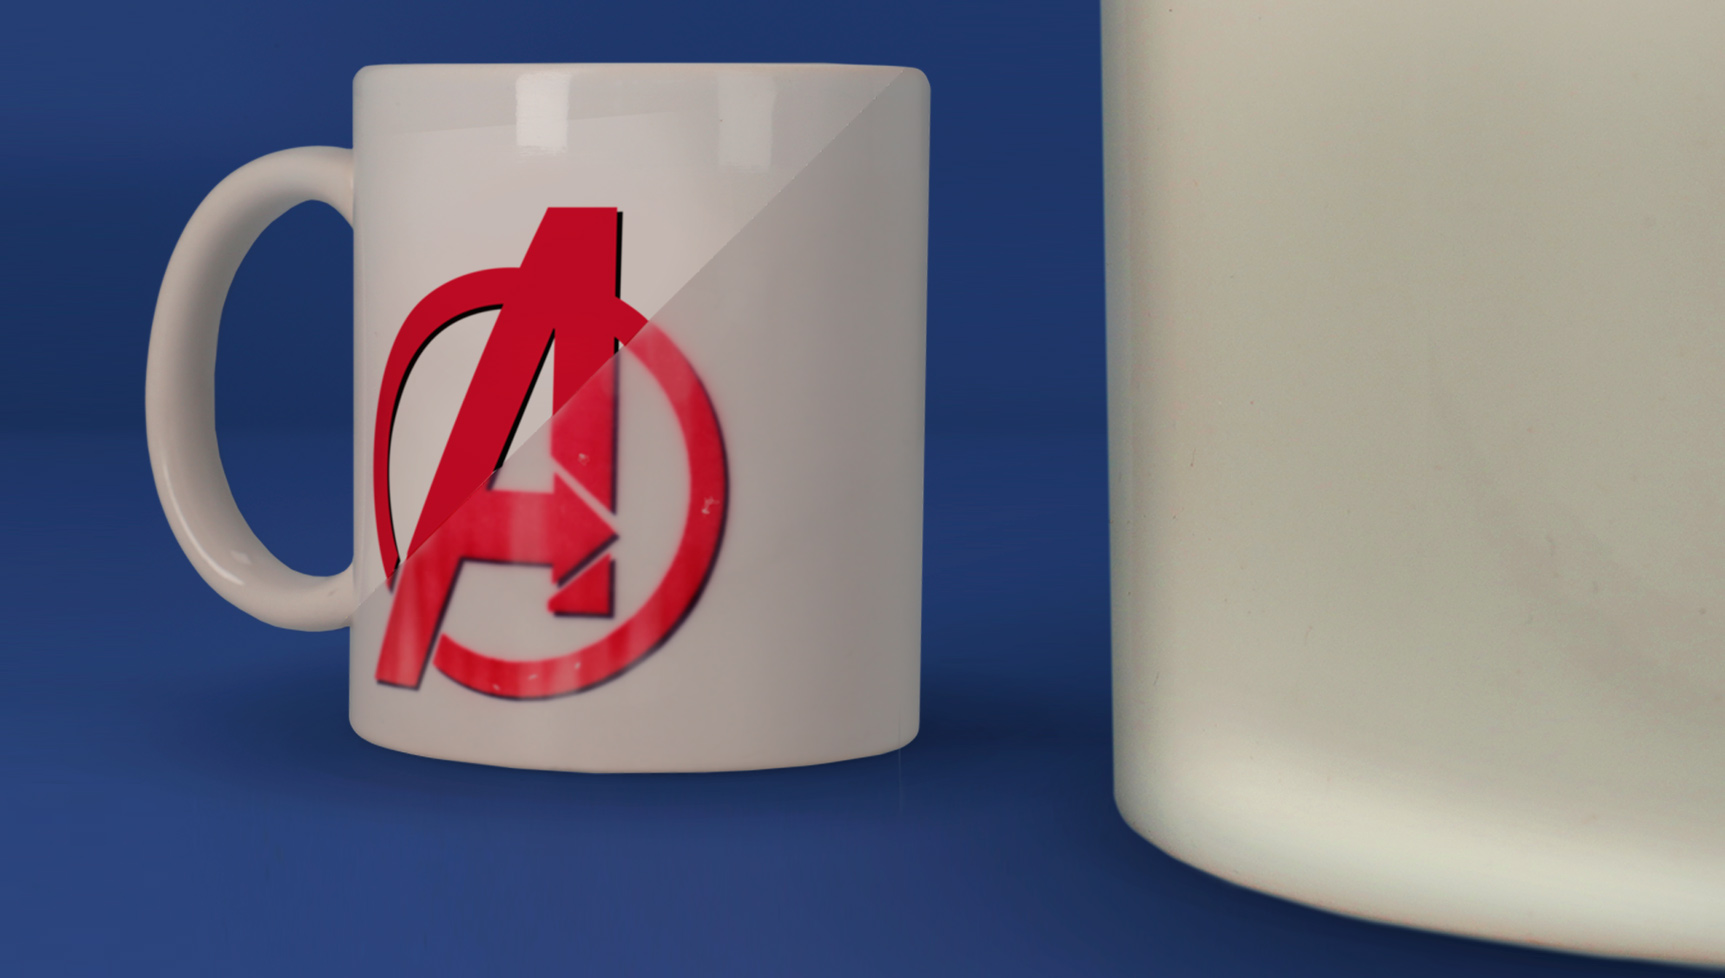
🤫 Sublimable Tiles: Secrets and Keys for a Professional Finish
🤫 Sublimable Tiles: Secrets and Keys for a Professional Finish
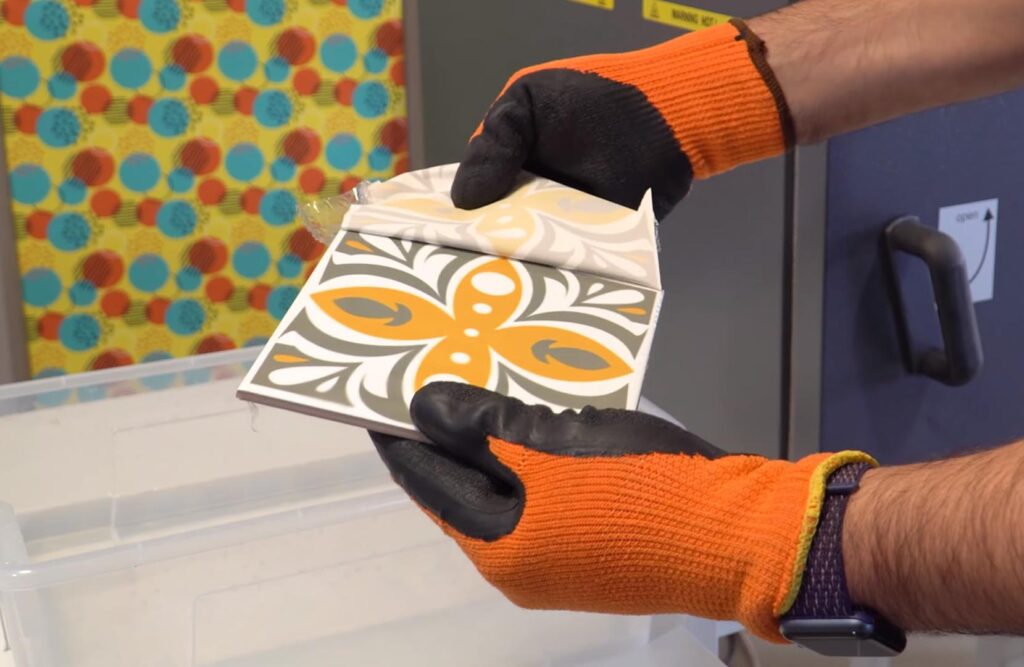
The sublimable tiles are easy to customise, but achieving a truly professional finish depends on the small details.
In this post, we will guide you step by step, sharing key tips and tricks to master the technique of customising tiles and achieve flawless results. Let's get started!
Why sell sublimable tiles
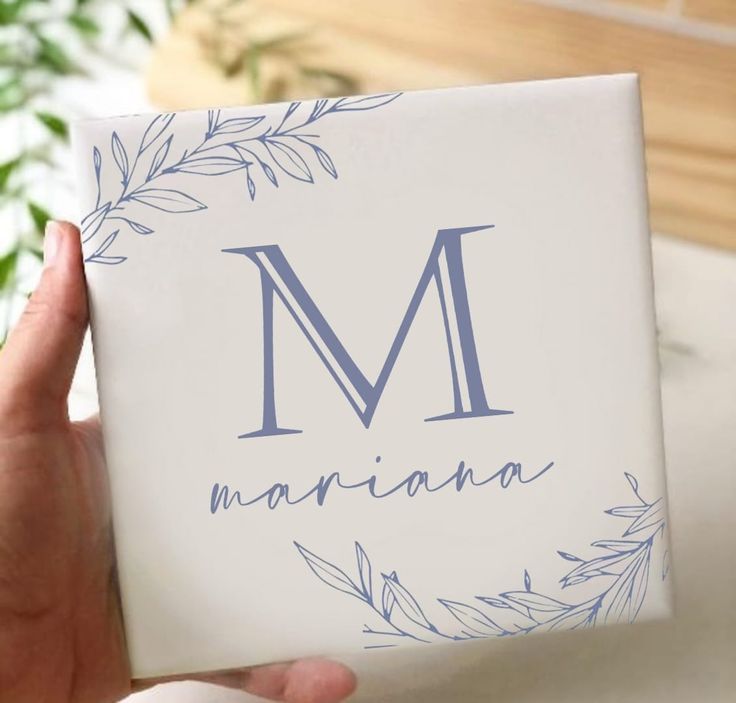
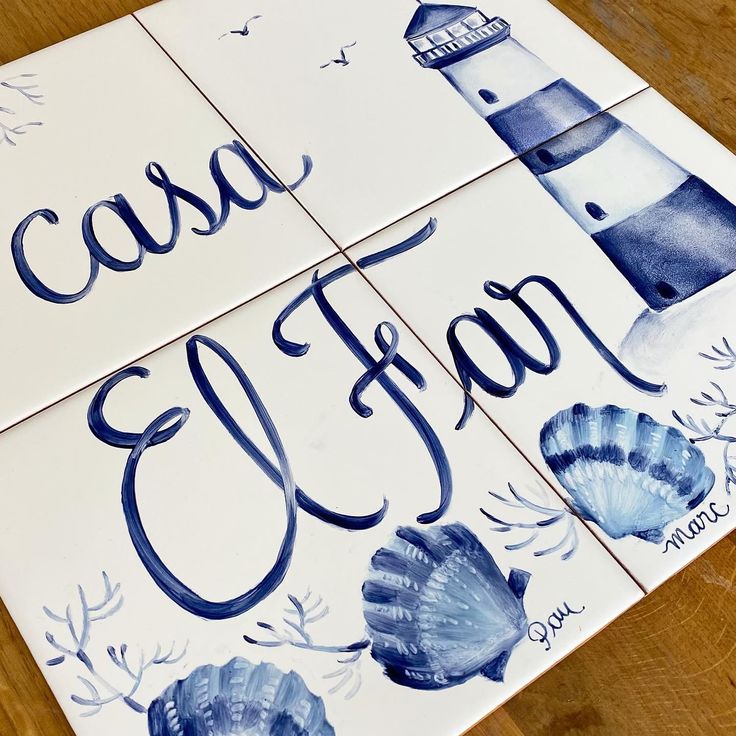
The custom tiles are a standout product in sublimation, as they combine aesthetics, functionality, and high emotional value. They are ideal for both unique gifts and decoration projects, thus expanding your catalogue with a versatile and highly demanded item.
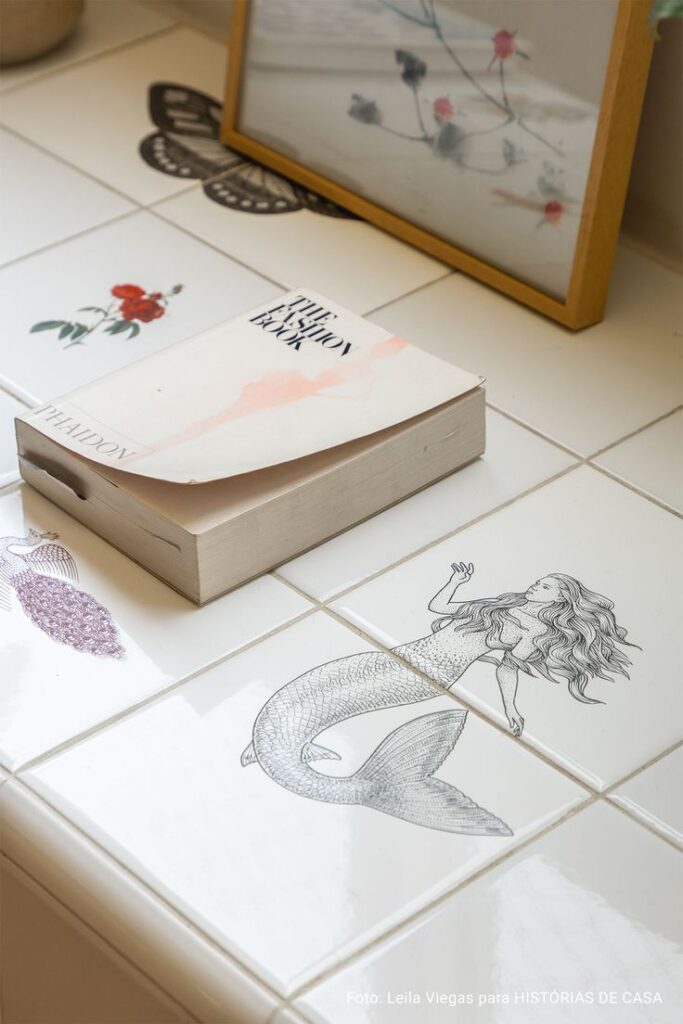
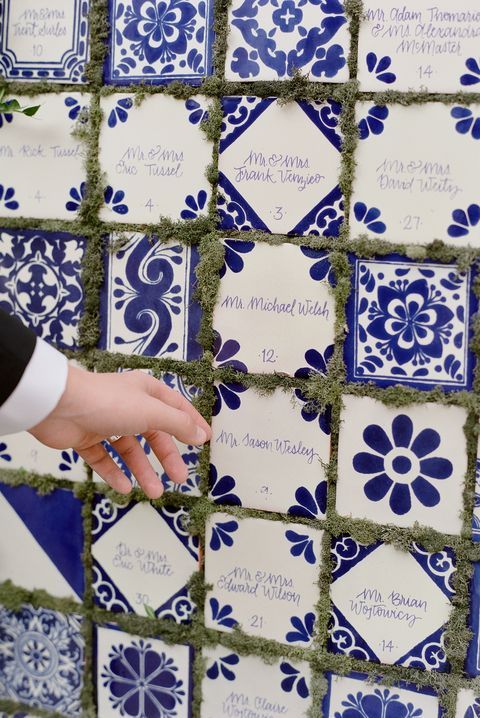
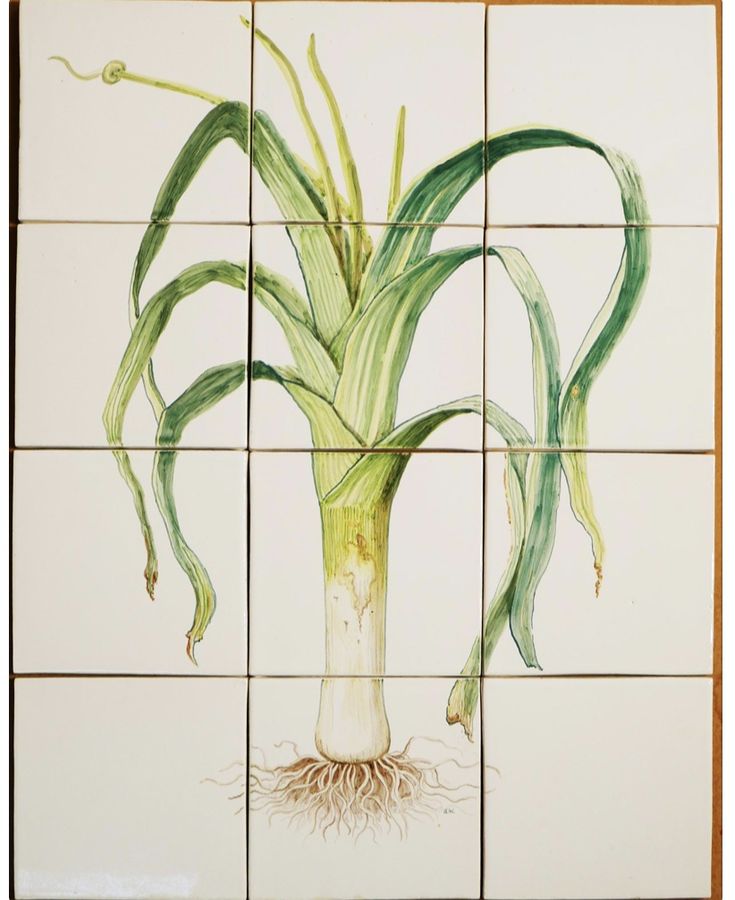
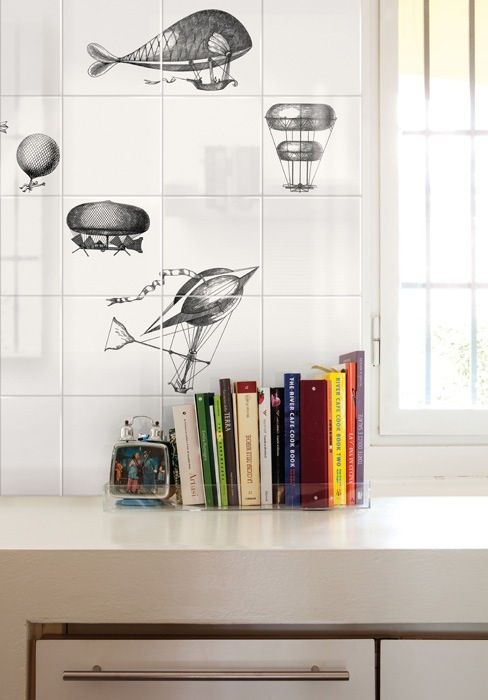
From individual pieces with meaningful images to complete murals created with sublimated tiles, this medium seamlessly integrates into any space: homes (kitchens, living rooms, bathrooms), businesses, restaurants, hotels, and even bespoke interior design projects.
What type of tile should I use?
To sublimate, it is essential that the tile has a special polymer coating, as this is what allows the ink to adhere.
In the market, you will find sublimable tiles with a gloss finish, which enhances the colours and details of vibrant photos and designs, although its surface is more delicate and prone to scratches, and the matte finish, which offers greater resistance and durability, making it the best choice for murals in humid areas such as kitchens and bathrooms.
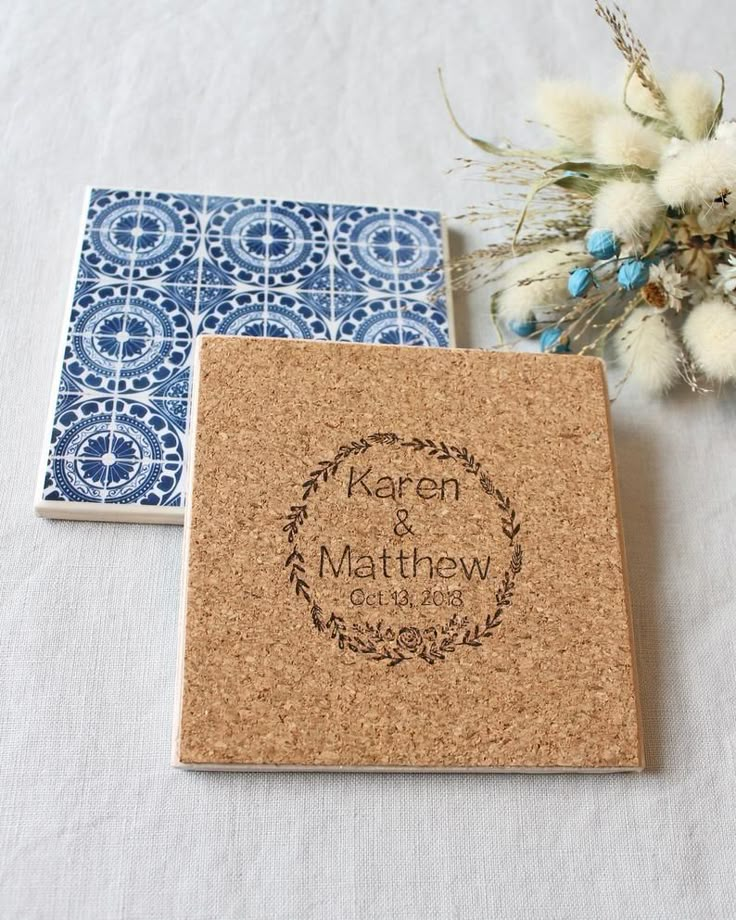
The sublimable tiles are available in various sizes and shapes, such as square, rectangular, or oval, making them ideal for decoration, murals, or personalised gifts. There are also functional options, like ceramic coasters with cork base or magnets in various shapes, perfect for promotional items.
⚠️ Important! It is important to remember that sublimated tiles are for indoor use, as exposure to sunlight and the elements can deteriorate the image over time.
Image editing and printing
To achieve a flawless result, it is essential to properly prepare the image before transferring it onto the tile:
✅ Print in mirror mode: Sublimation transfers the image in reverse, so you need to flip it before printing.
✅ Use a resolution of at least 300 dpi: This will ensure a sharp image without quality loss, even if you need to enlarge it.
✅ Correctly divide images for murals: If you are sublimating a mural made up of several tiles, divide the image into precise sections so that each piece fits perfectly. It is important to leave a small margin on each print to cover the edges of the tile and avoid white lines after sublimation.
⚠️ Attention! Creating custom murals with sublimation requires practice, as you must ensure each design is precisely aligned. Poor framing can lead to misalignments between pieces or leave areas unsublimated, affecting the final result.
✅ Use a printed paper larger than the tile: This will allow you to wrap the edges and cover the corners completely, avoiding unsublimated areas. To ensure precise transfer, secure the paper to the tile with heat tape, ensuring it does not move during the process.
How to Sublimate a Tile
To achieve a flawless finish in tile sublimation, there are three key factors you must master: temperature, pressure, and time. Without a proper balance between these elements, the image might not transfer correctly, resulting in colour loss, unsublimated areas, or even damage to the tile.
Type of transfer press
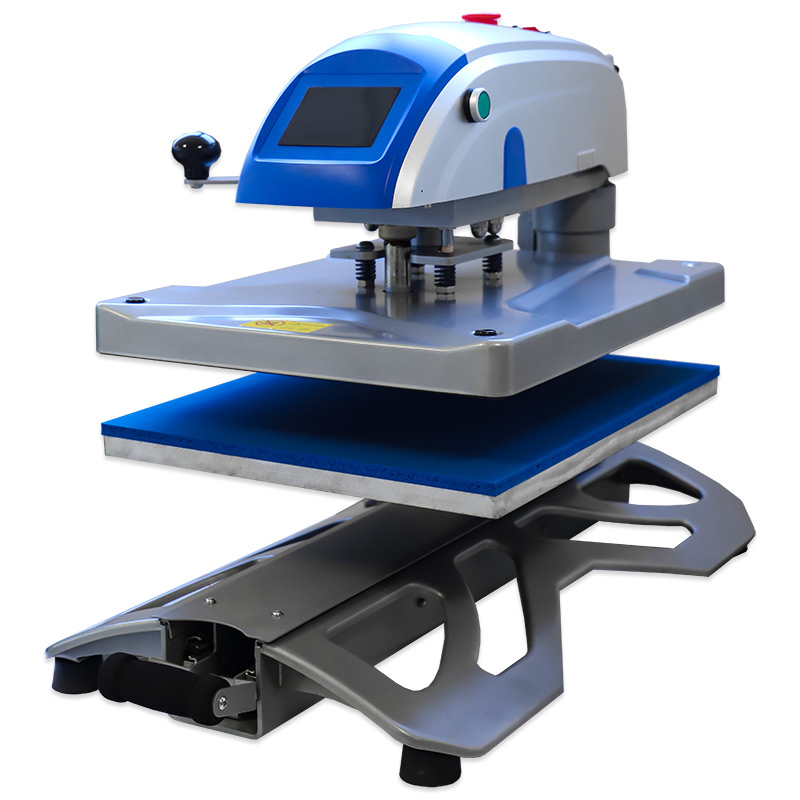
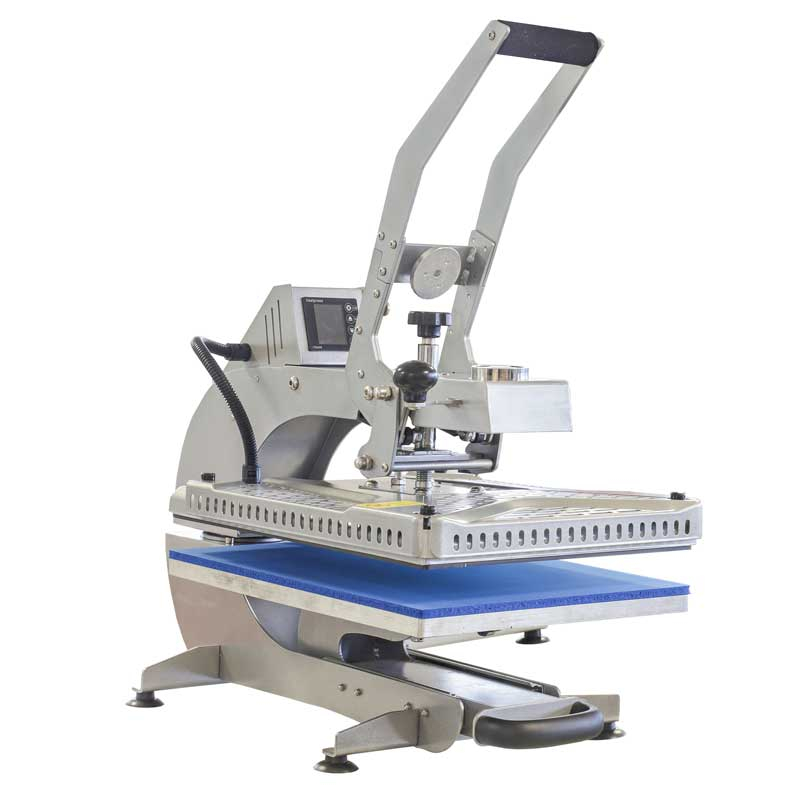
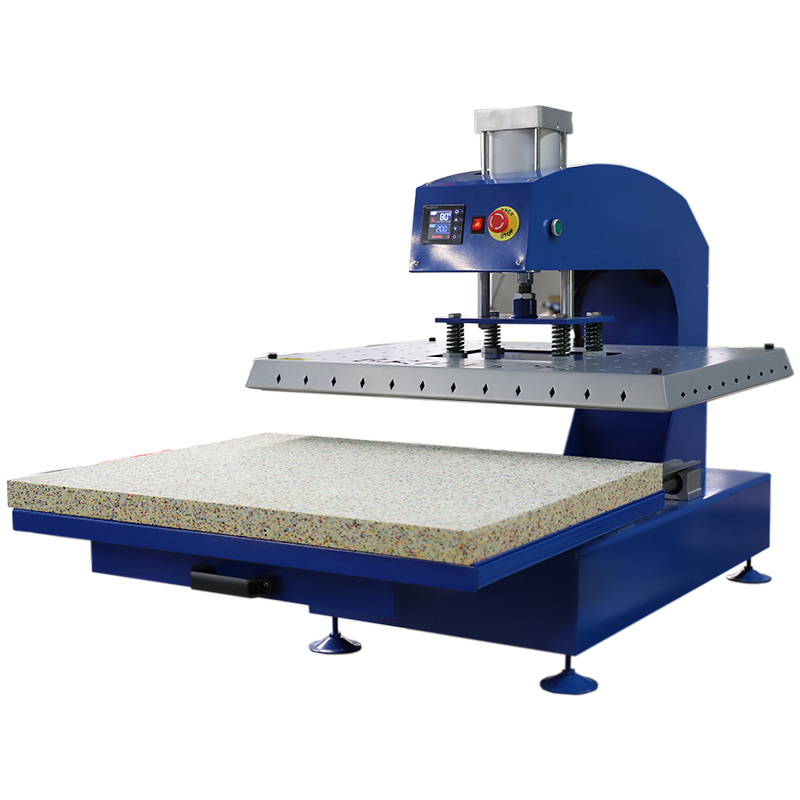
Ideally, use a vertical drop transfer press. This type of press applies uniform pressure across the entire surface of the tile, preventing uneven transfers or unsublimated spots. The use of sandwich-type presses is not recommended, as they apply more pressure on one side than the other, affecting the quality of the result.
💡Tip: Ensure your heat press is well-calibrated to avoid inconsistencies in pressure. If you notice areas with white spots or poorly transferred images, check the settings.
Pressure
The pressure setting is a key factor in tile sublimation. If the pressure is too high, the tile could break, whereas insufficient pressure may prevent the proper transfer of colours.
In manual presses, it is advisable to conduct tests with different pressure levels until the optimal setting is found. Once achieved, it is ideal to always maintain the same configuration to ensure consistent results.
On the other hand, the pneumatic presses offer greater precision and ensure uniform pressure across the entire surface. In this case, it is recommended to apply a pressure of 30-35 psi to achieve a homogeneous and high-quality finish.
Tile Placement
The way you place the tile on the press affects the quality of the result. There are two main methods: direct and indirect.
- Direct method: the tile is placed with the sublimable side facing up and the printed paper face down, secured with heat tape to prevent movement. To ensure an even transfer, it is recommended to use a thin silicone sheet, which helps to wrap the edges and compensate for any surface irregularities on the tile.
- Faster, as it requires less ironing time.
- It is not the best option for murals, as it makes aligning multiple pieces difficult.
- Indirect method: ideal for sublimating murals or several pieces together at once. A Nomex pad should be placed on the lower plate to distribute and capture heat evenly, then the printed paper face up, and finally, the tile face down on the image.
- It facilitates the precise alignment of the design if you want to sublimate a mosaic all at once.
- It requires more ironing time, as the heat must pass through the tile before sublimating.
Temperature and time
The time and temperature for sublimation vary depending on factors such as the size of the tile, its initial temperature, the number of pieces, and the placement method. Therefore, it is advisable to conduct tests to adjust the parameters according to your equipment and materials.
In our product sheet, you will find the settings for each type of tile, but generally, it is better to increase the time rather than raise the temperature (standard: 180ºC) to avoid overheating the material and affecting the quality.
💡 Tip: In winter, cold tiles can affect sublimation. Preheat them on the press (without closing it) for a minute to ensure optimal transfer.
Tips for Perfect Sublimation
🔹 Muted colours or faded edgesIf the tiles lose intensity or the edges appear faded, increase the sublimation time and use a thin silicone sheet to wrap the surface well, ensuring no areas are left untransferred.
🔹 Consistency in murals and large ordersTo maintain uniformity in murals or large orders, print and sublimate all pieces on the same day. This will help you avoid colour variations due to changes in temperature, humidity, or other environmental factors.
🔹 Enhance the decoration marketPersonalised tiles can be a profitable niche in decoration. Offering murals and exclusive designs will set you apart from the competition. Become an expert and advise your clients to excel in this sector.
Alternative with UV printing
If you want to create tile murals quickly and efficiently, UV printing is an excellent alternative to sublimation. It allows you to print directly onto multiple pieces at once, ensuring a perfect fit without any blank spaces.
In addition to being much faster than sublimation, UV printing does not require specially coated tiles, which expands the options for materials and finishes. It is also an ideal option for outdoor use, as UV ink is highly weather-resistant.
Get inspired by designs that make a difference
Custom tiles offer endless possibilities for creating unique and memorable pieces. From sophisticated decorations to gifts with high sentimental value, this Pinterest board provides inspiration to adapt and reinvent designs to your style.
Also explore the presentation boxes and wall and table stands available, and transform each tile into a product ready to impress. Providing a well-presented display will make a significant difference in your customer's experience.
Seguir el tablero de Ideas Azulejos de Brildor en Pinterest.
With these tips, we hope to help you perfect your technique and make the most of tile sublimation. We would love to hear about your experience: do you have any tips that have worked particularly well for you? Have you tried different techniques?
If you have any questions or queries, please feel free to leave a comment. We are here to help you. You can also contact our Customer Service team for more information or to address any concerns.
Additionally, we post daily on our social media platforms with ideas, offers, and updates on various personalisation techniques. Follow us on Instagram and TikTok to stay updated with all the latest, and don't forget to subscribe to our YouTube channel to continue learning with us.
See you in the next post!
WE WANT TO KNOW WHAT YOU THINK


You may also like