🧙♂️ Discover Shrink Plastic: what it is and everything you can create with it
🧙♂️ Discover Shrink Plastic: what it is and everything you can create with it

Do you want to create original products with a material that will amaze? The Shrink Plastic Inkjet Printing can be cut, printed, and when heated... it shrinks and becomes rigid like acrylic!
We will guide you through the step-by-step process, what you need to consider when working with it, and what ideas you can implement to impress your clients.
What is Shrink Plastic Inkjet Printing?
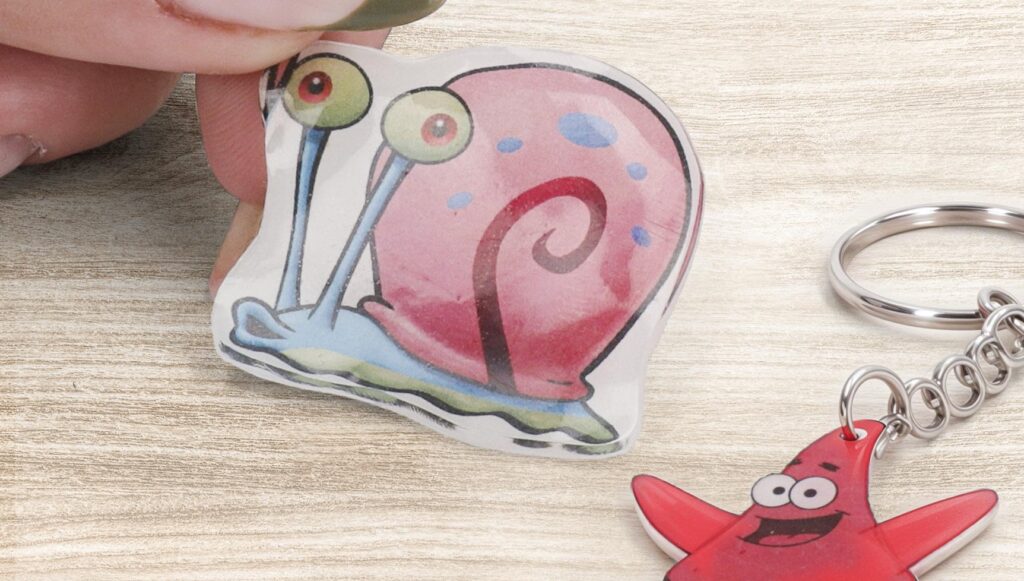
It is a heat-shrink material that, when heat is applied, reduces its size to approximately one-third, while simultaneously increasing its thickness and rigidity. The result is similar to a small acrylic sheet, but you will have created it yourself at home or in your workshop with some basic tools.
This magic plastic allows you to choose between:
- White: opaque, ideal for vibrant colours.
- Translucent: semi-transparent, allows for light play or effects on the background.
It comes in A4 format, allowing you to print directly with your home inkjet printer without the need for special inks.

What can be done with it?
This material is very versatile and allows you to create original, practical products with a professional finish:
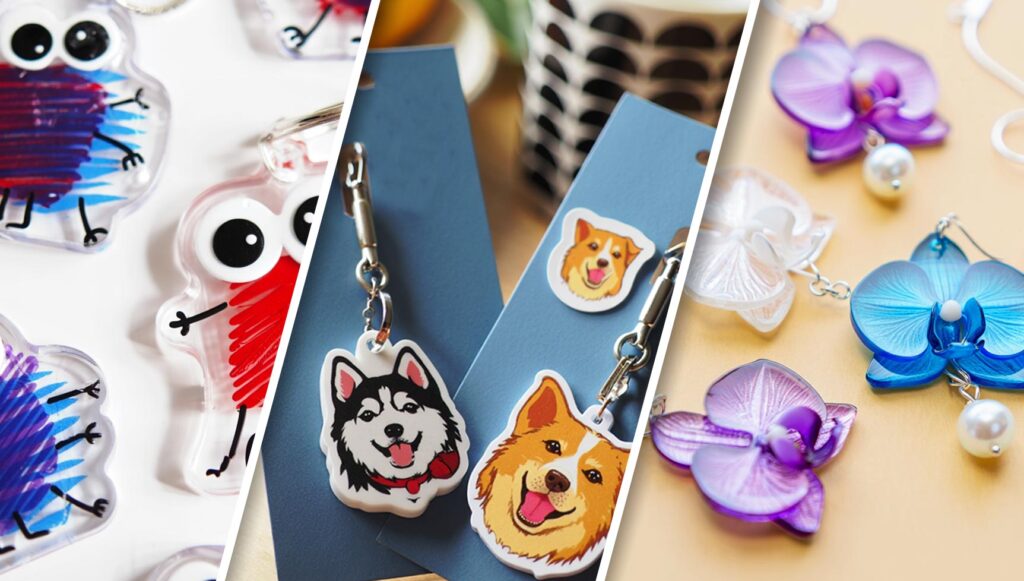
🎨 Personalised Keyrings: With names, illustrations, or logos. Perfect as a promotional item or gift.
🧲 Fridge Magnets: Attach an adhesive magnet base and you'll have souvenirs, wedding favours, or ideas for sale at fairs.
👂 Unique Earrings: Print, cut, bake, and assemble with a jewellery kit. Ideal for handmade collections.
🔖 Decorative Tags: Add a special touch to your packaging with charms or hanging tags in the form of mini acrylic pieces.
🖍️ Hand-painted designs: Print a blank template and paint your illustrations with permanent markers or paints. Great for craftwork or projects with children.
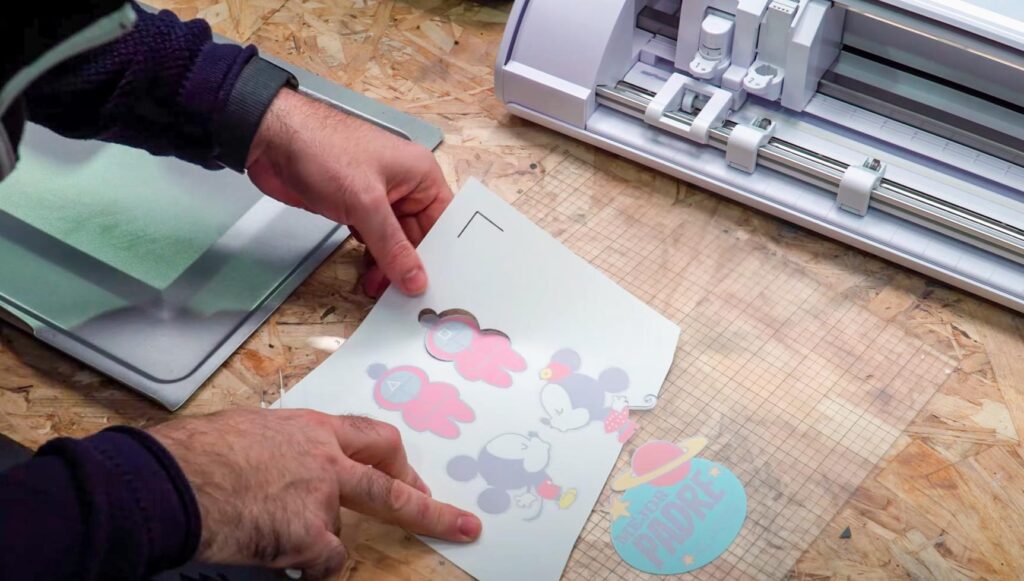
You only need your design, a printer, and heat. You can cut it out with scissors or with a cutting plotter like the Silhouette Cameo for more precision.
Seguir el tablero de Ideas Plástico Mágico de Brildor en Pinterest.
How to work with printable shrink plastic
This material is very easy to use, but there are some key details you should know before starting:
🔢 Design Size The plastic shrinks to one-third, so create your designs 3 times larger than the desired final size.
🖨️ Inkjet Printing
- Use regular ink (special ink is not necessary).
- Lower the opacity when printing so that the colours do not darken when shrinking.
- Increase saturation and contrast if necessary.
🎨 What if the colour appears dull?
- With 50% opacity, the colours lose a lot of intensity.
- With 80% opacity, after baking, the result was much more vibrant.
- 💡 Conduct preliminary tests: each printer may behave differently.
✂️ Cut with scissors or plotter
- You can cut by hand or with a cutting plotter.
- Enable registration marks and print bleed to prevent white edges.
- If you make pendants or earrings, make the holes before heating
📎 Tip for the translucent modelIf you have trouble loading it into the printer, stick a strip of masking tape on the back so that the sensor detects it better.
🔪 Not cutting all the way through?The cut may be perforated. Use a hook or tweezers to remove the piece without breaking it.

How to shrink magic plastic?
Once printed and cut, it's time to apply heat so that the plastic shrinks and hardens. You can do this in two ways:
🔥 With heat gun
- Hold the piece with some tweezers.
- Apply heat and you will see that it wrinkles at first.
- Keep heating until it becomes flat and rigid.
- Flatten with a smooth object (book, acrylic base…).
💡 Ideal for loose pieces and for watching the process live.
🔥 In the oven
- Preheat to 150°C.
- Place the pieces on a flat tray (preferably without air).
- Bake for 2 minutes.
- If they move, you can open the oven and reposition them.
- When removing them, flatten while still hot.
💡 More convenient if you are going to shrink several pieces at once.
🎥 In the following video, we show you step by step how to prepare, print, cut, and heat the magic plastic, with all the recommended settings.
Are you ready to give it a try? The Shrink Plastic Inkjet Printing is a surprising and highly profitable resource if you are looking for easy-to-make personalised products. Perfect for both small entrepreneurs and professional creators seeking new materials for their ideas.
👉 Any concerns? Feel free to share them with us by leaving a comment. Our team will be delighted to provide you with answers and assistance. You can also directly contact our Customer Service department for further help.
Remember that on our social media, we daily share a wealth of ideas, offers, and the latest news related to various personalisation techniques. To stay updated with everything, follow us on Instagram and TikTok. And don't forget to subscribe to our YouTube channel to keep learning with us!
WE WANT TO KNOW WHAT YOU THINK


You may also like